Security
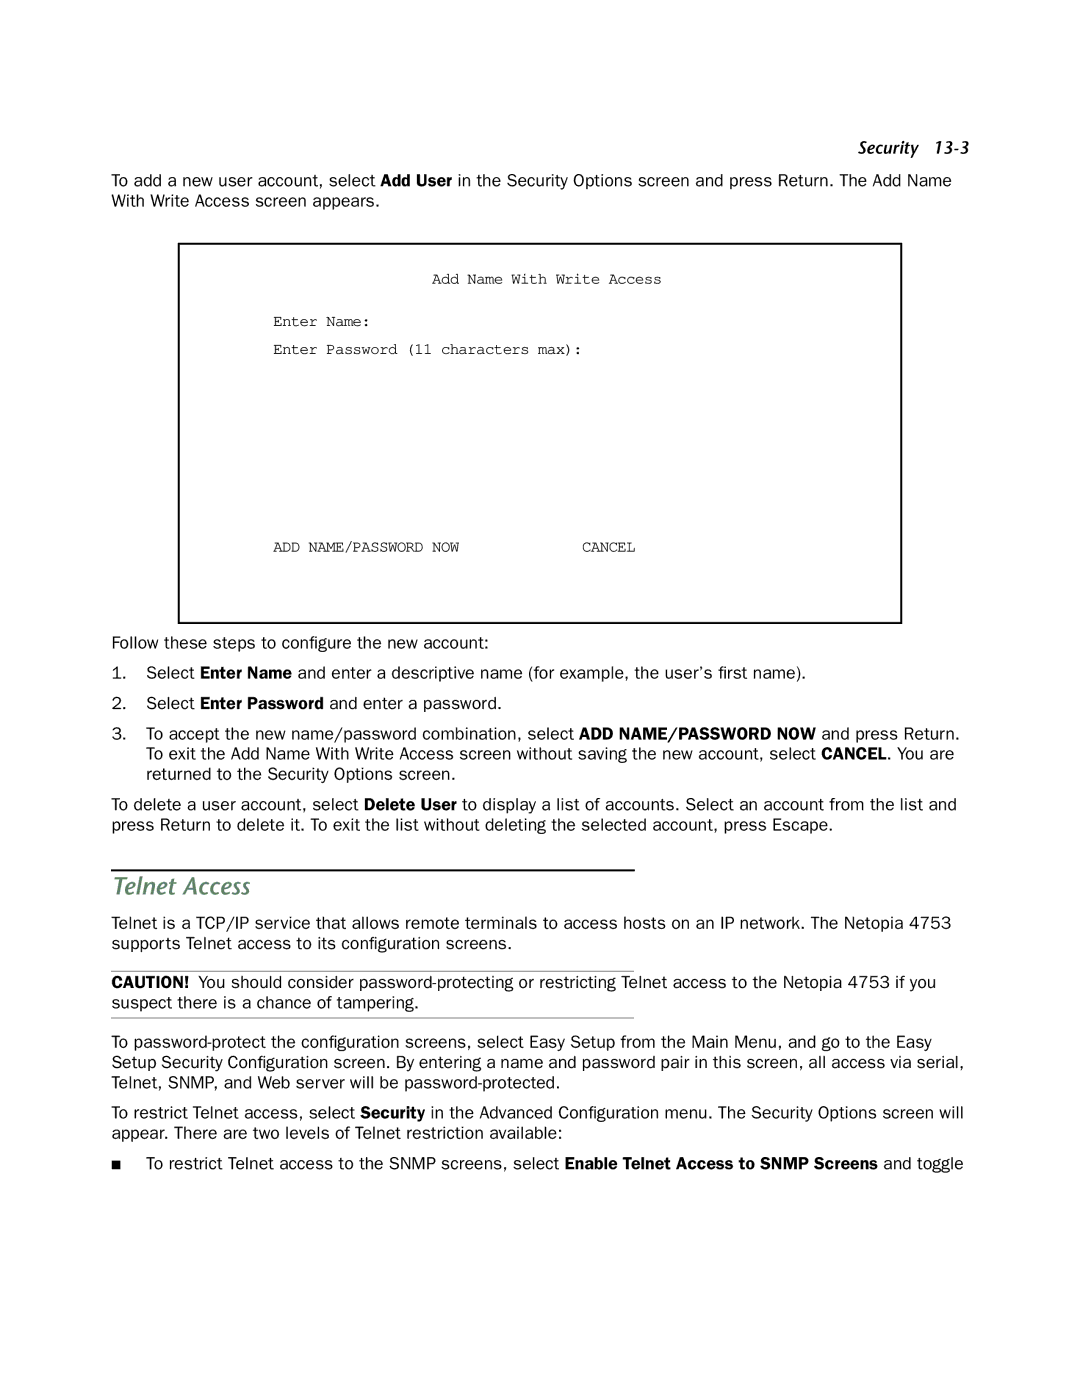
To add a new user account, select Add User in the Security Options screen and press Return. The Add Name With Write Access screen appears.
Add Name With Write Access
Enter Name:
Enter Password (11 characters max):
ADD NAME/PASSWORD NOW | CANCEL |
Follow these steps to configure the new account:
1.Select Enter Name and enter a descriptive name (for example, the user’s first name).
2.Select Enter Password and enter a password.
3.To accept the new name/password combination, select ADD NAME/PASSWORD NOW and press Return. To exit the Add Name With Write Access screen without saving the new account, select CANCEL. You are returned to the Security Options screen.
To delete a user account, select Delete User to display a list of accounts. Select an account from the list and press Return to delete it. To exit the list without deleting the selected account, press Escape.
Telnet Access
Telnet is a TCP/IP service that allows remote terminals to access hosts on an IP network. The Netopia 4753 supports Telnet access to its configuration screens.
CAUTION! You should consider
To
To restrict Telnet access, select Security in the Advanced Configuration menu. The Security Options screen will appear. There are two levels of Telnet restriction available:
■To restrict Telnet access to the SNMP screens, select Enable Telnet Access to SNMP Screens and toggle