IP Setup and Network Address Translation 9-67
Follow these steps to configure IP Address Serving:
■If you enabled IP Address Serving, DHCP, BootP clients, Dynamic WAN clients, and MacIP/KIP clients (if you have the AppleTalk kit installed) are automatically enabled.
■Select Number of Client IP Addresses and enter the total number of contiguous IP addresses that the Netopia R910 will distribute to the client machines on your local area network.
■In the screen example shown above, five Client IP addresses have been allocated.
■Select 1st Client Address and enter the first client IP address that you will allocate to your first client machine. For instance, on your local area network you may want to first figure out what machines are going to be allocated specific static IP addresses so that you can determine the pool of IP addresses that you will be serving addresses from via DHCP, BootP, Dynamic WAN, and/or MacIP.
Example: Your ISP has given your Netopia R910 the IP address 192.168.6.137, with a subnet mask of 255.255.255.248. The subnet mask allocated will give you six IP addresses to use when connecting to the ISP over the Internet (for more information on IP addressing refer to Appendix B, “Understanding IP Addressing”). Your address range will be
■To enable DHCP, select Serve DHCP Clients and toggle it to Yes. DHCP serving is automatic when IP Address Serving is enabled.
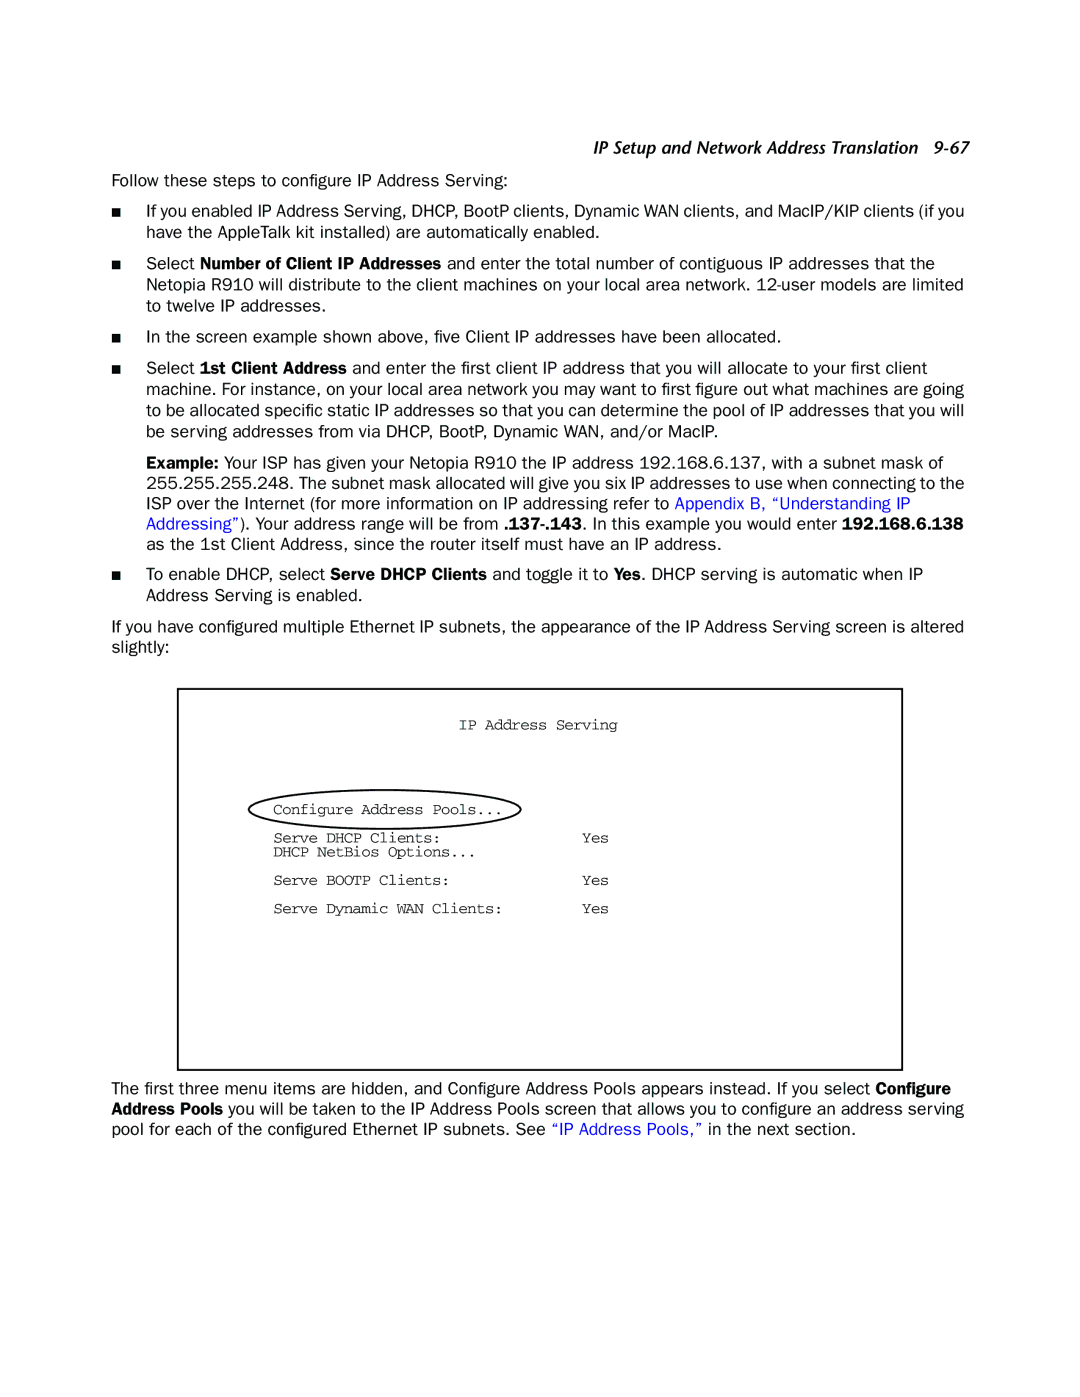
If you have configured multiple Ethernet IP subnets, the appearance of the IP Address Serving screen is altered slightly:
IP Address Serving
Configure Address Pools... |
|
Serve DHCP Clients: | Yes |
DHCP NetBios Options... |
|
Serve BOOTP Clients: | Yes |
Serve Dynamic WAN Clients: | Yes |
The first three menu items are hidden, and Configure Address Pools appears instead. If you select Configure Address Pools you will be taken to the IP Address Pools screen that allows you to configure an address serving pool for each of the configured Ethernet IP subnets. See “IP Address Pools,” in the next section.