7-38 User’s Reference Guide
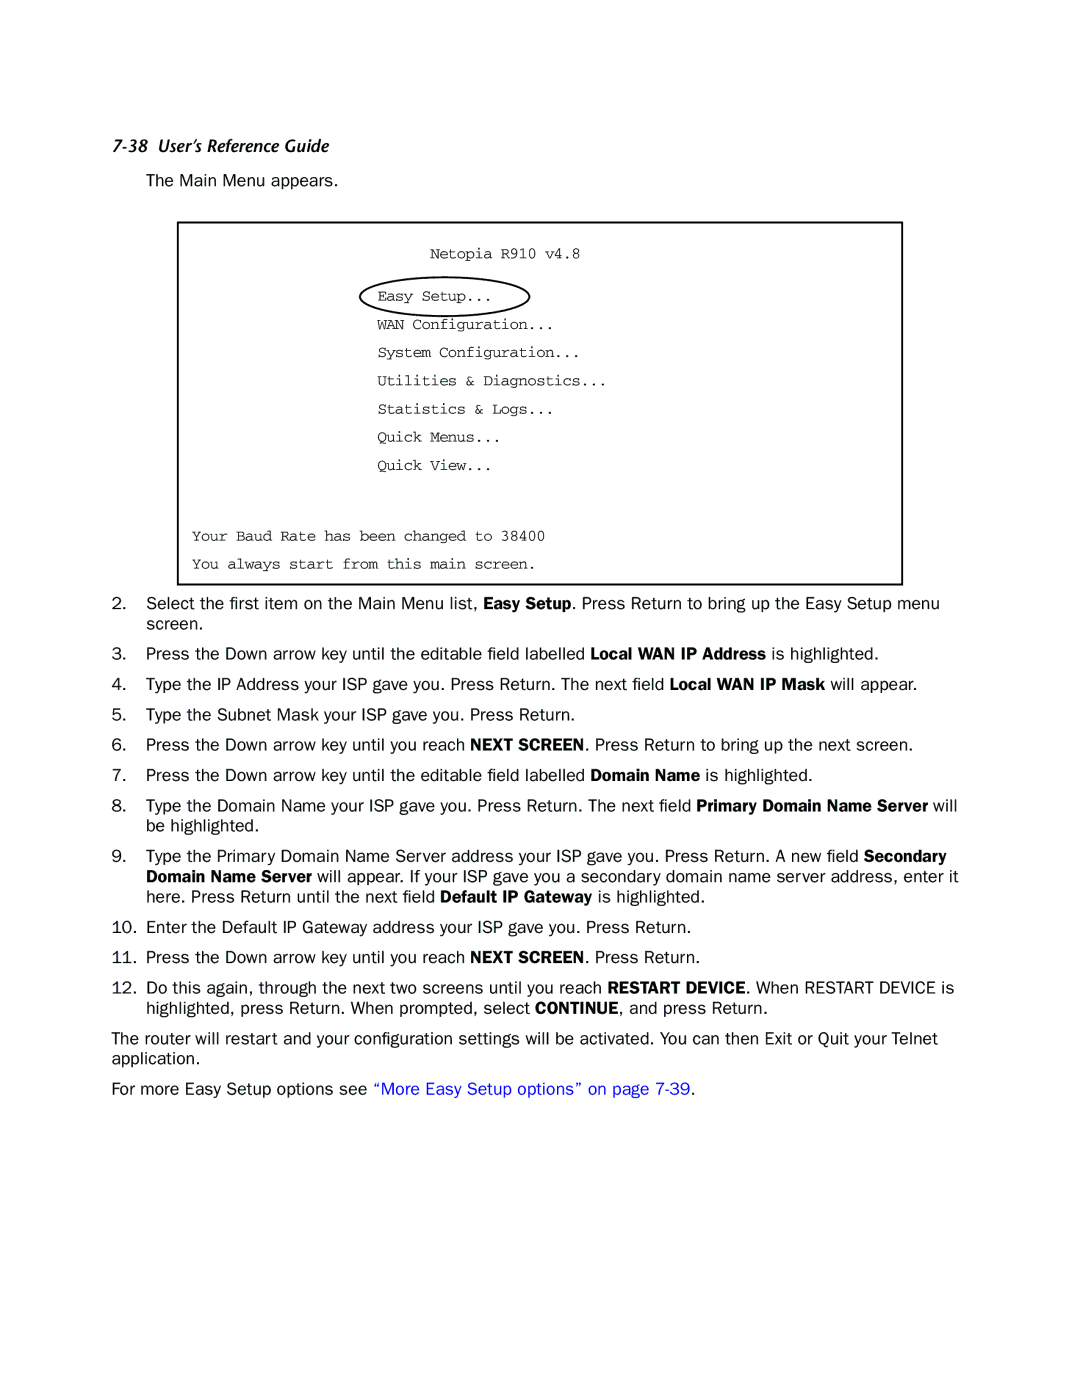
The Main Menu appears.
Netopia R910 v4.8
Easy Setup...
WAN Configuration...
System Configuration...
Utilities & Diagnostics...
Statistics & Logs...
Quick Menus...
Quick View...
Your Baud Rate has been changed to 38400
You always start from this main screen.
2.Select the first item on the Main Menu list, Easy Setup. Press Return to bring up the Easy Setup menu screen.
3.Press the Down arrow key until the editable field labelled Local WAN IP Address is highlighted.
4.Type the IP Address your ISP gave you. Press Return. The next field Local WAN IP Mask will appear.
5.Type the Subnet Mask your ISP gave you. Press Return.
6.Press the Down arrow key until you reach NEXT SCREEN. Press Return to bring up the next screen.
7.Press the Down arrow key until the editable field labelled Domain Name is highlighted.
8.Type the Domain Name your ISP gave you. Press Return. The next field Primary Domain Name Server will be highlighted.
9.Type the Primary Domain Name Server address your ISP gave you. Press Return. A new field Secondary Domain Name Server will appear. If your ISP gave you a secondary domain name server address, enter it here. Press Return until the next field Default IP Gateway is highlighted.
10.Enter the Default IP Gateway address your ISP gave you. Press Return.
11.Press the Down arrow key until you reach NEXT SCREEN. Press Return.
12.Do this again, through the next two screens until you reach RESTART DEVICE. When RESTART DEVICE is highlighted, press Return. When prompted, select CONTINUE, and press Return.
The router will restart and your configuration settings will be activated. You can then Exit or Quit your Telnet application.
For more Easy Setup options see “More Easy Setup options” on page
