Manuals
/
Panasonic
/
Photography
/
Digital Camera
Panasonic
AJ-HDC27FE
operating instructions
Aj- E
Models:
AJ-HDC27FE
1
1
136
136
Download
136 pages
3.73 Kb
1
2
3
4
5
6
7
8
Specs
Error messages
Digital signal processing
Format Error
VF Indicator screen
Maintenance
System configuration
Resetting the scene file
Diagnostic screen
Accessory mounting section
Page 1
Image 1
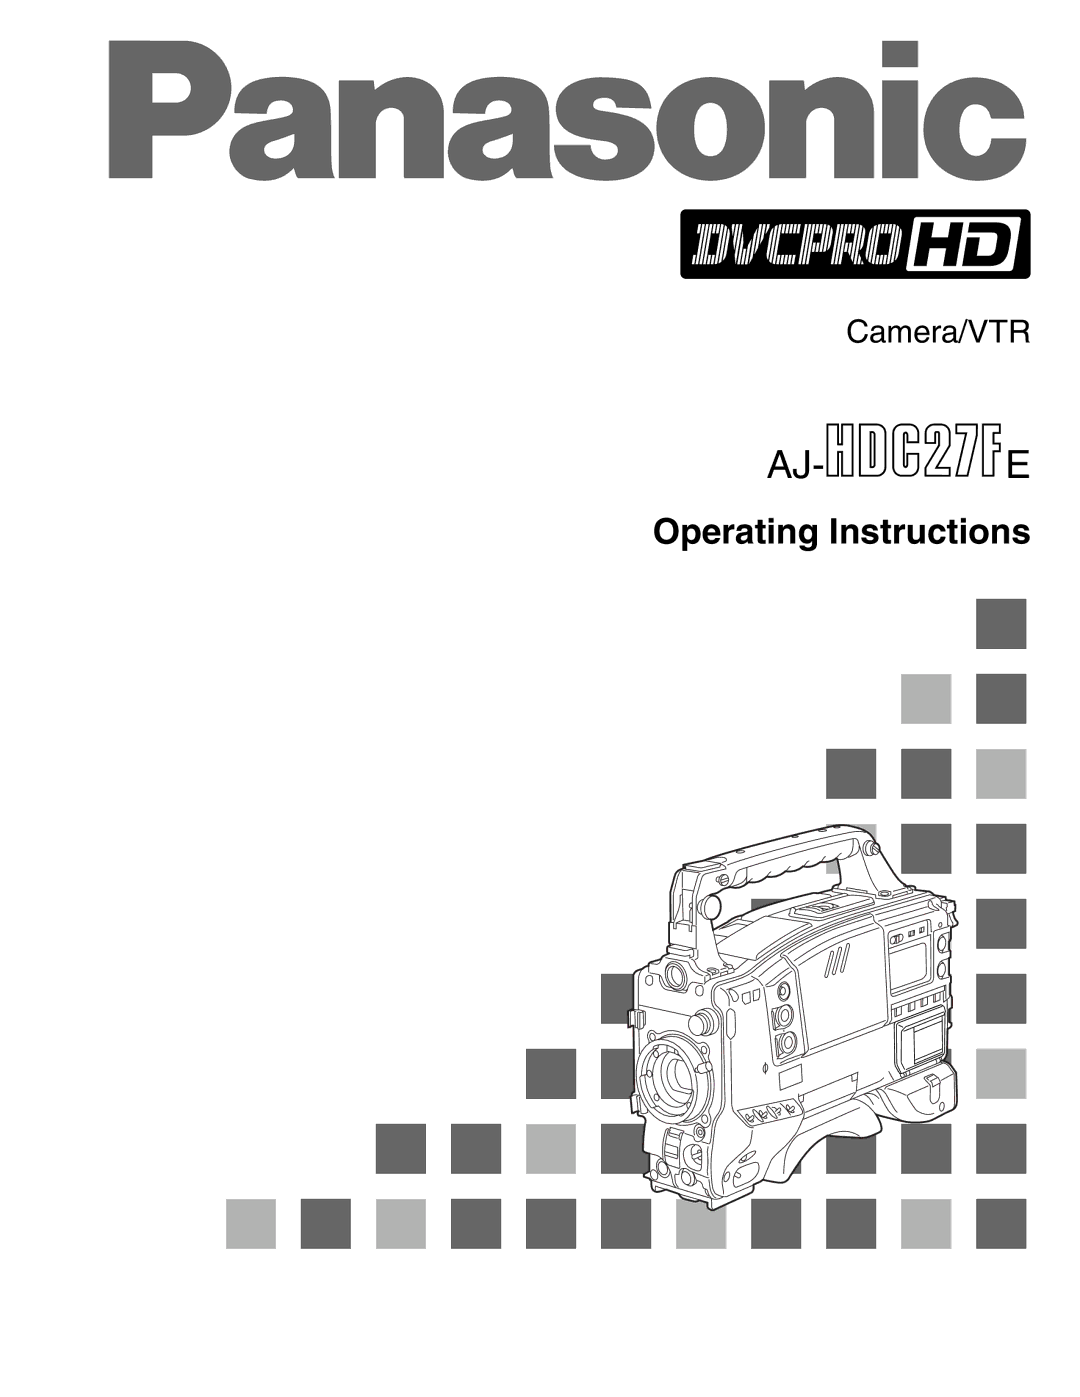
Camera/VTR
AJ-
E
Operating Instructions
Page 1
Page 2
Page 1
Image 1
Page 1
Page 2
Contents
AJ- E
$ do not Remove Panel Cover by Unscrewing
Lithium Battery
To remove the battery/Verwijderen van de batterij
Contents
Film CAM Menus
Settings
Features of the camera unit
Features
Introduction
Digital signal processing
Prime lens mode
Piece filter disc sets available as standard accessories
Film user menu
Features of the VTR unit
FUJINON/CANON
System configuration
SHAN-TM700
AJ-EC3
Battery mount
Power supply section
This is for attaching the Anton/Bauer battery pack
Power switch
Accessory mounting section
CUE switch
Audio in audio input selector switch
Audio function section
An audio component or microphones are connected here
Alarm warning alarm volume adjustment control
DC OUT DC power output socket
Monitor volume adjustment control
= Monitor Select audio channel selector switch
Viewfinder section
White BAL white balance memory selector switch
Synchro scan adjustment switches
$ Examples of filter selection
$ OUTPUT/AUTO Knee switch setting position
Output output signal selector/AUTO Knee switch
Gain gain selector switch
ECU Remote remote control connector 6- pin
Shutter switch
HD SDI OUT connector BNC
Character switch
SDI switch
= VTR SAVE/STBY tape protection switch
VTR Start button
? User 1 and User 2 buttons
Mode Check button
@ Eject button
REW button
Light switch
Back tally switch
Back tally lamp unit
Display window
Menu operation section
Parts and their functions
Time code related section
Time code related section
Using the Anton/Bauer battery pack
Power supply
23 E
Using the BP-90 type battery pack
Power supply
Battery case for BP-90
Battery case for NP-1
25 E
When the AJ-B75 AC adapter is used
Using an AC power supply
Pin no Signal
26 E
27 E
Attaching the lens
Adjustment method
Adjusting the lens flange
28 E
Storing white shading adjustment values
Adjusting the white shading
White shading files
29 E
Press the JOG dial button to enter the file number
Select the file No
Give a title to the selected file
Press the Menu button twice to close the menu screen 30 E
Repeat step
Performing white shading adjustments
32 E
Reading white shading files
33 E
Attaching the viewfinder
34 E
Adjusting the viewfinder position
35 E
Audio input preparation
Attaching the AJ-MH700P mic holder optional accessory
When attaching a microphone to the main unit for use
36 E
When connecting a microphone to the Audio in connector
When connecting a microphone to the MIC in jack
Audio input preparation
MIC in jack
When connecting audio components
When using a wireless microphone
38 E
39 E
Mounting the unit on a tripod
Attaching the shoulder strap
Adjusting the shoulder pad position
Bottom section
40 E
Attaching the rain cover
Connecting the extension control unit
Example showing use of the Shan RC700 rain cover
41 E
VTR Save VTR power-saving lamp
Batt battery lamp
Viewfinder lamp displays
TALLY/REC recording lamp
Setting item Description of setting
Setting the lamp displays
Viewfinder lamp displays
43 E
Viewfinder screen status displays
$ Display items and where they are displayed
44 E
Safety zone markers
Battery voltage display
@ Master gain setting display
Colour temperature display PRE/A/B
Selectable items
Selecting the display items
On the VTR VF Indicator screen of VTR Menu
Setting change/adjustment result messages and display modes
Display modes and setting change messages
48 E
Message
Switching the display mode Setting the marker displays
Setting the camera ID
Screen displays
Time code-related switch settings and display items
Min Frm
Min s frm
Adjustments and setup using the setting menus
Adjusting the date and time
52 E
53 E
Adjusting the white balance and black balance
Hunting
54 E
Adjusting the white balance
Adjusting the white balance and black balance
Example of display
When Filter INH is set to on
57 E
Adjusting the black balance
Mode Shutter speed Application
Setting the electronic shutter
Shutter modes Registering the shutter speed
Available shutter modes and shutter speeds
Changing the shutter speed
Mode selection range
Switching the shutter speed display
Setting the synchro scan mode
Sec seconds 1/¢¢¢
Deg angle
Video mode Video Menu
Switching the frame frequency
Film mode Film Menu
Film tone gamma function
Using the synchro scan adjustment switches +
Setting the frame rate
Using menu operations
Variable frame rate
Disturbed images
White streaks
Manual audio level adjustments
Adjusting the audio level
Setting the scan reverse
Scan reverse
Setting the user’s bit
Setting the time data
+ button
Button
Time code when the battery is replaced
Setting the time code
User’s bit setting when the time code is externally locked
When locking to an external signal
Externally locking the time code
To release the external lock
Tape management information
When the camera’s video signals are being recorded
Example of display
Vitc user’s bit
User data operation
How to use the user data
Saving the user data
Loading the user data
Scene file operation
How to use the scene file
Saving the scene file
70 E
Initialize Read Factory Data Write User Data Scene SEL
Loading the scene file
73 E
Resetting the scene file
How to eject the setup card
Setup card operations
How to insert the setup card
Error message Remedial action
Formatting the setup card
75 E
Saving the data settings on the card
Saving the data settings to the selected file
Setup card operations
Format Error
Write NG
Load the data of the selected file
Select the file No
No File
Read NG
Checking for tape slack
Cassette tapes
80 E
81 E
Recording
Shooting
Recording
Tape function buttons
During rec-pause
Scene-to-scene continuity
Ensuring scene-to-scene continuity at other times
83 E
Rec review Colour playback
Lens RET button functions
Playback checking what has been recorded
Internal VTR What appears on the viewfinder screen Status
News REC function
Other VTR functions
Retake function
Interval REC intermittent recording function
Menu operations
Film mode and video mode
User menu
Engineer menu
Displaying menus
Basic setting menu operations
User menu
Engineer menu
Operations common to the user menu and engineer menu
Displaying sub-menus and deciding on settings
Example
Example
89 E
Setting menu configuration
90 E
91 E
VTR Main Menu
92 E
Film CAM Main Menu 1 screen
Setting menu screens Film CAM Menus
Film CAM Main Menu 2 screen
Film CAM Main Menu 3 screen
Matrix screen
ROP screen
ROP Remote Operation Panel is set on this screen
Camera matrix is set on this screen
Color Correction 1 screen
Phase
Color Correction 2 screen
95 E
96 E
LOW Setting screen MID Setting screen
Additional DTL 1 screen
High Setting screen
Additional DTL2 screen
High level gain is set on this screen
Skin Tone DTL screen
Knee settings of the camera are performed on this screen
KNEE/LEVEL screen
Skin tone detail of the camera is set on this screen
Gamma settings of the camera are performed on this screen
Camera Setting screen
Gamma screen
99 E
Zebra pattern display
VF Display screen
100 E
VF Marker screen
VF Indicator screen
101 E
Shutter Speed screen
Camera ID screen
Camera ID is set on this screen
102 E
Shutter speed is set in each Position item on this screen
Shutter Select screen
103 E
Synchro Scan
Modes of the camera switches are set on this screen
Camera SW Mode screen
LED screen
104 E
105 E
Super Gain screen
Frame Mode screen
Frame rate is set on this screen
106 E
CAM Card R/W Select screen
CAM Card READ/WRITE screen
107 E
Example
GENLOCK/IRIS screen
Lens adjustments are performed on this screen
Lens ADJ screen
108 E
Film CAM User Menu Select 1 screen
Film CAM User Menu Select 1, 2 and 3 screens
Film CAM User Menu Select 2 screen
Film CAM User Menu Select 3 screen
Colorimetry screen
Black Shading screen
White Shading screen
Flare screen
Evaluation screen
Diagnostic screen
Option screen
Engineer menu display is selected on this screen
OS/N measurement screen
OResolution measurement screen
OModulation measurement screen
OSensitivity measurement screen
VTR Main Menu screen
Setting menu screens VTR Menus
113 E
Function screen
Setting menu screens VTR Main Menu
VTR’s functions are set on this screen
114 E
115 E
BATTERY/TAPE screen
116 E
Battery Setting screen
MIC/AUDIO settings are performed on this screen
VTR VF Indicator screen
MIC/AUDIO screen
117 E
Always
118 E
Chsel
MIX
119 E
TC/UB screen
TCG/TCR
120 E
Time
VTR Initialize screen
Time Date screen
VTR User Menu Select screen
VTR Card READ/WRITE screen
122 E
Setting menu screens VTR User Menu Select
123 E
124 E
Lamp flashes once a second
125 E
Emergency eject
Error codes
126 E
Replacing the backup battery
Maintenance
Condensation Head cleaning
Cleaning inside the viewfinder
128 E
Inspections prior to shooting
Inspecting the viewfinder
Inspections prior to shooting
Inspecting the VTR unit
Inspecting the aperture and zoom functions
Tape travel inspection
Manual audio level adjustment function inspection
Automatic audio level adjustment function inspection
Inspection using external microphones
Earphone and speaker inspection
Specifications
Connector Section
Maintenance products
Relating to power supply
Viewfinder
Relating to external VTRs
Page
Panasonic Broadcast Europe GmbH
Panasonic Broadcast Europe
F0402W @
VQT9707
Top
Page
Image
Contents