Adjusting the white shading
This unit can store up to 8 white shading compensations as white shading files in memory. Using this data, it is possible to quickly reproduce the appropriate white shading adjustment even after switching lenses.
Follow the procedure described below when repeating a white shading adjustment or when creating a new white shading file.
White shading files
Storing of white shading adjustment values in memory for each lens changed and reading of data which has been stored are performed using the menus.
<Notes>
O The method below can be used for the white shading adjustments with most lenses. However, with some very special lenses, a different adjustment method may be necessary.
O Even when the white shading has been adjusted, tinting may occur in the vertical direction near the lens aperture open position. This is a phenomenon which is inherent to lenses and optical systems and is not indicative of malfunctioning.
Storing white shading adjustment values
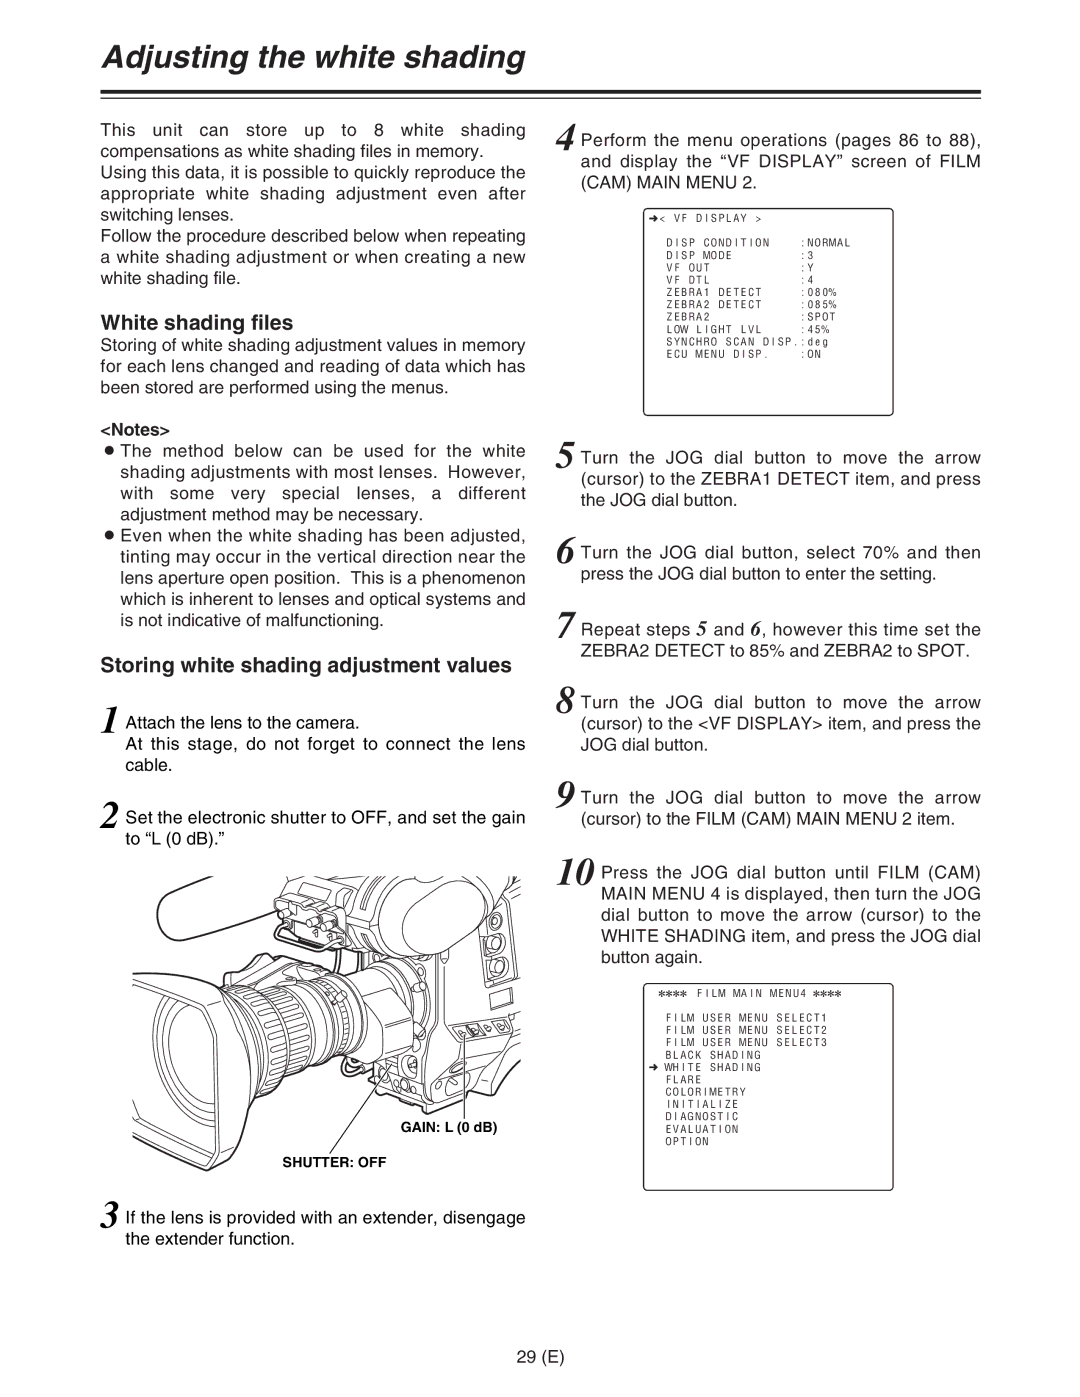
1 Attach the lens to the camera.
At this stage, do not forget to connect the lens cable.
2 Set the electronic shutter to OFF, and set the gain to “L (0 dB).”
GAIN: L (0 dB)
SHUTTER: OFF
3 If the lens is provided with an extender, disengage the extender function.
4 Perform the menu operations (pages 86 to 88), and display the “VF DISPLAY” screen of FILM (CAM) MAIN MENU 2.
n< VF DISPLAY > |
|
DISP CONDITION | :NORMAL |
DISP MODE | :3 |
VF OUT | :Y |
VF DTL | :4 |
ZEBRA1 DETECT | :080% |
ZEBRA2 DETECT | :085% |
ZEBRA2 | :SPOT |
LOW LIGHT LVL | :45% |
SYNCHRO SCAN DISP.:deg | |
ECU MENU DISP. | :ON |
5 Turn the JOG dial button to move the arrow (cursor) to the ZEBRA1 DETECT item, and press the JOG dial button.
6 Turn the JOG dial button, select 70% and then press the JOG dial button to enter the setting.
7 Repeat steps 5 and 6, however this time set the ZEBRA2 DETECT to 85% and ZEBRA2 to SPOT.
8 Turn the JOG dial button to move the arrow (cursor) to the <VF DISPLAY> item, and press the JOG dial button.
9 Turn the JOG dial button to move the arrow
(cursor) to the FILM (CAM) MAIN MENU 2 item.
10 Press the JOG dial button until FILM (CAM) MAIN MENU 4 is displayed, then turn the JOG dial button to move the arrow (cursor) to the WHITE SHADING item, and press the JOG dial button again.
2222 FILM MAIN MENU4 2222
FILM USER MENU SELECT1
FILM USER MENU SELECT2
FILM USER MENU SELECT3
BLACK SHADING
nWHITE SHADING FLARE COLORIMETRY INITIALIZE DIAGNOSTIC EVALUATION OPTION