Viewfinder screen status displays
Setting the camera ID
The camera ID is set on the CAMERA ID screen.
Up to ten alphanumerics, symbols and spaces can be used.
<Note>
The camera ID is not displayed while the setting menu is displayed even if colour bar signals are output.
1 Perform the menu operations (pages 86 to 88) to open the “CAMERA ID” screen of FILM (CAM) MAIN MENU 2.
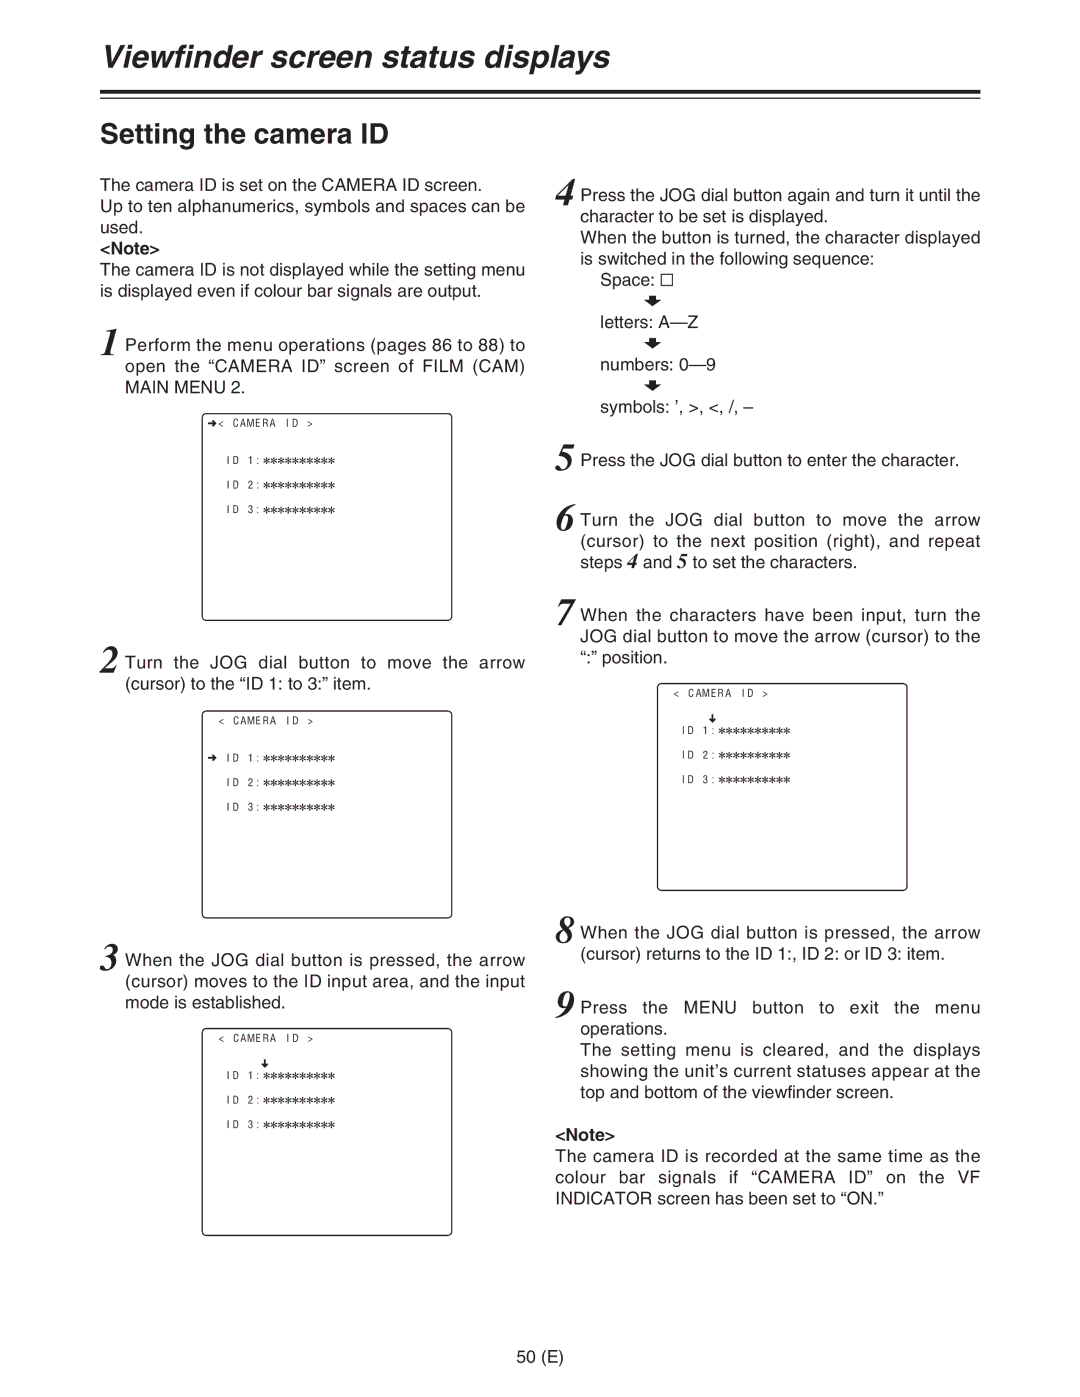
n< CAMERA ID >
ID 1:2222222222
ID 2:2222222222
ID 3:2222222222
2 Turn the JOG dial button to move the arrow (cursor) to the “ID 1: to 3:” item.
< CAMERA ID >
nID 1:2222222222
ID 2:2222222222
ID 3:2222222222
4 Press the JOG dial button again and turn it until the character to be set is displayed.
When the button is turned, the character displayed is switched in the following sequence:
Space: )
7
letters:
7
numbers:
symbols: ’, >, <, /, –
5 Press the JOG dial button to enter the character.
6 Turn the JOG dial button to move the arrow (cursor) to the next position (right), and repeat steps 4 and 5 to set the characters.
7 When the characters have been input, turn the JOG dial button to move the arrow (cursor) to the “:” position.
< CAMERA ID >
m
ID 1:2222222222
ID 2:2222222222
ID 3:2222222222
3 When the JOG dial button is pressed, the arrow (cursor) moves to the ID input area, and the input mode is established.
< CAMERA ID >
m
ID 1:2222222222
ID 2:2222222222
ID 3:2222222222
8 When the JOG dial button is pressed, the arrow (cursor) returns to the ID 1:, ID 2: or ID 3: item.
9 Press the MENU button to exit the menu operations.
The setting menu is cleared, and the displays showing the unit’s current statuses appear at the top and bottom of the viewfinder screen.
<Note>
The camera ID is recorded at the same time as the colour bar signals if “CAMERA ID” on the VF INDICATOR screen has been set to “ON.”
50 (E)