3. Preparation
| Example: 3:15 PM | |||||||
| 1. | Press {0}{3} {1}{5}. | DateTim | |||||
3.7 Date and time | ||||||||
You must set the date and time for both the |
|
|
| :03:15 |
|
| ||
|
|
|
|
|
|
| ||
handset and the base unit. |
|
|
| DateTim |
| |||
|
|
|
| |||||
Times are set independently and may not |
|
|
|
|
|
|
| |
necessarily be identical. |
|
|
|
|
|
|
| |
|
|
|
|
|
|
| ||
L The other party’s fax machine will print the | 2. | Press {*} repeatedly to display “ ”. | ||||||
date and time on each page you send | ||||||||
|
|
|
|
|
|
| ||
according to your base unit’s date and time |
|
|
|
|
|
|
| |
|
|
|
|
|
|
| ||
setting. |
|
|
|
|
|
|
| |
|
|
|
| @=12/24 | ||||
L The accuracy of the clock is approximately |
|
|
|
| ||||
|
|
|
|
|
|
| ||
±60 seconds a month. |
|
|
|
|
|
|
| |
|
|
|
|
|
|
| ||
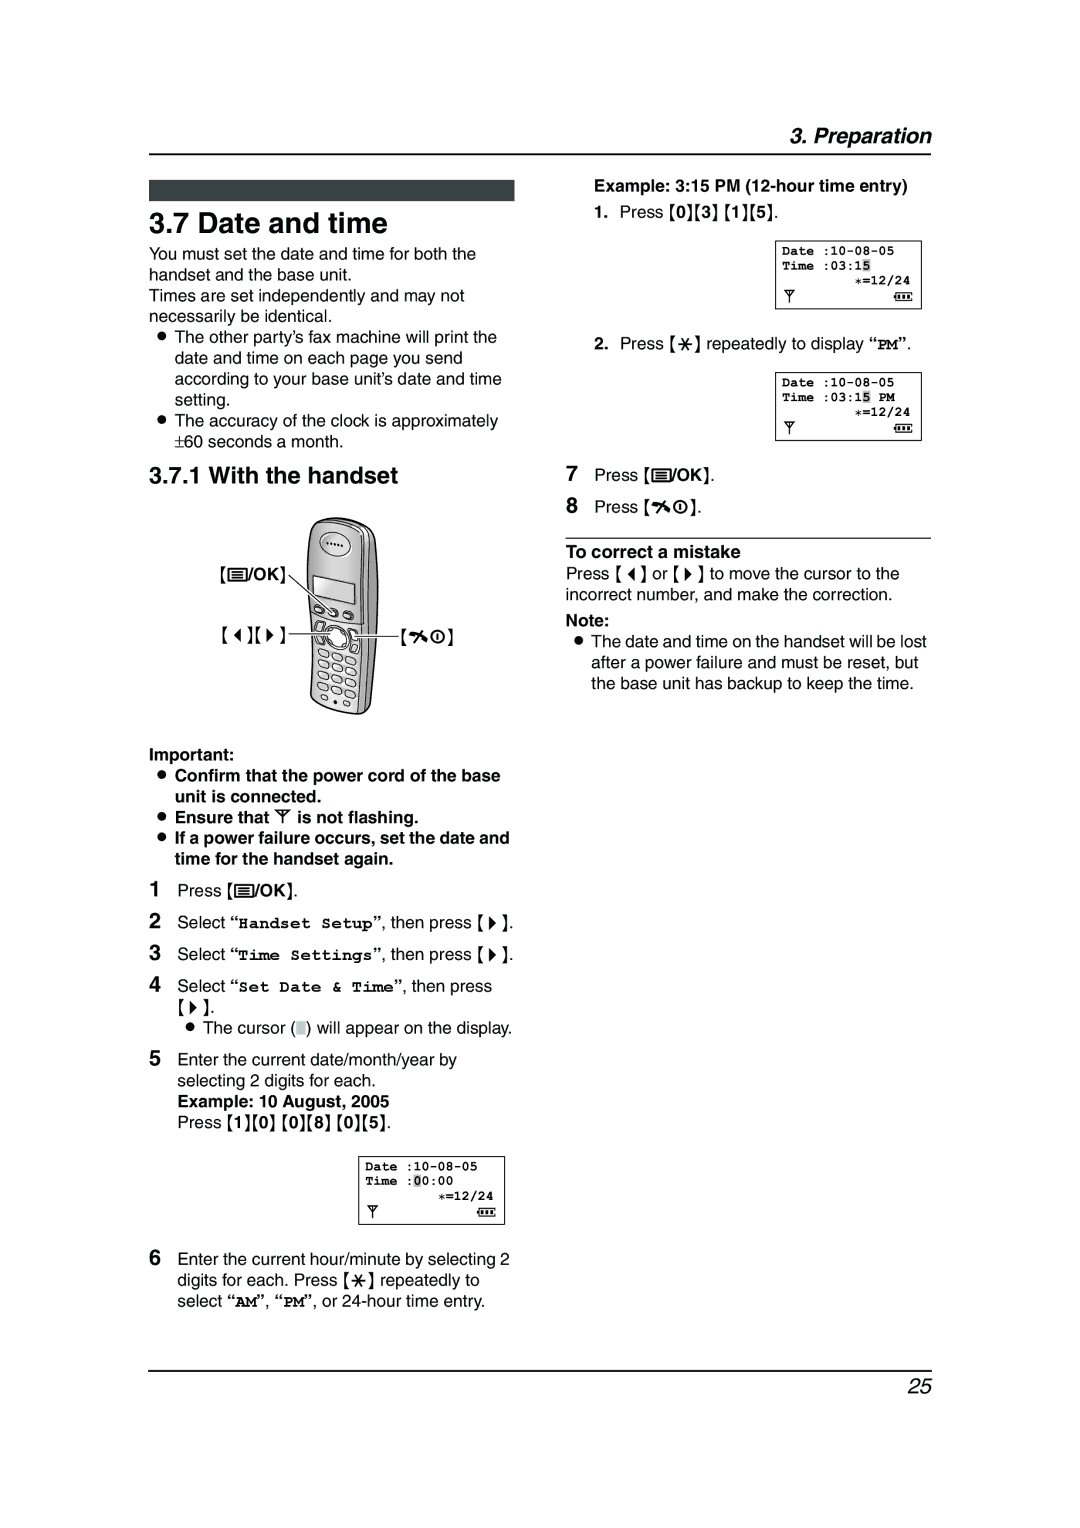
3.7.1 With the handset
{j/OK}![]()
{<}{>}![]()
![]()
![]() {ih}
{ih}
Important:
LConfirm that the power cord of the base
unit is connected.
LEnsure that w is not flashing.
LIf a power failure occurs, set the date and time for the handset again.
1Press {j/OK}.
2Select “Handset Setup”, then press {>}.
3Select “Time Settings”, then press {>}.
4Select “Set Date & Time”, then press
{>}.
L The cursor () will appear on the display.
5Enter the current
Example: 10 August, 2005 Press {1}{0} {0}{8} {0}{5}.
@=12/24
6Enter the current hour/minute by selecting 2 digits for each. Press {*} repeatedly to select “AM”, “PM”, or
7Press {j/OK}.
8Press {ih}.
To correct a mistake
Press {<} or {>} to move the cursor to the incorrect number, and make the correction.
Note:
LThe date and time on the handset will be lost after a power failure and must be reset, but the base unit has backup to keep the time.
25
