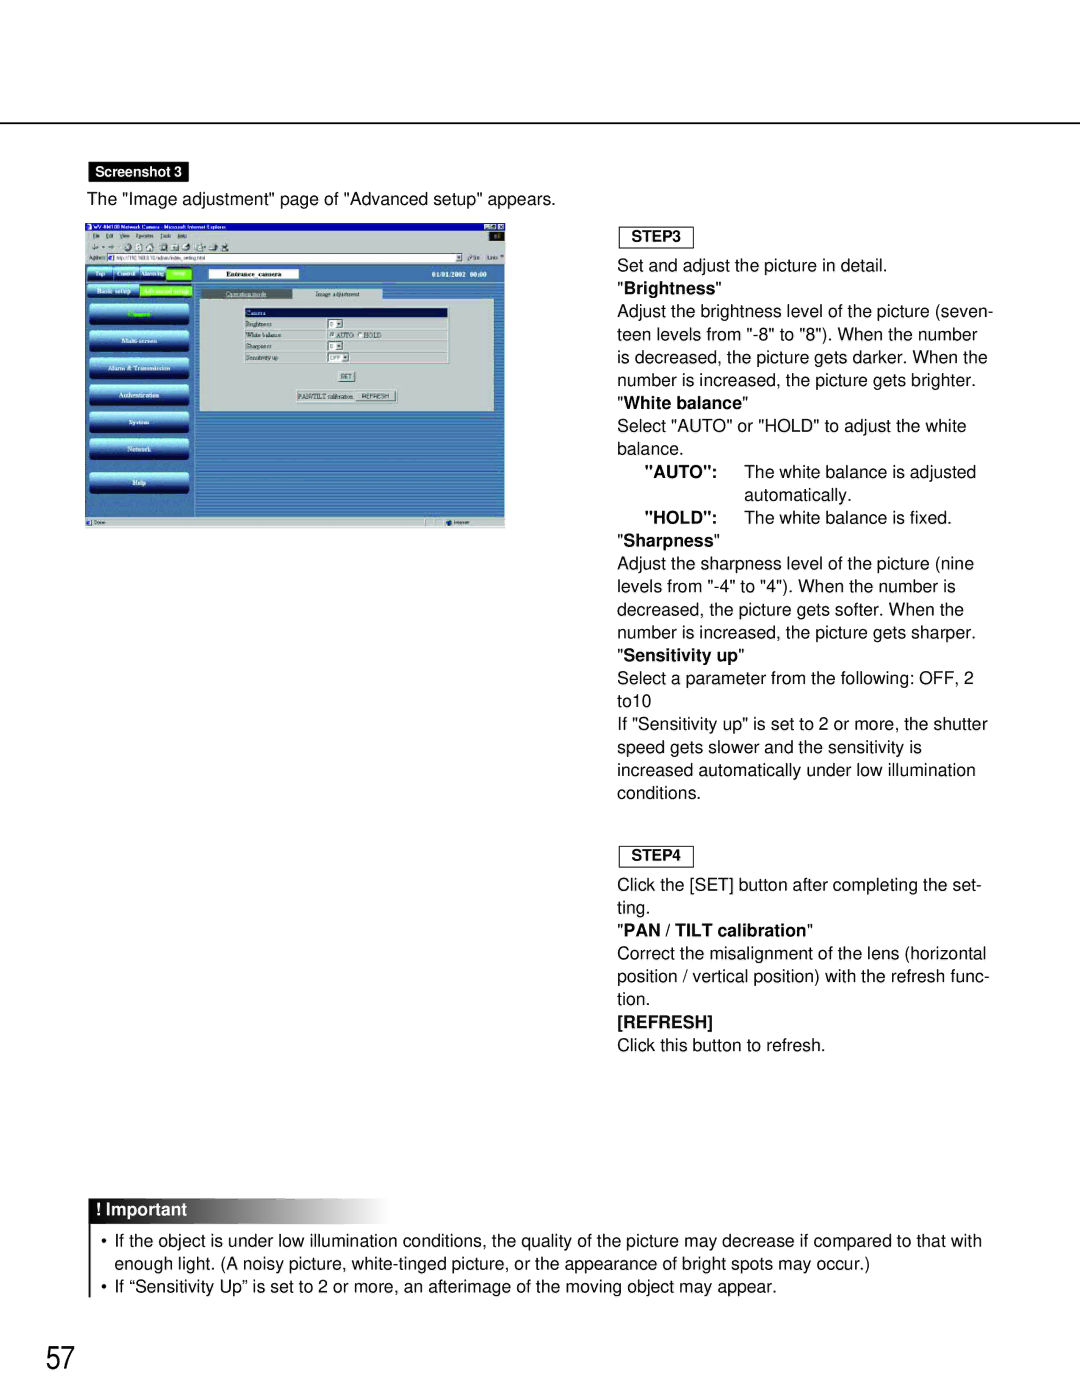
Screenshot 3
The "Image adjustment" page of "Advanced setup" appears.
STEP3
Set and adjust the picture in detail. "Brightness"
Adjust the brightness level of the picture (seven- teen levels from
Select "AUTO" or "HOLD" to adjust the white balance.
"AUTO":
"HOLD": "Sharpness"
Adjust the sharpness level of the picture (nine levels from
Select a parameter from the following: OFF, 2 to10
If "Sensitivity up" is set to 2 or more, the shutter speed gets slower and the sensitivity is increased automatically under low illumination conditions.
STEP4
Click the [SET] button after completing the set- ting.
"PAN / TILT calibration"
Correct the misalignment of the lens (horizontal position / vertical position) with the refresh func- tion.
[REFRESH]
Click this button to refresh.
!Important
•If the object is under low illumination conditions, the quality of the picture may decrease if compared to that with enough light. (A noisy picture,
•If “Sensitivity Up” is set to 2 or more, an afterimage of the moving object may appear.
57