DETECTING MOTION IN THE MONITORED AREA
Viewing the Picture Stored in the Camera
Check the picture stored in the camera when the alarm occurred. This operation can be made on the "Alarm log list" page. You can browse the saved pictures after the alarm has been reset.
Screenshot 1
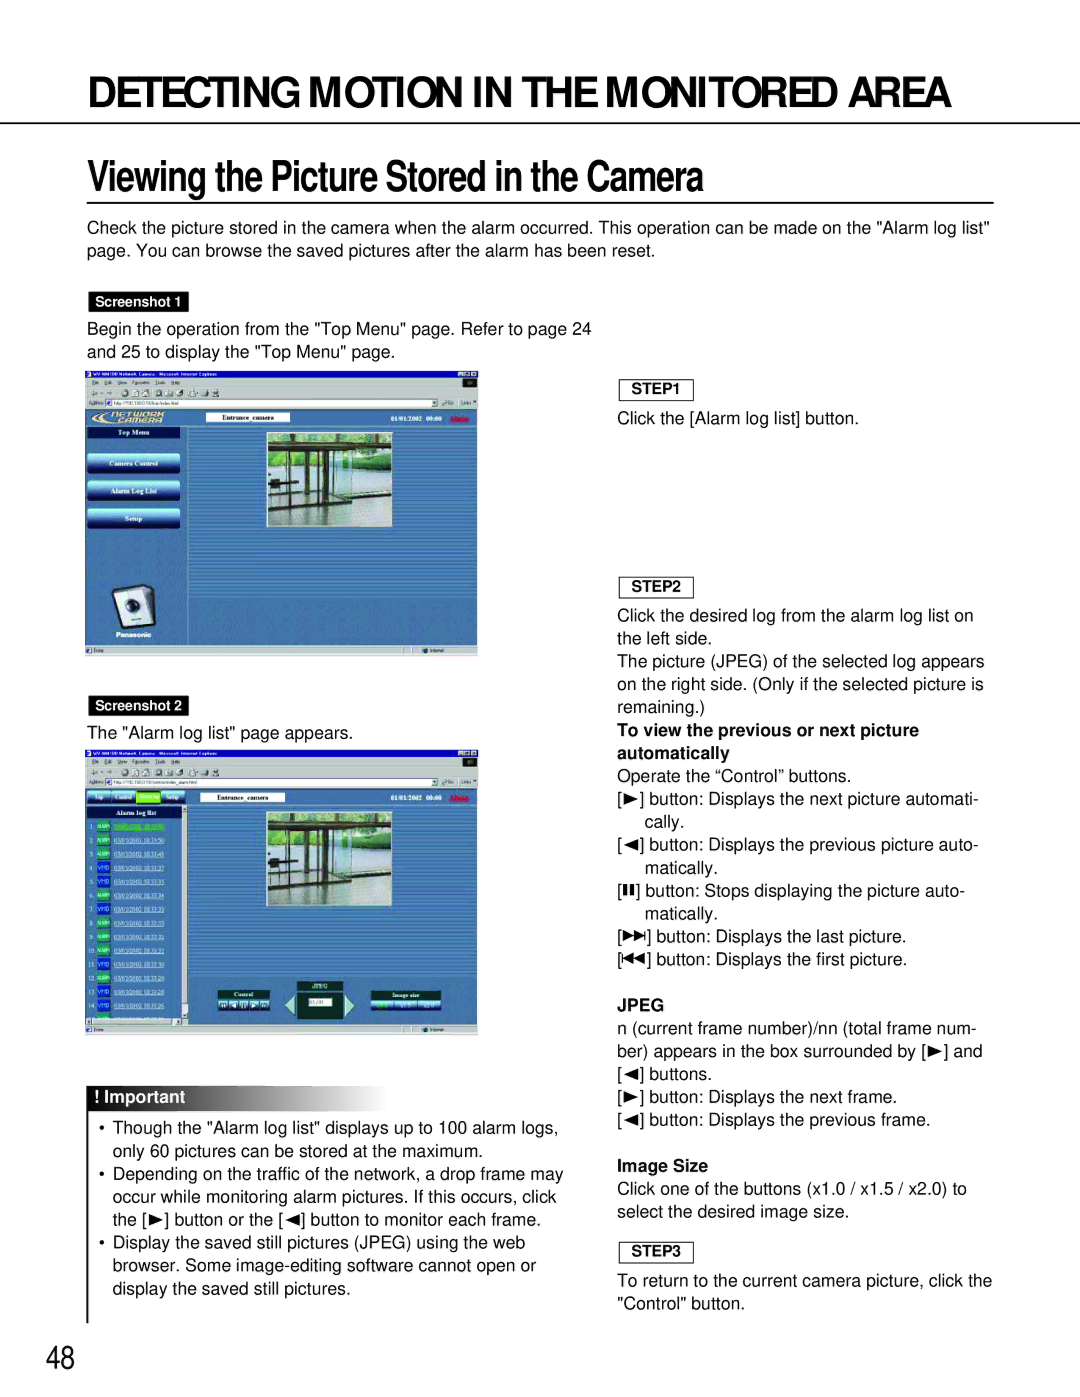
Begin the operation from the "Top Menu" page. Refer to page 24 and 25 to display the "Top Menu" page.
Screenshot 2
The "Alarm log list" page appears.
!Important
•Though the "Alarm log list" displays up to 100 alarm logs, only 60 pictures can be stored at the maximum.
•Depending on the traffic of the network, a drop frame may occur while monitoring alarm pictures. If this occurs, click the [B] button or the [A] button to monitor each frame.
•Display the saved still pictures (JPEG) using the web browser. Some
STEP1
Click the [Alarm log list] button.
STEP2
Click the desired log from the alarm log list on the left side.
The picture (JPEG) of the selected log appears on the right side. (Only if the selected picture is remaining.)
To view the previous or next picture automatically
Operate the “Control” buttons.
[B] button: Displays the next picture automati- cally.
[A] button: Displays the previous picture auto- matically.
[y] button: Stops displaying the picture auto- matically.
[d] button: Displays the last picture.
[s] button: Displays the first picture.
JPEG
n (current frame number)/nn (total frame num- ber) appears in the box surrounded by [B] and [A] buttons.
[B] button: Displays the next frame.
[A] button: Displays the previous frame.
Image Size
Click one of the buttons (x1.0 / x1.5 / x2.0) to select the desired image size.
STEP3
To return to the current camera picture, click the "Control" button.
48
