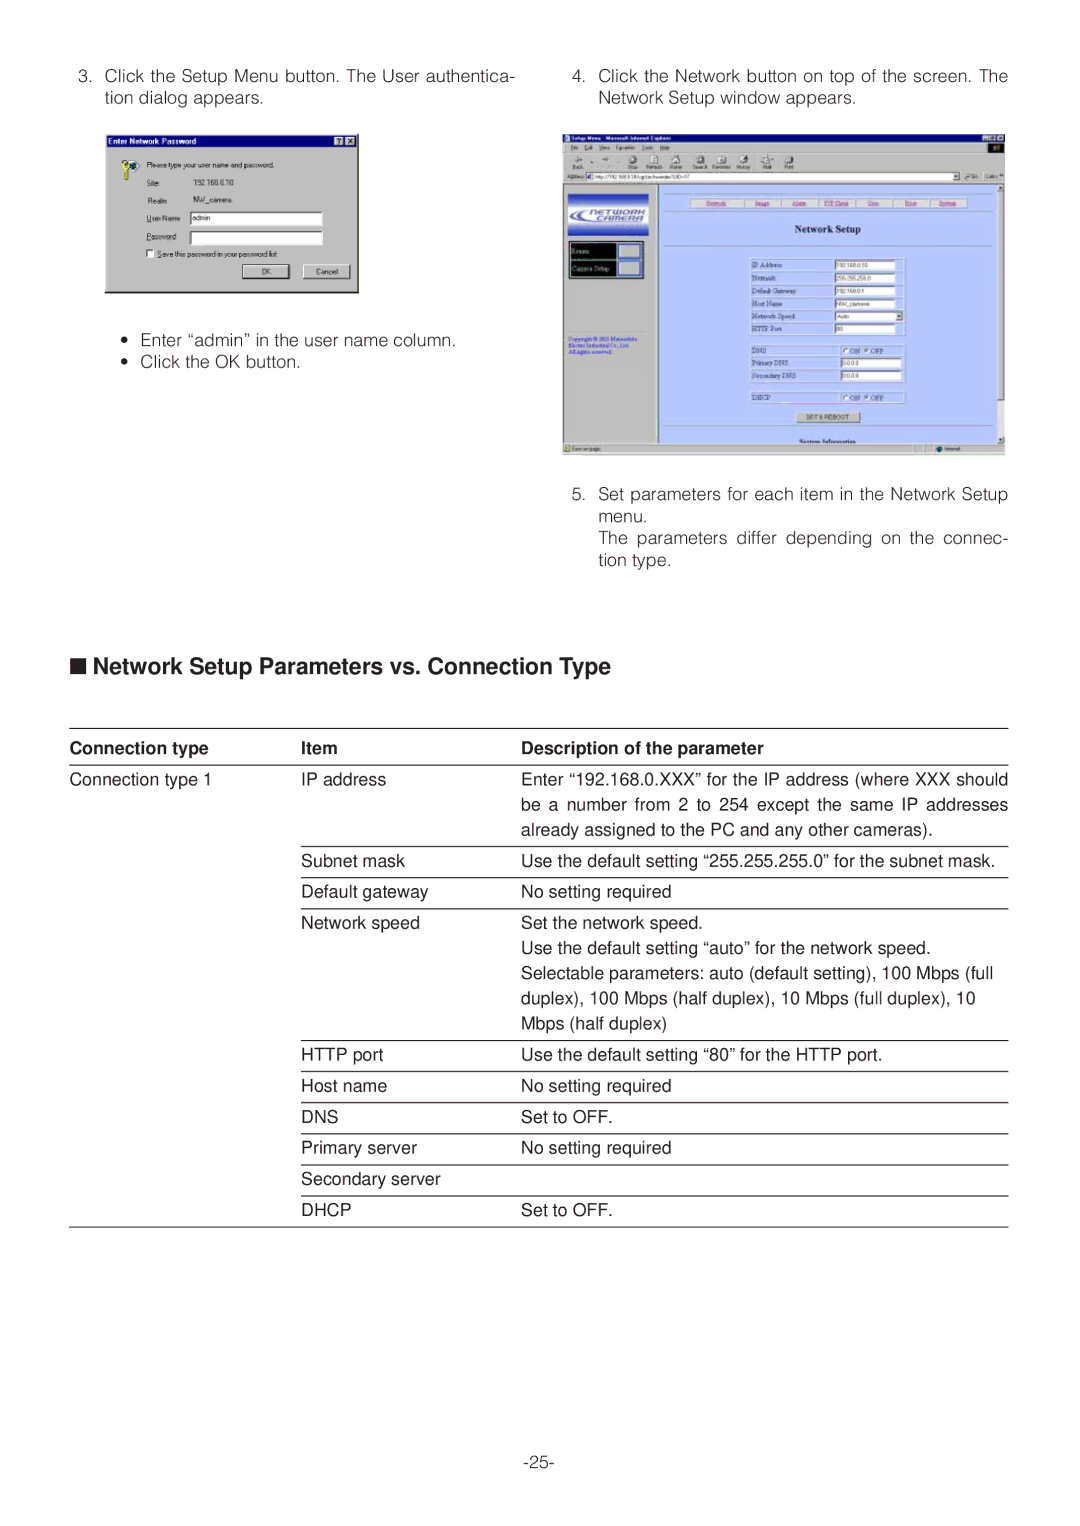
3.Click the Setup Menu button. The User authentica- tion dialog appears.
•Enter “admin” in the user name column.
•Click the OK button.
4.Click the Network button on top of the screen. The Network Setup window appears.
5.Set parameters for each item in the Network Setup menu.
The parameters differ depending on the connec- tion type.
■Network Setup Parameters vs. Connection Type
Connection type | Item | Description of the parameter | |
|
|
|
|
Connection type 1 | IP address | Enter “192.168.0.XXX” for the IP address (where XXX should | |
|
| be a number from 2 to 254 except the same IP addresses | |
|
| already assigned to the PC and any other cameras). | |
|
|
|
|
| Subnet mask | Use the default setting “255.255.255.0” for the subnet mask. | |
|
|
|
|
| Default gateway | No setting required | |
|
|
|
|
| Network speed | Set the network speed. | |
|
| Use the default setting “auto” for the network speed. | |
|
| Selectable parameters: auto (default setting), 100 Mbps (full | |
|
| duplex), 100 Mbps (half duplex), 10 Mbps (full duplex), 10 | |
|
| Mbps (half duplex) | |
|
|
|
|
| HTTP port | Use the default setting “80” for the HTTP port. | |
|
|
|
|
| Host name | No setting required | |
|
|
|
|
| DNS | Set to OFF. | |
|
|
|
|
| Primary server | No setting required | |
|
|
|
|
| Secondary server |
|
|
|
|
|
|
| DHCP | Set to OFF. | |
|
|
|
|
