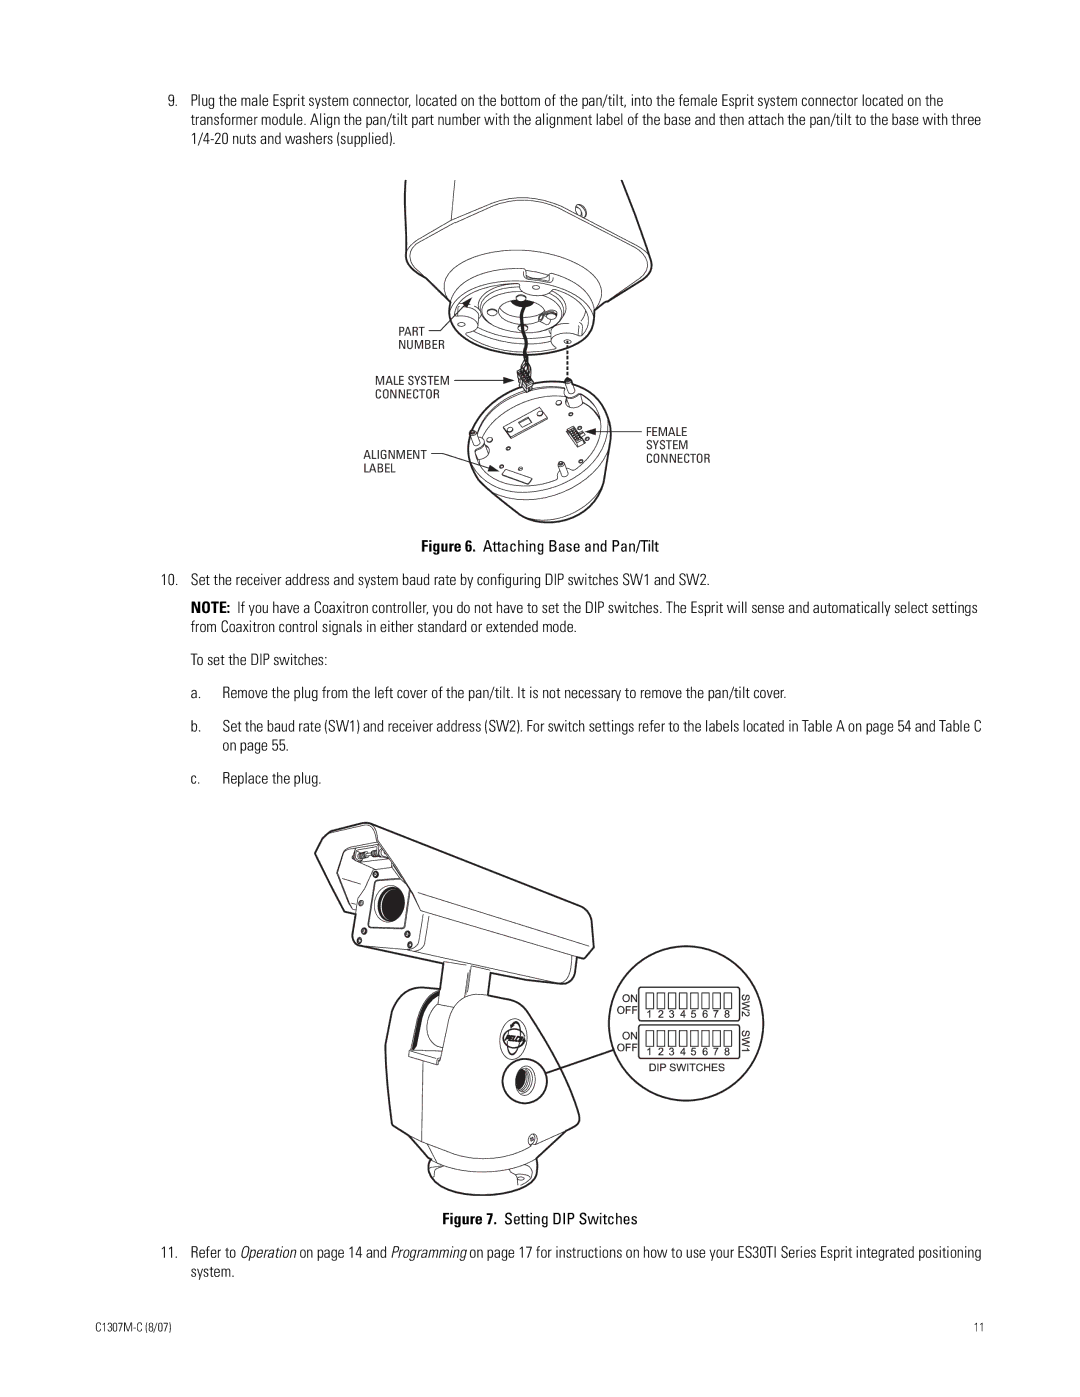
ES30TI specifications
The Pelco ES30TI is a high-performance security camera designed for robust surveillance applications. This cutting-edge device combines innovative technology with user-friendly features to deliver exceptional video quality and reliability.One of the main features of the ES30TI is its advanced imaging capabilities. Equipped with a high-resolution image sensor, this camera captures crisp, detailed video footage even in challenging lighting conditions. The low-light performance is enhanced by its infrared (IR) capabilities, allowing it to provide clear images in total darkness, making it ideal for nighttime surveillance. The camera also supports multiple resolutions and frame rates, offering flexibility to meet various security needs.
In terms of design, the Pelco ES30TI is built with durability in mind. Its rugged, weather-proof housing ensures that it can withstand harsh environmental conditions, making it suitable for both indoor and outdoor applications. The camera's compact and sleek design allows for discreet installation, which is particularly advantageous in urban settings where aesthetics may be a concern.
The ES30TI also integrates advanced technologies to enhance its functionality. One notable feature is the intelligent video analytics capabilities. This includes motion detection, line crossing detection, and intrusion detection. These features help in identifying potential security breaches and alerting users promptly. Additionally, the camera can be easily integrated with existing security systems, providing a seamless security experience.
Another significant characteristic of the Pelco ES30TI is its ease of use. The camera is designed with a user-friendly interface that allows for straightforward configuration and management. Users can access live feeds and recorded footage remotely through a secure network connection, providing peace of mind whether they are on-site or away.
Moreover, the ES30TI supports multiple video compression formats, allowing for efficient storage and transmission of video data. This ensures that the camera can deliver high-quality video while optimizing bandwidth and storage requirements, making it cost-effective for long-term use.
In summary, the Pelco ES30TI is a versatile and reliable surveillance solution equipped with advanced imaging technology, weather-resistant design, intelligent analytics, and user-friendly features. Its combination of performance and durability makes it an excellent choice for a wide range of security applications. Whether monitoring public spaces, commercial properties, or private residences, the ES30TI delivers the quality and reliability that security professionals demand.

