2Please remove the protective cardboard from the paper tray before loading paper.
3Remove the document support and the document out- let tray from the paper tray.
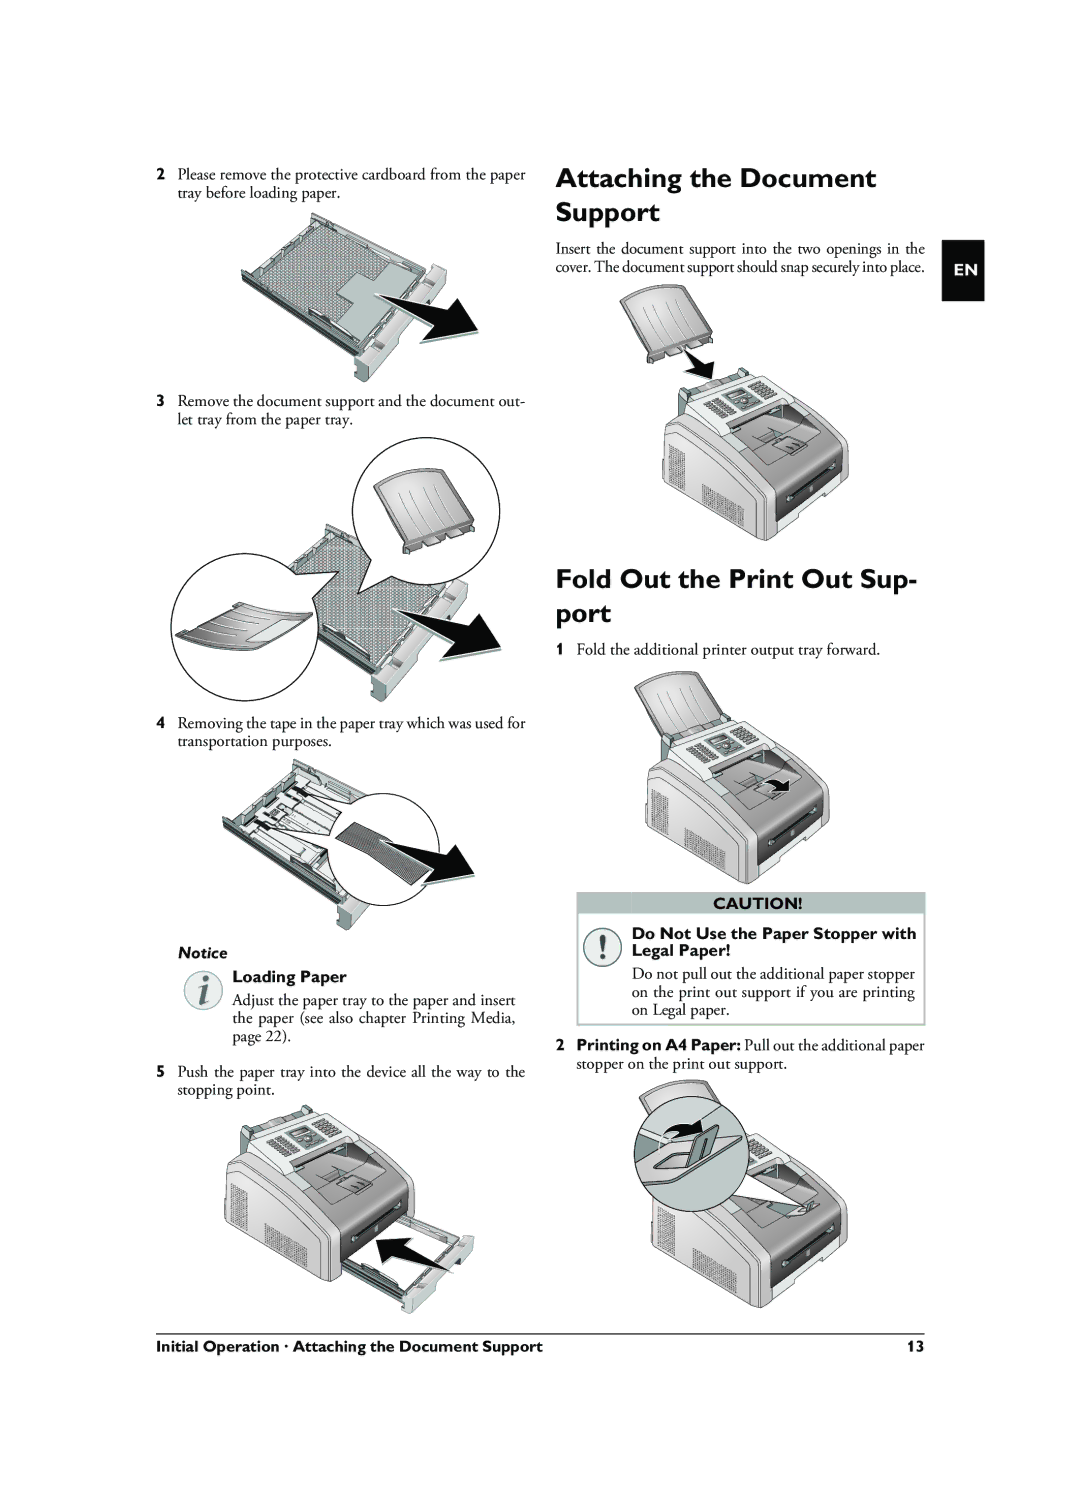
Attaching the Document Support
Insert the document support into the two openings in the cover. The document support should snap securely into place.
EN
4Removing the tape in the paper tray which was used for transportation purposes.
Notice
Loading Paper
Adjust the paper tray to the paper and insert the paper (see also chapter Printing Media, page 22).
5Push the paper tray into the device all the way to the stopping point.
Fold Out the Print Out Sup- port
1Fold the additional printer output tray forward.
CAUTION!
Do Not Use the Paper Stopper with Legal Paper!
Do not pull out the additional paper stopper on the print out support if you are printing on Legal paper.
2Printing on A4 Paper: Pull out the additional paper stopper on the print out support.
Initial Operation · Attaching the Document Support | 13 |