3Printing on A5 Paper: Fold the print out support with the pulled out paper stopper back again.
EN
Attaching the Document Outlet Tray
Insert the document outlet tray into the two openings under the operation panel.
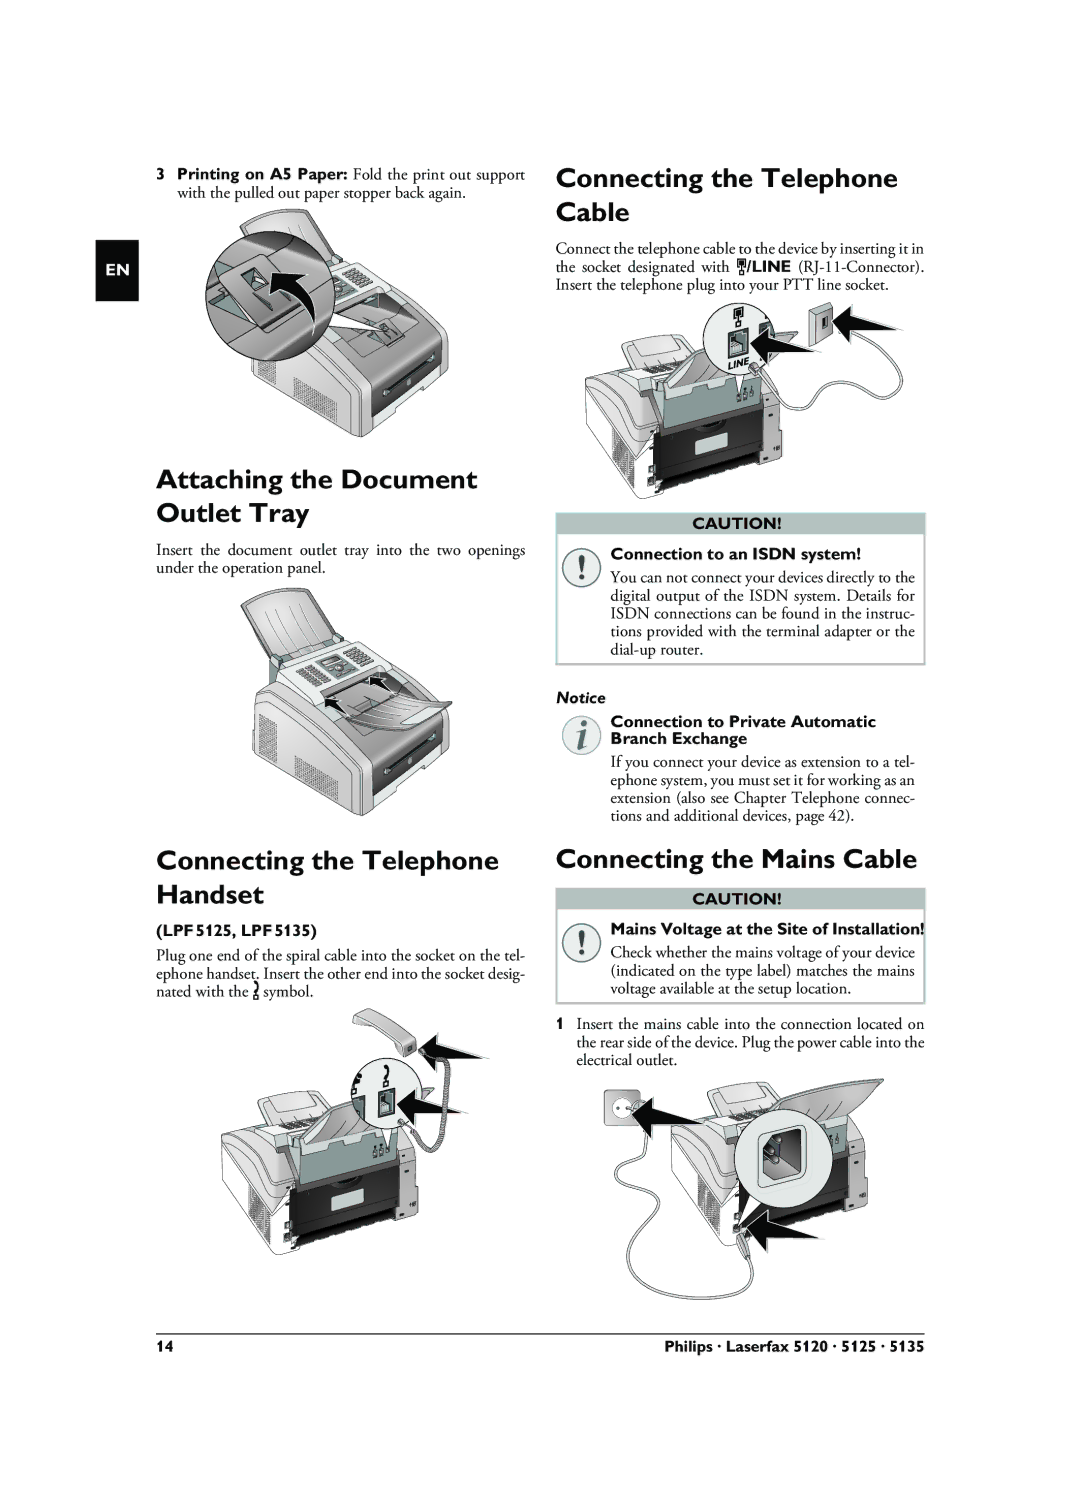
Connecting the Telephone Cable
Connect the telephone cable to the device by inserting it in the socket designated with Î/LINE
CAUTION! |
Connection to an ISDN system!
You can not connect your devices directly to the digital output of the ISDN system. Details for ISDN connections can be found in the instruc- tions provided with the terminal adapter or the
Notice
Connection to Private Automatic
Branch Exchange
If you connect your device as extension to a tel- ephone system, you must set it for working as an extension (also see Chapter Telephone connec- tions and additional devices, page 42).
Connecting the Telephone Handset
(LPF¦5125, LPF¦5135)
Plug one end of the spiral cable into the socket on the tel- ephone handset. Insert the other end into the socket desig- nated with the Ð symbol.
Connecting the Mains Cable
CAUTION!
Mains Voltage at the Site of Installation!
Check whether the mains voltage of your device (indicated on the type label) matches the mains voltage available at the setup location.
1Insert the mains cable into the connection located on the rear side of the device. Plug the power cable into the electrical outlet.
14 | Philips · Laserfax 5120 · 5125 · 5135 |