Getting started
Chapter 4
Getting started
Switching on and setting up
When you switch the recorder on for the first time, you can make several basic settings using the Setup Navigator feature. This takes you through setting the clock, the internal TV tuner and the video output.
If you’re using the recorder for the first time, we strongly recommend you use the Setup Navigator before starting to use the recorder.
1Switch on your TV and set the video input to this recorder.
STANDBY/ON
2  Switch on the recorder.
When you switch on for the first time, your TV should display the Setup Navigator screen (If the Setup Navigator doesn’t appear, you can also access it from the Initial Setup menu; see page 116).
•If this recorder is connected to a compatible TV using a
04
ENTER
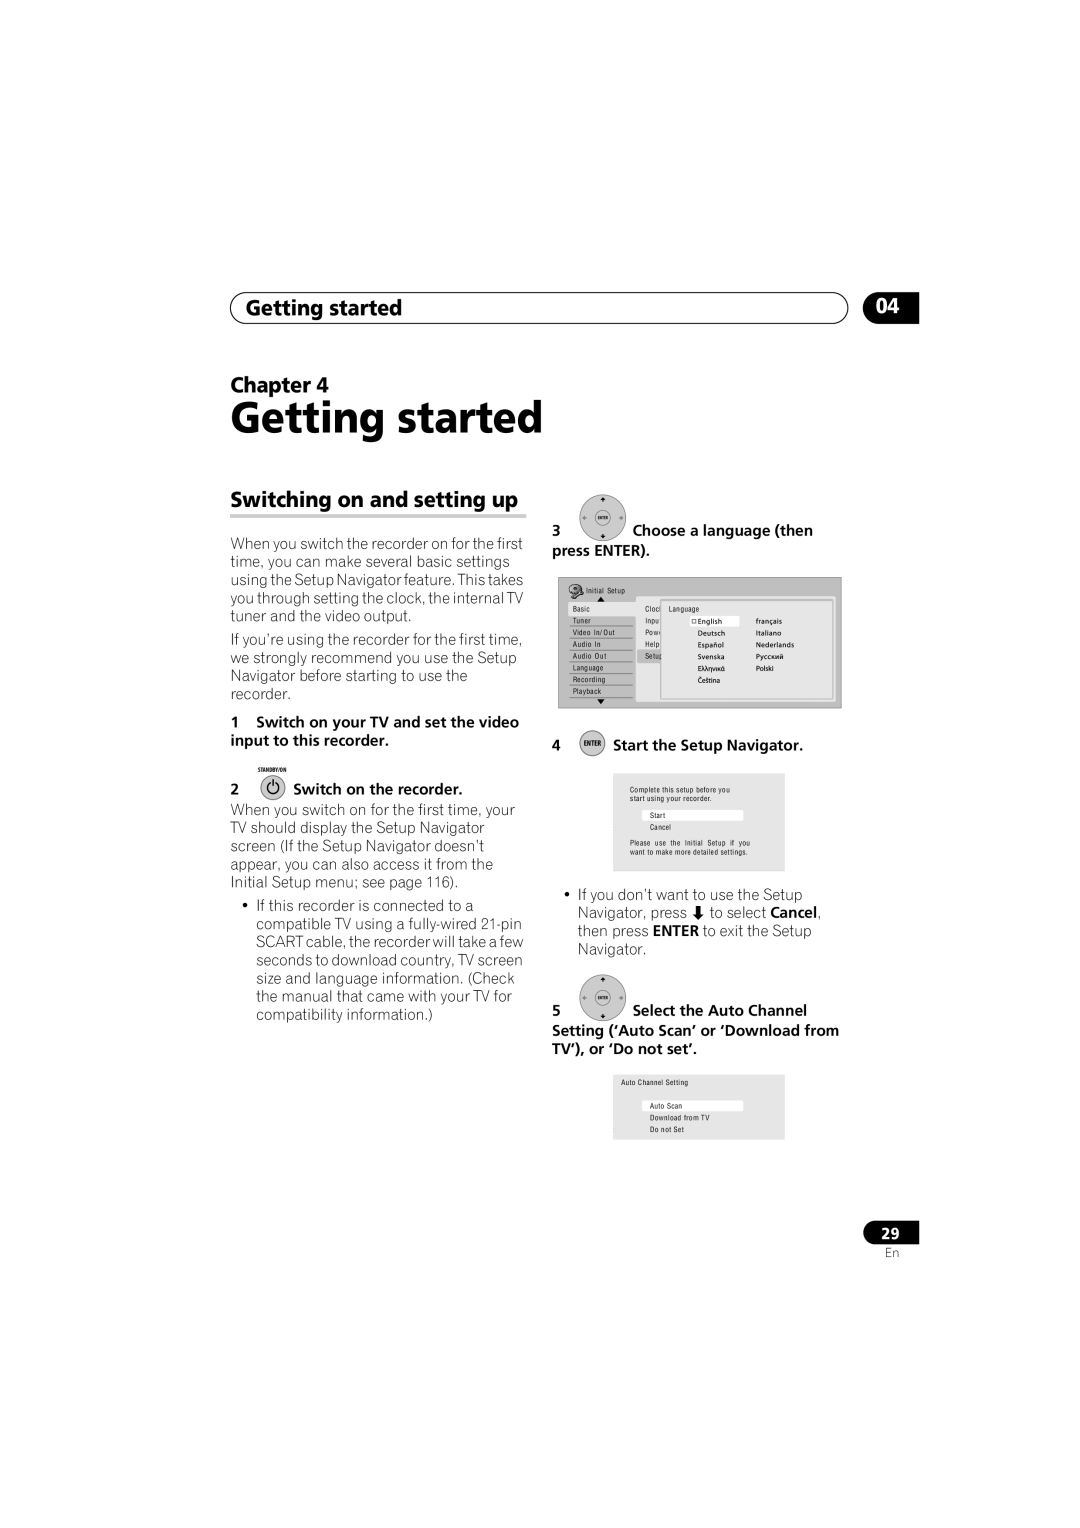
3Choose a language (then press ENTER).
| Initial | Setup |
|
| Basic |
| Clock SettingLanguage |
| Tuner |
| Input Line System |
| Video In/ O ut | Power Save | |
| Audio In |
| Help |
| Audio O ut |
| Setup N avig ator |
| Language |
|
|
| Recording |
|
|
| Playback |
|
|
4 | ENTER | Start the Setup Navigator. | |
k Setting
Complete this setup before you t Line System
start using your recorder. er Save
PStart
p Navigator Cancel
Please use the Initial Setup if you want to make more detailed settings.
• If you don’t want to use the Setup Navigator, press to select Cancel, then press ENTER to exit the Setup Navigator.
ENTER
5Select the Auto Channel Setting (‘Auto Scan’ or ‘Download from TV’), or ‘Do not set’.
k SettingAutoChannel Setting
Line System
er Save | AutoEnglishScan |
P | Download from TV |
p Navigator Do not Set
29
En