Manuals
/
Pitney Bowes
/
Computer Equipment
/
All in One Printer
Pitney Bowes
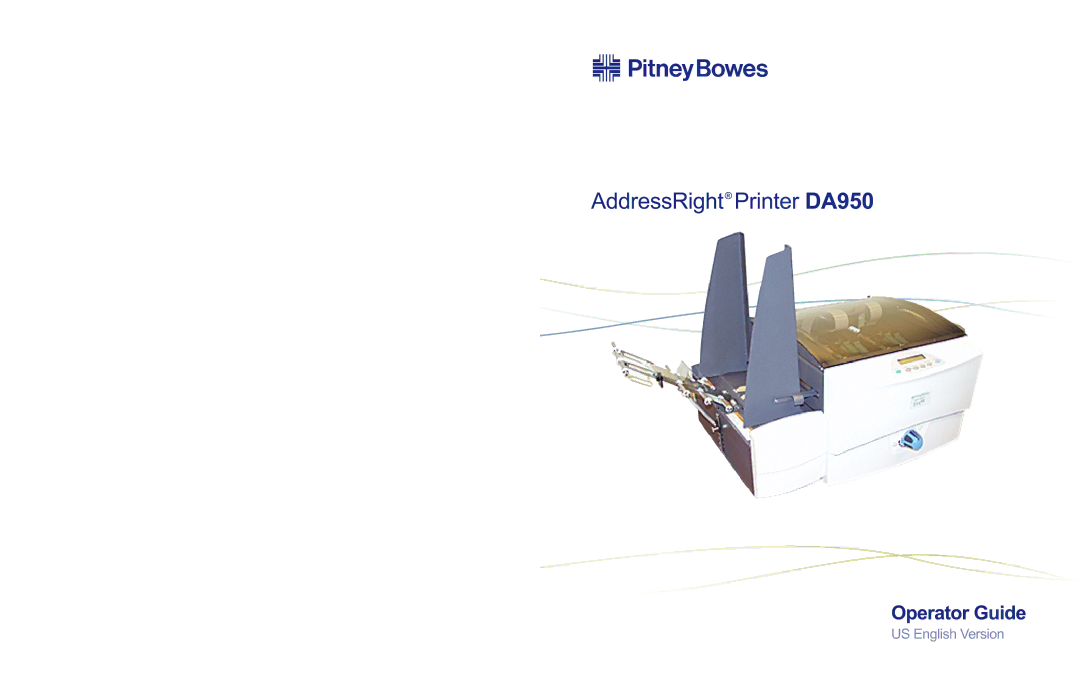
DA950
manual
Models:
DA950
1
1
120
120
Download
120 pages
34.37 Kb
1
2
3
4
5
6
7
8
Page 1
Image 1
Page 1
Page 2
Page 1
Image 1
Page 1
Page 2
Contents
Page
FCC Compliance
Contents
Chapter Using the DA950 with Your Computer
Chapter Troubleshooting Your Printer
Appendix B DA950 Specifications
Chapter
Overview
Welcome to the DA950 Printer Using This Guide
Appendix A-Using the Control Panel Menus
Troubleshooting
Appendix B-Specifications
System Requirements
World Wide Web
Getting Help Ordering Supplies
Phone Support
Before You Contact Pitney Bowes
Important Safety Notes
Overview
Printer Parts and Locations
Printer Parts and Locations
Feeder Parts and Locations
Feeder Parts and Locations
Setting Up Your DA950 Printer
Choosing a Location
Setup
Assembling the Printer
Install the Feeder
Install the Shock
Install the Feed Ramp
Install the Side Guides
Setup
Assembling
Connecting the Parallel Cable or USB Cable
Printer
Parallel Cable
Connect the Power Cord and Turn on
Install the Print Cartridges
Install the Bulk Ink Assembly Optional
Printer Basics
Basics
Setting Up a Job
Set the Separator Gap
Tips for Setting the Separators
Setting the Proper Feed Gap
Center the Feed Ramp under the Material
Set the Feed Ramp Length
Set the Feed Angle
Position the Side Guides
Load Material
Adjust the Media Thickness Knob
Print a Test Piece
Output Stacker
Set the Print Head Position
Adjust the Takeaway Roller Tension
Basics
Using the DA950 with Your Computer
Installing the Printer Driver
Using the Printer with Your Computer
Selecting DA950 Printer From Windows Application
Accessing the Print Driver
Making DA950 Default Print Driver
About Envelope Designer Plus
General Tab
Paper Tab
Printing Preferences
Paper Size
Orientation
Printing Preferences
Feed Delay
Feautures Tab
Letter 300 dpi Draft 200 dpi
Print Quality
Memory Overlay
Pause on Tray Break
Advanced Tab
Pause on Package Break
Printer Maintenance
Replacing Print Cartridges
Printer Maintenance
Removing Old Print Cartridges
Installing New Print Cartridges
Removing the Old Bulk Ink Cartridges
Installing New Bulk Ink Cartridges
Prolonging Life Print Cartridges
Preventive Maintenance
Cleaning Print Quality Problems
Cleaning the Sensor
Cleaning Exit Idler Entry Rollers
Cleaning the Wipers Transport Belts Floor Assembly
Troubleshooting Your Printer
Feed Problems
Troubleshooting Your Printer
Problems and Solutions
Problem Intermittent Feed
Problem No Print
Problem Multifeed feeds doubles or skewing
Problem Address Printing is not Sharp
Problem Grey or Light Print-Black Ink
Problem Address Smudging
Problem Unwanted Bolding
Problem Skewed Print
Problem Addresses Walking
Problem No Communications Printer Does Not Respond
Interface Problems Motor Problems Other Problems
Problem Motor Turning but no Feed Roller Move Ment
Problem Out of Memory
Problem Paper Out or Paper Jam
Troubleshooting Your Printer
AppendixA
Printer Menus
Using the Control Panel
This Button Does This
Enter
Using the Menus
Printer Menus
Using the Main Menu
Main Menu Menu Options
Distance from Left/Distance to Right
Address Layout
Distance to Right
Line Spacing
Distance from Top
Executive
Print Quality
Letter
Draft
Font Selection
Location
Barcode
Digit On/Off
Bar Width
Get Addresses
Address Recovery
Clear Memory
Clear Counter
Job Settings
Load
Save
Image Overlay
Conveyor Time
First Image Overlay
Clear Overlay
Purge Print Head
Reset Ink Counter
Using the Setup Menu
Setup Menu Menu Options
Stop On Feed Err Error
Using the Setup Menu
Feeder Signal
On/Quick Off
Signal Polarity Active On/Active Off
Lines Per Address
Line Termination
Hex Dump Mode
MSB
Language
Symbol Set
Inch / Millimeter
Menu Languages
Transport Speed
Postal Bundle Brk Break Enable/Disable Break
Break Character
Postal Bundle Brk Break
Break Char Count
Pause Time
Purge at Start
Pre-Purge
Periodic Purge
Purge Interval
Selectable Gap
Feed Gap
Stream Feed
ROM Revision
Print Head Size
Adjust Print
Using the Service Menu
Head 2 up down Head 3 up down Head 5 up down Head 6 up down
Head 3 is now correctly aligned
Head 2 misaligned horizontally
Heads now aligned horizontally
Bank a to Sensor/Bank B to Sensor
Test Display
Test System
Printer Menus
AppendixB
Specifications
Equipment Specifications
Resident Fonts
Print Modes/Print Resolution
Downloadable Fonts
User-Definable Parameters
Environmental Limits
Printhead/InkJet Cartridges
Noise Level
Recommended Usage
Approved Media
Material Specifications
Media Sizes
Material Notes
Table of Envelope Sizes
Name Style Dimensions Inch Dimensions Metric Height x Width
AppendixC
Glossary
Double feeding
Embedded printer commands
Draft quality
Drivers
Internal test address message
Interface connector
Interface cable
Internal fonts
Power socket
PCL commands
Point size
Port
Universal Serial Bus USB
Subdirectory
Index
Index
Index
Index
Index
Page
Top
Page
Image
Contents