Basics
Setting Up A Job (continued)
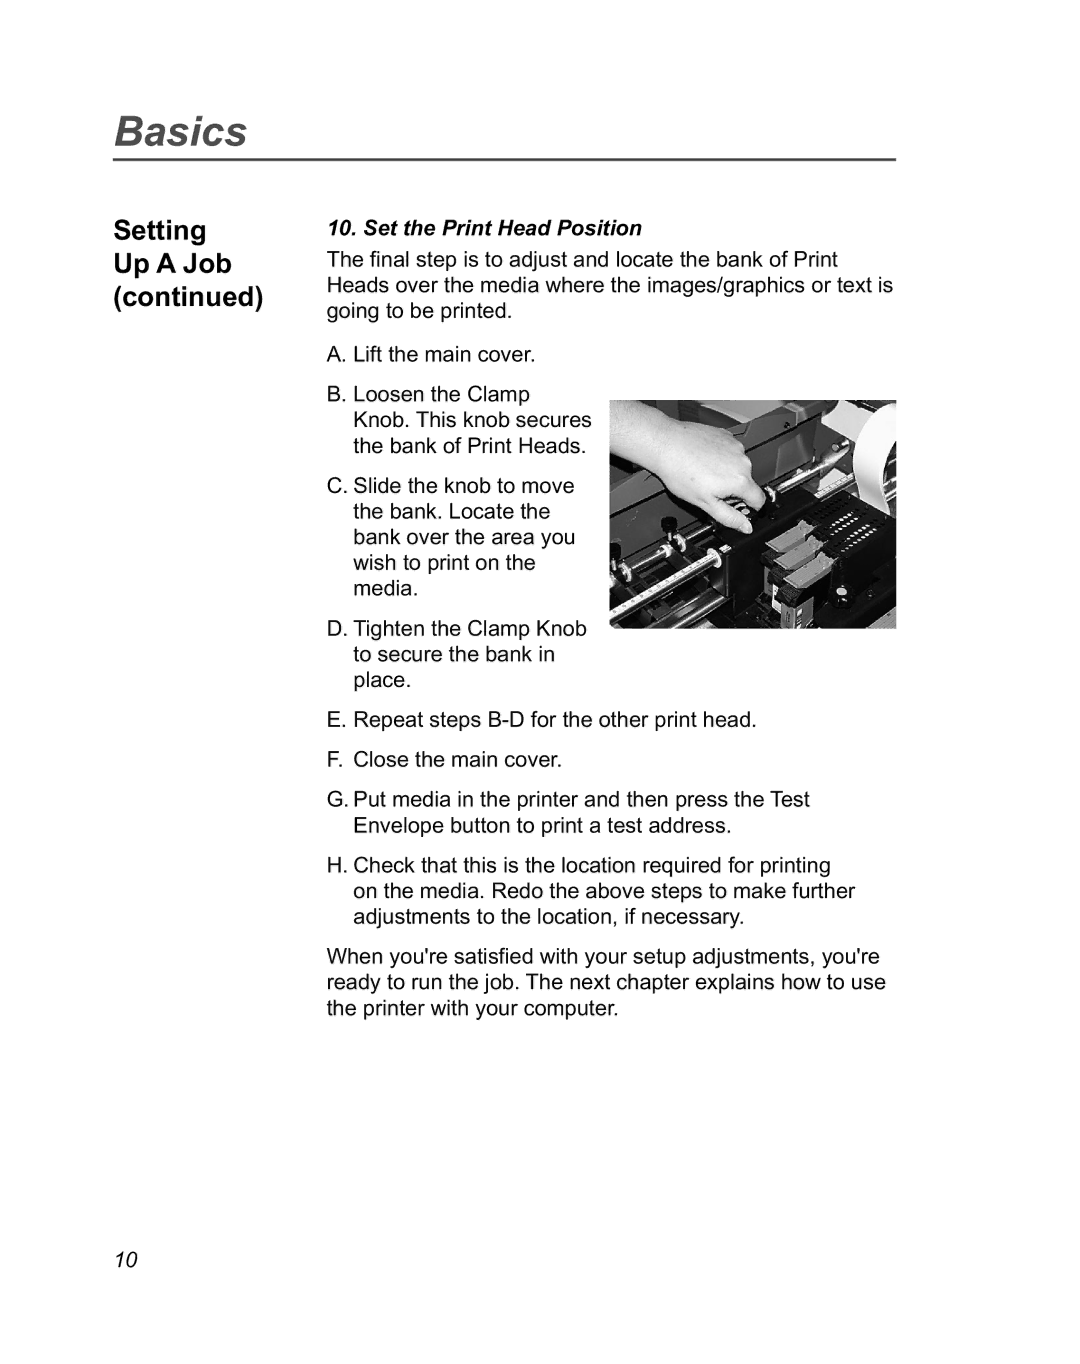
10. Set the Print Head Position
The final step is to adjust and locate the bank of Print Heads over the media where the images/graphics or text is going to be printed.
A. Lift the main cover.
B. Loosen the Clamp Knob. This knob secures the bank of Print Heads.
C. Slide the knob to move the bank. Locate the bank over the area you wish to print on the media.
D. Tighten the Clamp Knob to secure the bank in place.
E. Repeat steps
F.Close the main cover.
G.Put media in the printer and then press the Test Envelope button to print a test address.
H.Check that this is the location required for printing on the media. Redo the above steps to make further adjustments to the location, if necessary.
When you're satisfied with your setup adjustments, you're ready to run the job. The next chapter explains how to use the printer with your computer.
10