Printer Menus
Using the Service Menu (continued)
1. Adjust Print (continued)
Scroll through the Adjust Print menu options until the HEAD 2 SIDE TO SIDE option is displayed on the LCD panel. Select this menu item to change the settings.
Press the – button to scroll the values down and move Head 2 left. Press the Enter button to select the desired value. An Asterisk (*) will appear in front of the new se- lection.
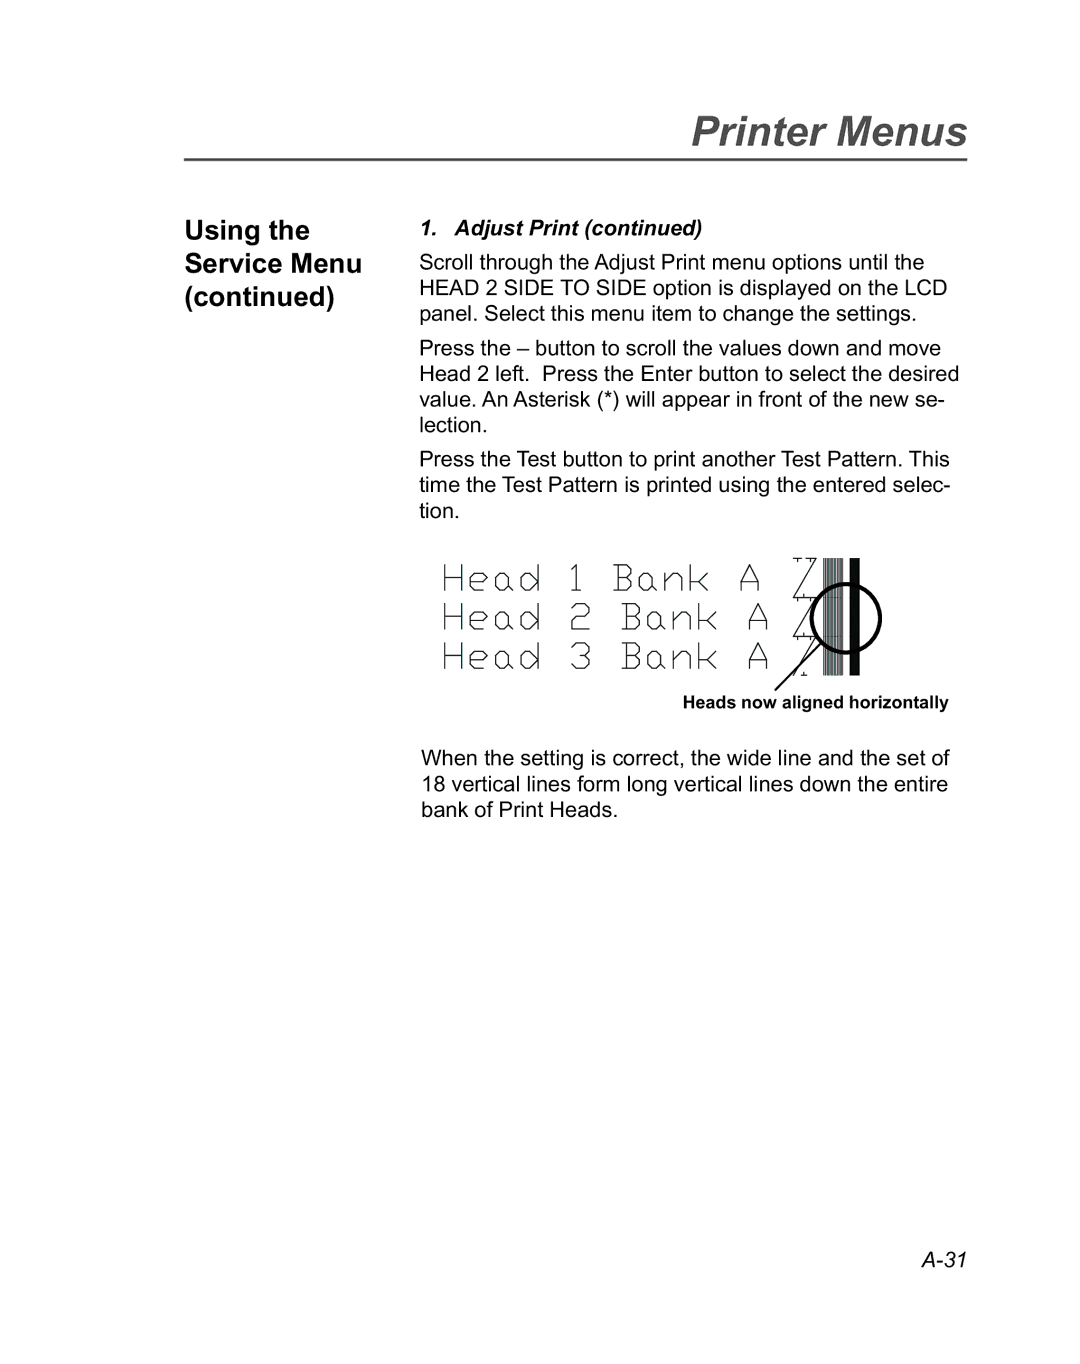
Press the Test button to print another Test Pattern. This time the Test Pattern is printed using the entered selec- tion.
Heads now aligned horizontally
When the setting is correct, the wide line and the set of 18 vertical lines form long vertical lines down the entire bank of Print Heads.