Turning functions on/off
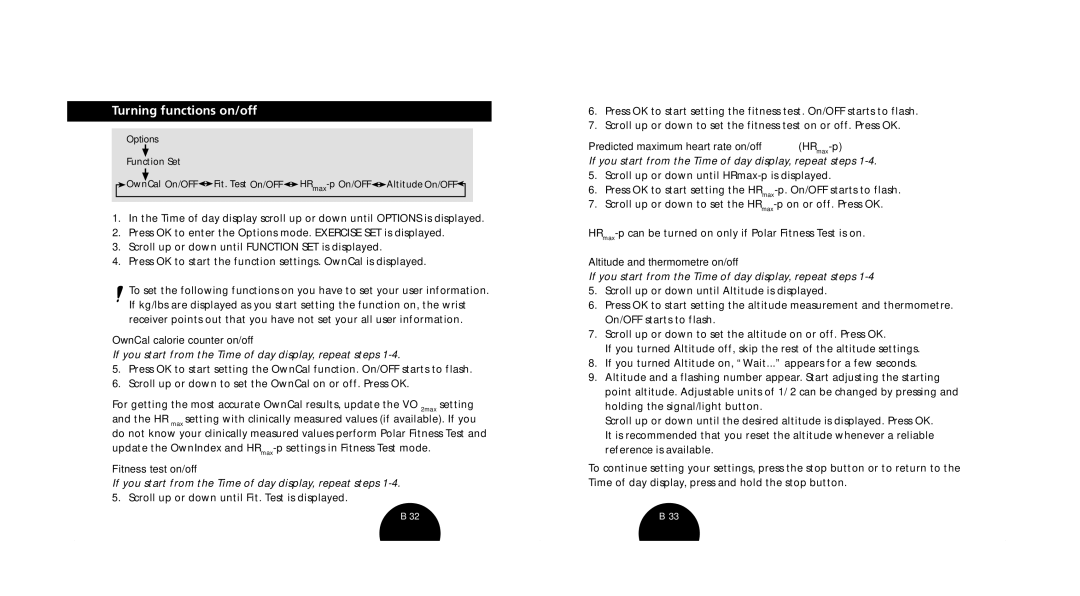
Options
Function Set
![]() OwnCal On/OFF
OwnCal On/OFF![]() Fit. Test
Fit. Test ![]() HRmax-p
HRmax-p![]() Altitude On/OFF
Altitude On/OFF![]()
1.In the Time of day display scroll up or down until OPTIONS is displayed.
2.Press OK to enter the Options mode. EXERCISE SET is displayed.
3.Scroll up or down until FUNCTION SET is displayed.
4.Press OK to start the function settings. OwnCal is displayed.
![]() To set the following functions on you have to set your user information. If kg/lbs are displayed as you start setting the function on, the wrist receiver points out that you have not set your all user information.
To set the following functions on you have to set your user information. If kg/lbs are displayed as you start setting the function on, the wrist receiver points out that you have not set your all user information.
OwnCal calorie counter on/off
If you start from the Time of day display, repeat steps 1-4.
5.Press OK to start setting the OwnCal function. On/OFF starts to flash.
6.Scroll up or down to set the OwnCal on or off. Press OK.
For getting the most accurate OwnCal results, update the VO 2max setting and the HR max setting with clinically measured values (if available). If you do not know your clinically measured values perform Polar Fitness Test and update the OwnIndex and
Fitness test on/off
If you start from the Time of day display, repeat steps
6.Press OK to start setting the fitness test. On/OFF starts to flash.
7.Scroll up or down to set the fitness test on or off. Press OK.
Predicted maximum heart rate on/off (HRmax-p)
If you start from the Time of day display, repeat steps 1-4.
5.Scroll up or down until
6.Press OK to start setting the
7.Scroll up or down to set the
Altitude and thermometre on/off
If you start from the Time of day display, repeat steps 1-4
5.Scroll up or down until Altitude is displayed.
6.Press OK to start setting the altitude measurement and thermometre. On/OFF starts to flash.
7.Scroll up or down to set the altitude on or off. Press OK.
If you turned Altitude off, skip the rest of the altitude settings.
8.If you turned Altitude on, “Wait...” appears for a few seconds.
9.Altitude and a flashing number appear. Start adjusting the starting point altitude. Adjustable units of 1/ 2 can be changed by pressing and holding the signal/light button.
Scroll up or down until the desired altitude is displayed. Press OK. It is recommended that you reset the altitude whenever a reliable reference is available.
To continue setting your settings, press the stop button or to return to the Time of day display, press and hold the stop button.
B 32 | B 33 |
