MGC Hardware and Installation Manual
Inserting the Hard Drive
1.Make sure the MCU is OFF and insert the Hard Drive into its slot. Check that the Hard Drive is firmly locked into place.
2.Turn the key counter clockwise to lock the Hard Drive.
3.Turn ON the MCU.
The LED activates on the Hard Drive’s panel after MCU startup.
4.In normal mode the Hard Drive 7- segment LED is set to 0
When the LED does not display 0, contact support.
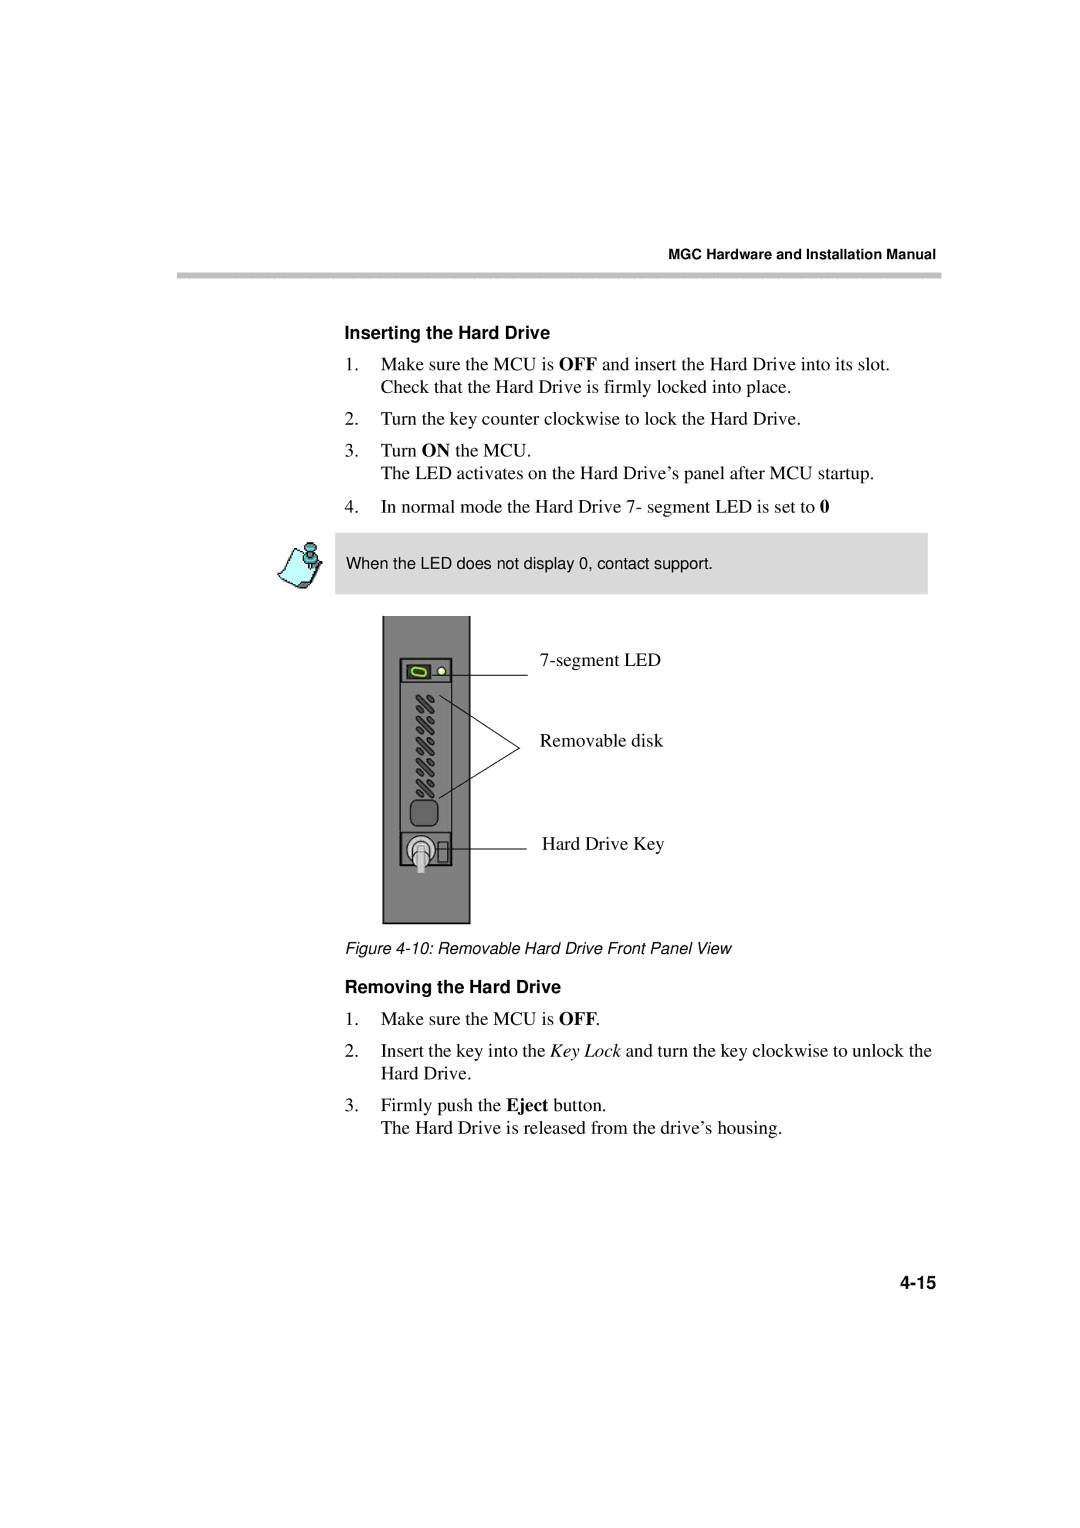
Removable disk
Hard Drive Key
Figure 4-10: Removable Hard Drive Front Panel View
Removing the Hard Drive
1.Make sure the MCU is OFF.
2.Insert the key into the Key Lock and turn the key clockwise to unlock the Hard Drive.
3.Firmly push the Eject button.
The Hard Drive is released from the drive’s housing.