MGC Hardware and Installation Manual
Mounting the MGC-50 on a Rack
The MGC-50 can be mounted in a 19” rack using two mounting plates (Kit 2012A). The side plates are usually mounted when shipped, but if not, follow the directions below to install the mounted plates on the MGC-50 and then mount the MGC-50 on the 19” rack.
To install and mount the MGC-50:
1.Make sure that the MGC-50 power is turned OFF and it is disconnected from the AC power.
2.Remove the five nylon plug hole covers from the MGC-50 protective side covers (using a slotted screwdriver).
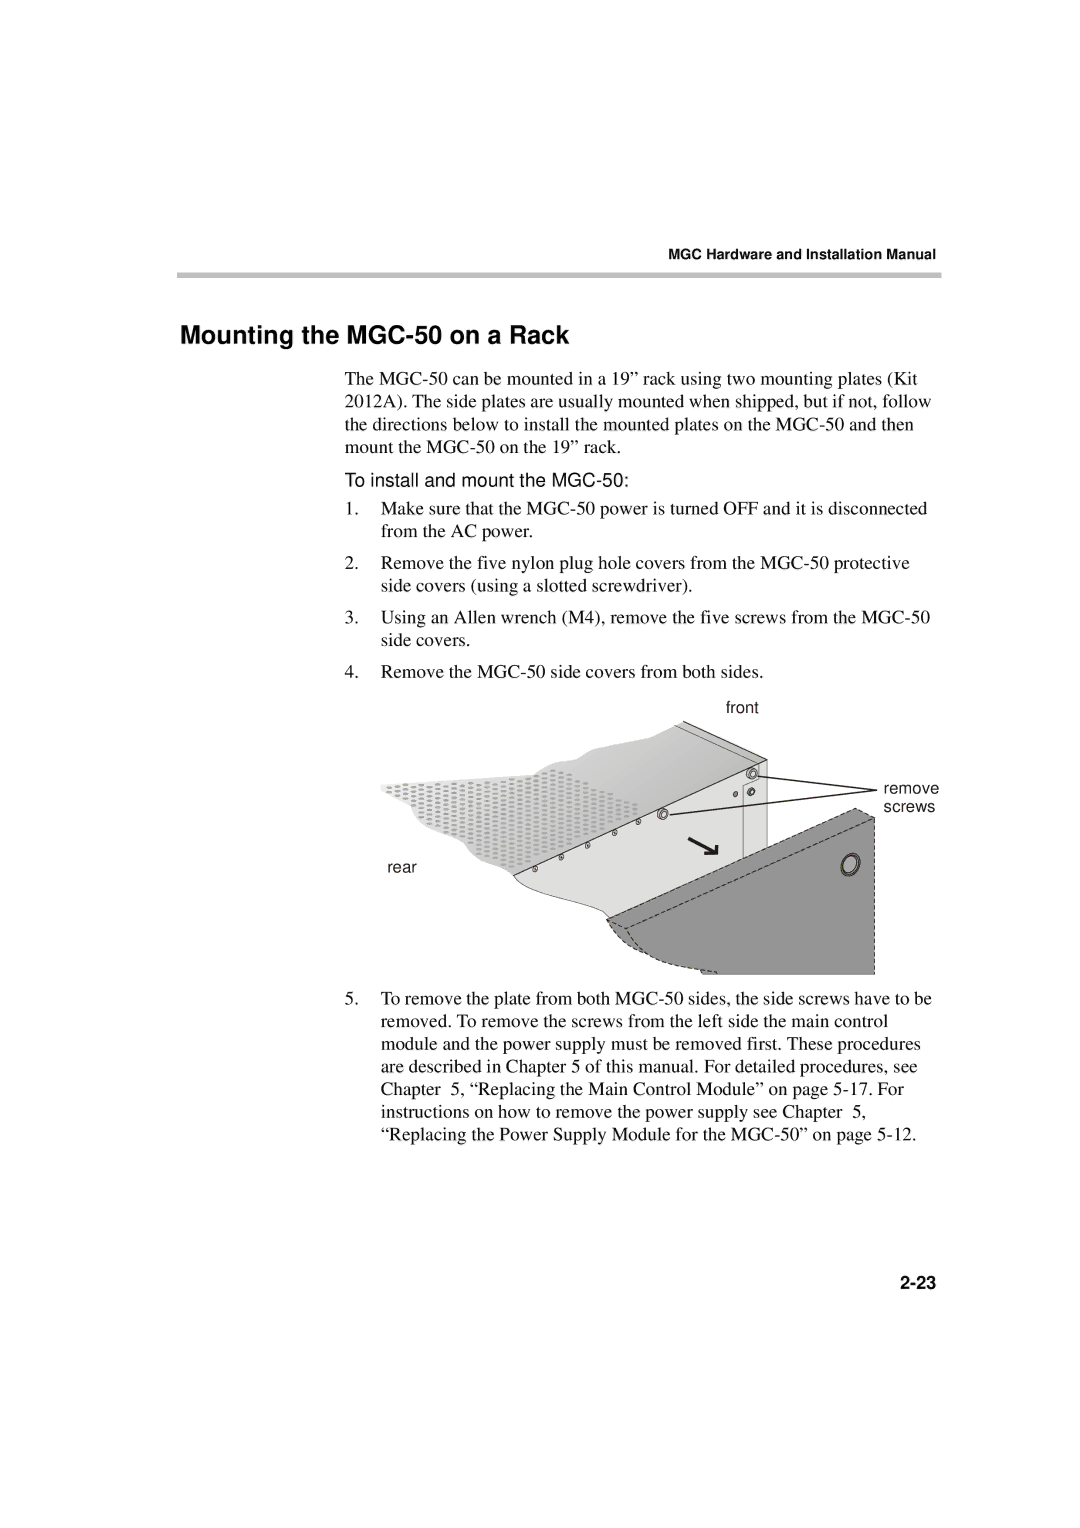
3.Using an Allen wrench (M4), remove the five screws from the MGC-50 side covers.
4.Remove the MGC-50 side covers from both sides.
front
remove screws
rear
5.To remove the plate from both MGC-50 sides, the side screws have to be removed. To remove the screws from the left side the main control module and the power supply must be removed first. These procedures are described in Chapter 5 of this manual. For detailed procedures, see Chapter 5, “Replacing the Main Control Module” on page 5-17. For instructions on how to remove the power supply see Chapter 5, “Replacing the Power Supply Module for the MGC-50” on page 5-12.

