Chapter 2 - Hardware Installation
Mounting the MGC-100 on a 23” Rack
The
1.Make sure that the MCU is turned OFF and it is disconnected from the AC or DC power.
2.Place the MCU in a 23” rack and support it, screw the mounting brackets to the rack securing it with bolts and
If the
1.Make sure that the MCU power is turned OFF and that it is disconnected from the AC or DC power.
2.With a slotted screwdriver remove the five nylon plug hole covers from the MCU side covers.
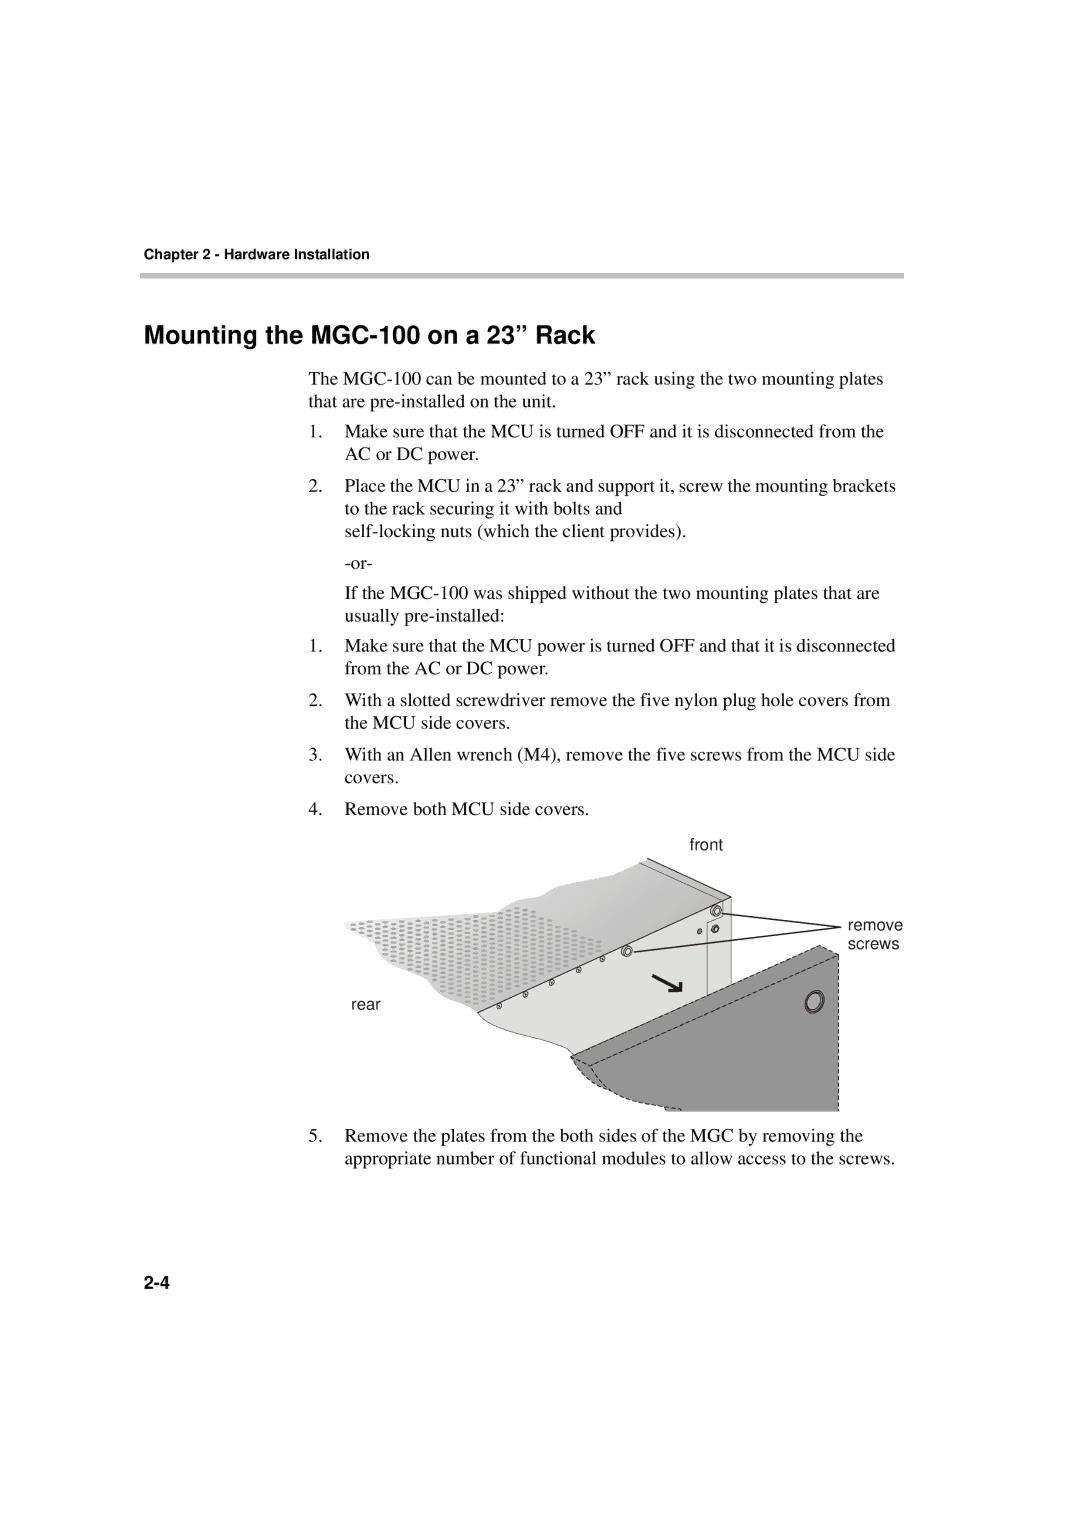
3.With an Allen wrench (M4), remove the five screws from the MCU side covers.
4.Remove both MCU side covers.
front
remove screws
rear
5.Remove the plates from the both sides of the MGC by removing the appropriate number of functional modules to allow access to the screws.
