9 - COMMISSIONING
1. CHECK/CONTROL WATER CHEMISTRY
WARNING: Do not use petroleum-based cleaning or sealing compounds in heater system. Damage to elastomer seals and gaskets in system could occur, resulting in substantial property damage.
Water pH between 6.0 and 8.0
1.Maintain heater water pH between 6.0 and 8.0. Check with litmus paper or have chemically analyzed by water treatment company.
2.If pH differs from above, consult local water treatment company for treatment needed.
Hardness less than 7 grains.
1.Consult local water treatment companies for unusually hard water areas (above 7 grains hardness).
Chlorine concentration less than 200 ppm
1.Filling with chlorinated fresh water should be acceptable since drinking water chlorine levels are typically less than 5 ppm.
2.Do not use the heater to directly heat swimming pool or spa water.
3.Do not fill heater or operate with water containing chlorine in excess of 200 ppm.
Clean system to remove sediment
1.You must thoroughly flush the system (without heater connected) to remove sediment. The high-efficiency heat exchanger can be damaged by buildup or corrosion due to sediment.
2.Flush system until water runs clean and you are sure piping is free of sediment.
Test/replace freeze protection fluid
1.For systems using freeze protection fluids, follow fluid manufacturer’s instructions to verify inhibitor level and that other fluid characteristics are satisfactory.
2.Freeze protection fluid must be replaced periodically due to degradation of inhibitors over time. Follow all fluid manufacturer’s instructions.
2. FREEZE PROTECTION (WHEN USED)
WARNING: NEVER use automotive or standard glycol antifreeze, even ethylene glycol made for hydronic systems. Use only freeze-prevention fluids certified by fluid manufacturer as suitable for use with aluminum heaters, verified in fluid manufacturer’s literature.
Throroughly clean and flush any system that has used glycol before installing the new XPak Boiler. Provide XPak boiler owner with a material safety data sheet (MSDS) on the fluid used (if requested).
1.Determine freeze protection fluid quantity using total system water content, following fluid manufacturer’s instructions. Remember to include expansion tank water content.
2.Local codes may require back flow preventer or actual disconnect from city water supply.
3.When using freeze protection fluid with automatic fill, install a water meter to monitor water makeup. Freeze protection fluid may leak before the water begins to leak, causing concentration to drop, reducing the freeze protection level.
3. THE HEATING SYSTEM
The appliance contains components that may become damaged or rendered inoperable by oils and/or debris that are residual from the installation of the system, consequently it is essential that the system be flushed in accordance with the following instructions.
4. INITIAL FILLING OF THE SYSTEM
Ensure both flow and return service valves are open, remove appliance casing as described, identify the automatic air release valves (AAV) and loosen the dust cap/s by turning the cap counterclockwise one full turn. Ensure all manual air release valves located on the heating system are closed. Fill the system via proper filling method (field supplied). As water enters the
system the pressure gauge will begin to rise. Once the gauge has reached 15 p.s.i. (1 bar) close both valves and begin venting all manual air release valves, starting at the lowest first. It may be necessary to go back and top-up the pressure until the entire system has been filled. Inspect the system for water tightness, fixing any leaks.
WARNING: Eliminate all system leaks. Continual fresh make- up water will reduce boiler life. Minerals can build up in the heat exchanger, reducing heat transfer, overheating heat exchanger, and causing heat exchanger failure.
5.The system may have residual substances that could affect water chemistry. After the system has been filled and leak tested, verify water pH and chlorine concentrations are acceptable.
CAUTION: It is important that you purge the system of air to avoid damage to the heater.
5.PURGE AIR FROM BOILER MANUAL AIR RELEASE (Fig. 42)
When the boiler has been filled for the first time or the system has been drained and refilled, it will be necessary to release any air that may have become trapped within the appliance heat exchanger. Slacken the bleed screw using a 7/16” (11mm) open- ended spanner until water is released and then close.
IMPORTANT, THERE ARE NO OTHER MANUAL AIR RELEASE VALVES LOCATED ON THE APPLIANCE.
WARNING: Never open the Manual Air Vent while the boiler is hot. Allow boiler to cool to room temperature to avoid scalding while purging.
Fill the system and watch that system pressure rises to correct cold-fill pressure.
After the system has operated for a while, eliminate any residual air.
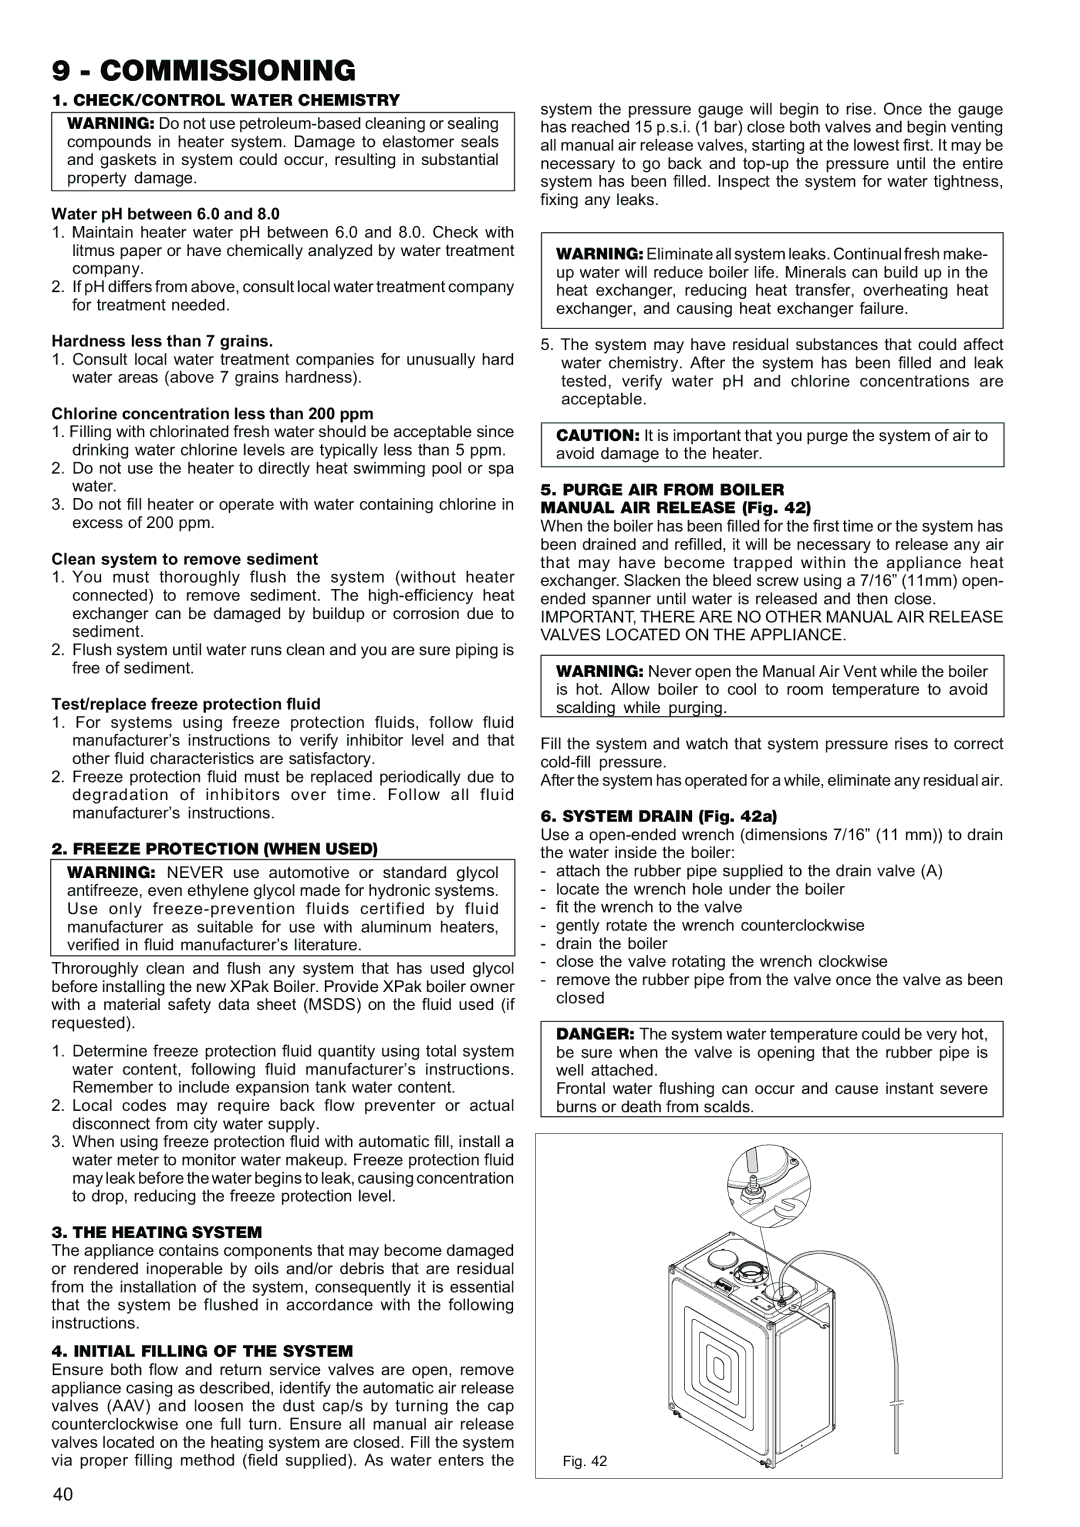
6. SYSTEM DRAIN (Fig. 42a)
Use a open-ended wrench (dimensions 7/16” (11 mm)) to drain the water inside the boiler:
-attach the rubber pipe supplied to the drain valve (A)
-locate the wrench hole under the boiler
-fit the wrench to the valve
-gently rotate the wrench counterclockwise
-drain the boiler
-close the valve rotating the wrench clockwise
-remove the rubber pipe from the valve once the valve as been closed
DANGER: The system water temperature could be very hot, be sure when the valve is opening that the rubber pipe is well attached.
Frontal water flushing can occur and cause instant severe burns or death from scalds.