Image Control Tools
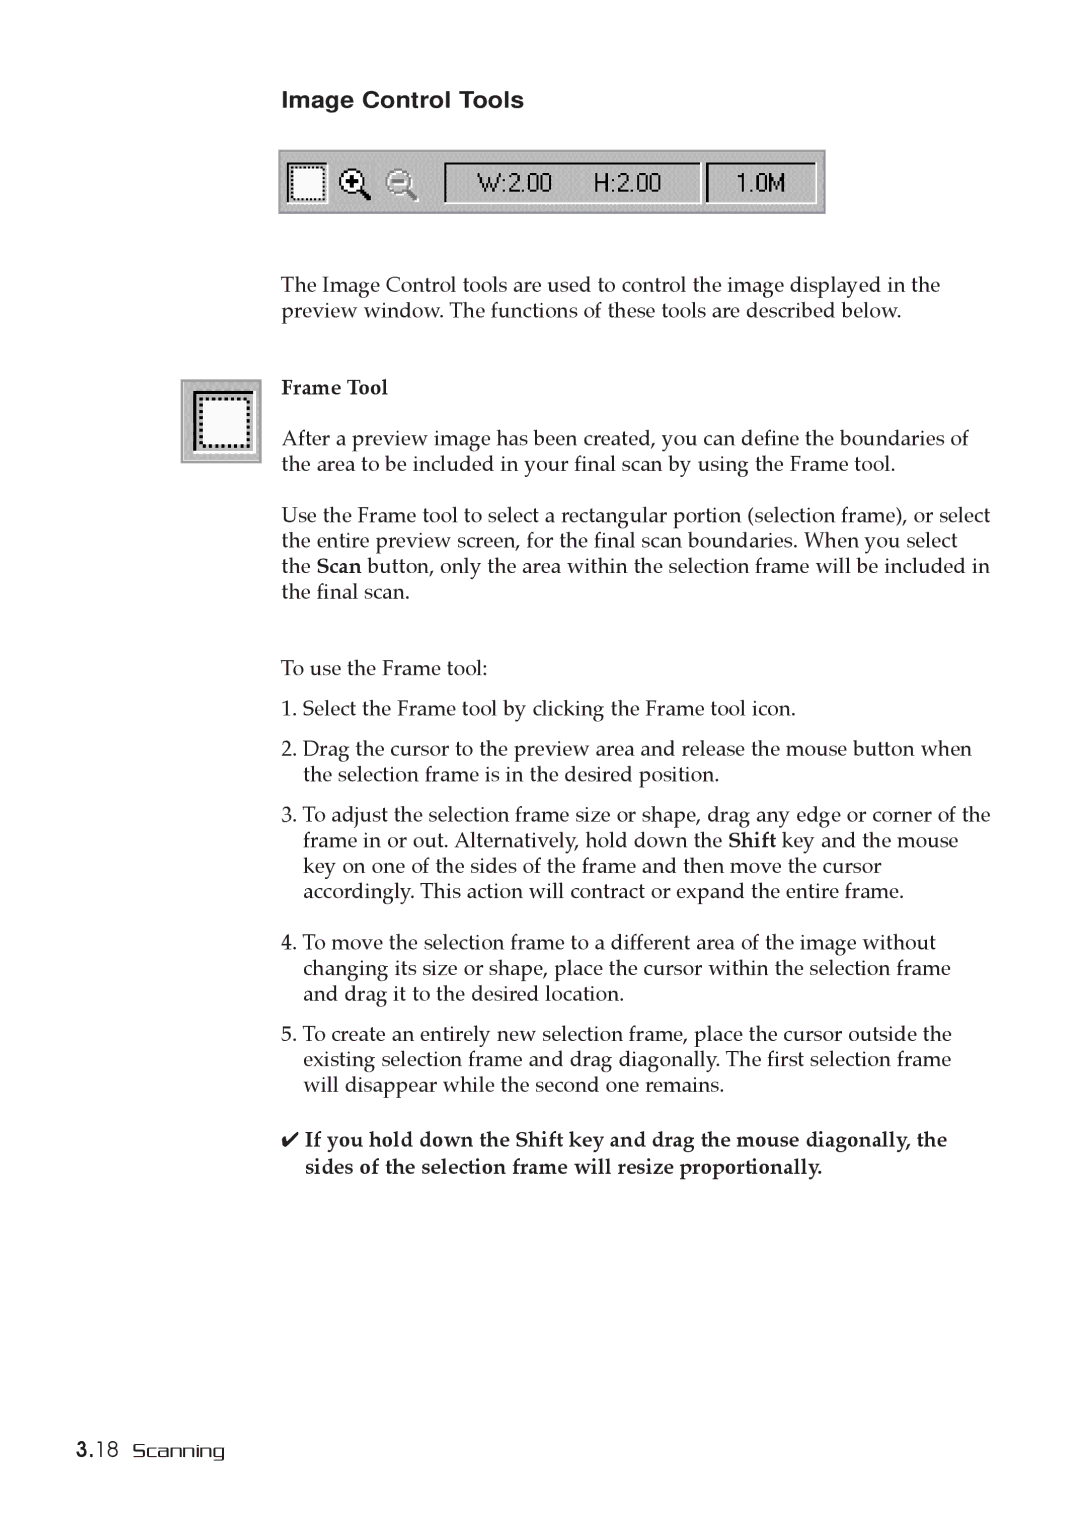
The Image Control tools are used to control the image displayed in the preview window. The functions of these tools are described below.
Frame Tool
After a preview image has been created, you can define the boundaries of the area to be included in your final scan by using the Frame tool.
Use the Frame tool to select a rectangular portion (selection frame), or select the entire preview screen, for the final scan boundaries. When you select the Scan button, only the area within the selection frame will be included in the final scan.
To use the Frame tool:
1.Select the Frame tool by clicking the Frame tool icon.
2.Drag the cursor to the preview area and release the mouse button when the selection frame is in the desired position.
3.To adjust the selection frame size or shape, drag any edge or corner of the frame in or out. Alternatively, hold down the Shift key and the mouse key on one of the sides of the frame and then move the cursor accordingly. This action will contract or expand the entire frame.
4.To move the selection frame to a different area of the image without changing its size or shape, place the cursor within the selection frame and drag it to the desired location.
5.To create an entirely new selection frame, place the cursor outside the existing selection frame and drag diagonally. The first selection frame will disappear while the second one remains.
✔If you hold down the Shift key and drag the mouse diagonally, the sides of the selection frame will resize proportionally.
3.18 Scanning
