Establishing a Connection
Description | Once your PC is set up, as described in Configuring Your PC, you are |
| ready to connect to and configure the Advance DataNET Hub. |
Getting Started | … read through this Chapter prior to performing any procedures. |
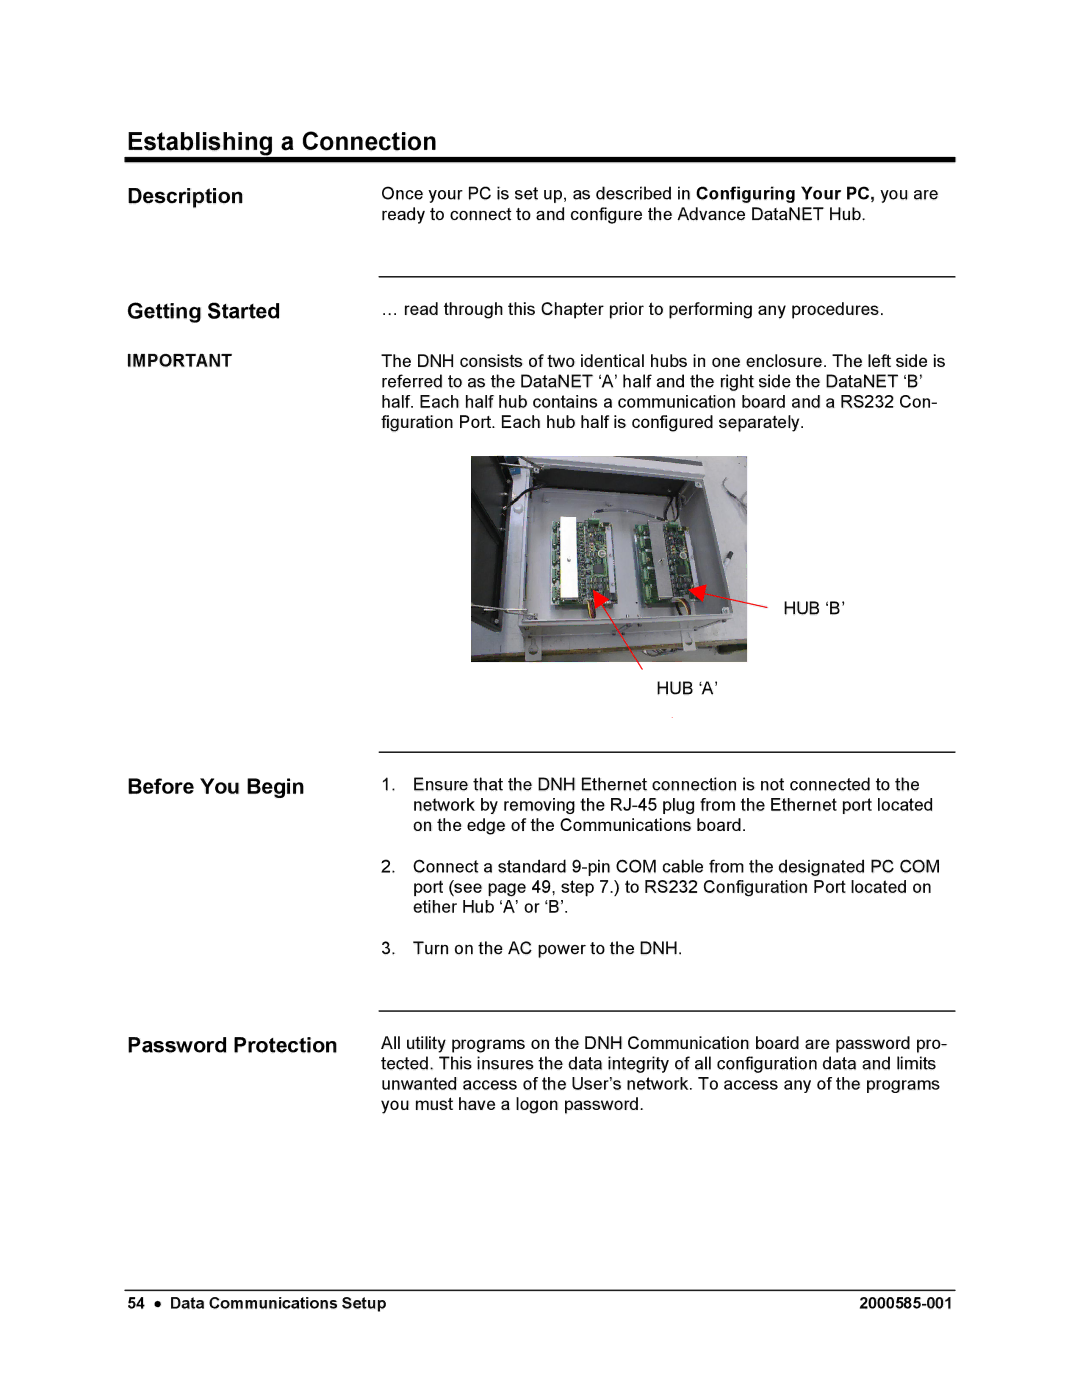
IMPORTANT | The DNH consists of two identical hubs in one enclosure. The left side is |
| referred to as the DataNET ‘A’ half and the right side the DataNET ‘B’ |
| half. Each half hub contains a communication board and a RS232 Con- |
| figuration Port. Each hub half is configured separately. |
HUB ‘B’
HUB ‘A’
Before You Begin
Password Protection
1.Ensure that the DNH Ethernet connection is not connected to the network by removing the
2.Connect a standard
3.Turn on the AC power to the DNH.
All utility programs on the DNH Communication board are password pro- tected. This insures the data integrity of all configuration data and limits unwanted access of the User’s network. To access any of the programs you must have a logon password.
54 • Data Communications Setup |