AC Power (Mains) Connections, Continued
Step | Action |
|
|
3. | Install |
| receptacles in the incoming power supply lines or two |
| switched receptacles near the DNH unit. This will ensure |
| DNH power supplies will be completely separated from |
| each of the power sources. Label the breakers or receptacle |
| boxes to make sure that the circuits are clearly identifiable. |
| Note: For one input power sources only a single breaker |
| box or switch receptacle is required. |
|
|
4. | Remove wiring access plates from DNH. Punch holes as |
| required for either conduit or cable gland connectors for |
| both power and I/O lines. Install connectors and replace the |
| plates. |
|
|
5. | Route input power, in accordance with pertinent electrical |
| codes and regulations, to DNH. Use entry holes provided in |
| step (4). |
|
|
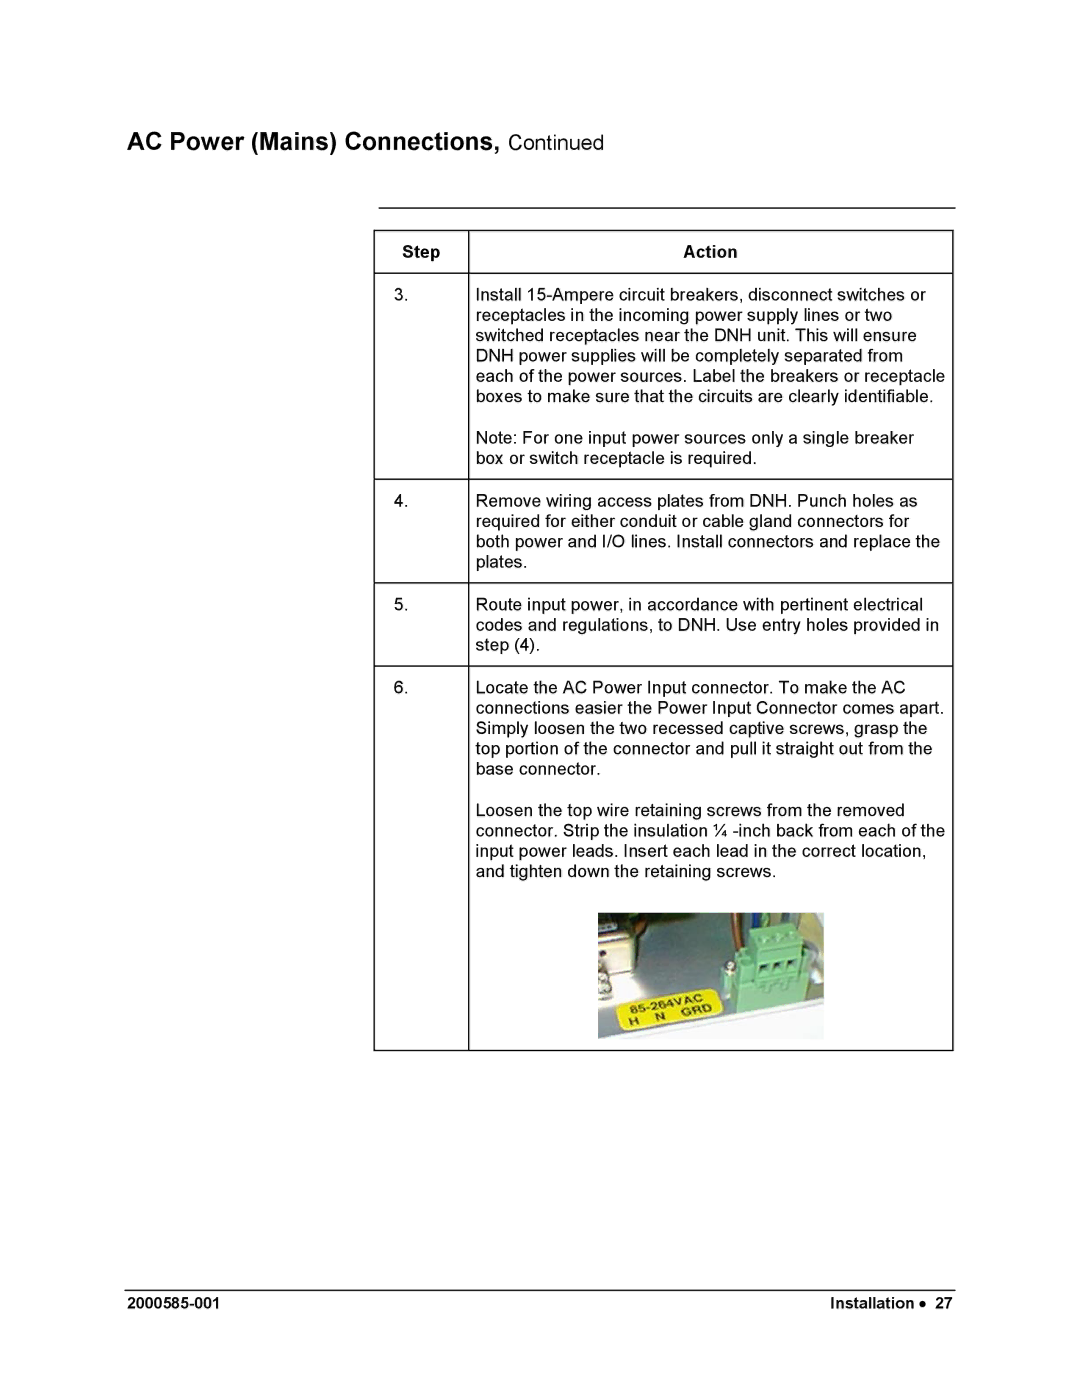
6. | Locate the AC Power Input connector. To make the AC |
| connections easier the Power Input Connector comes apart. |
| Simply loosen the two recessed captive screws, grasp the |
| top portion of the connector and pull it straight out from the |
| base connector. |
| Loosen the top wire retaining screws from the removed |
| connector. Strip the insulation ¼ |
| input power leads. Insert each lead in the correct location, |
| and tighten down the retaining screws. |
|
|
Installation • 27 |
