C4630 SE HOME AUDIO SYSTEM
Editing IR Commands in the User IR Library
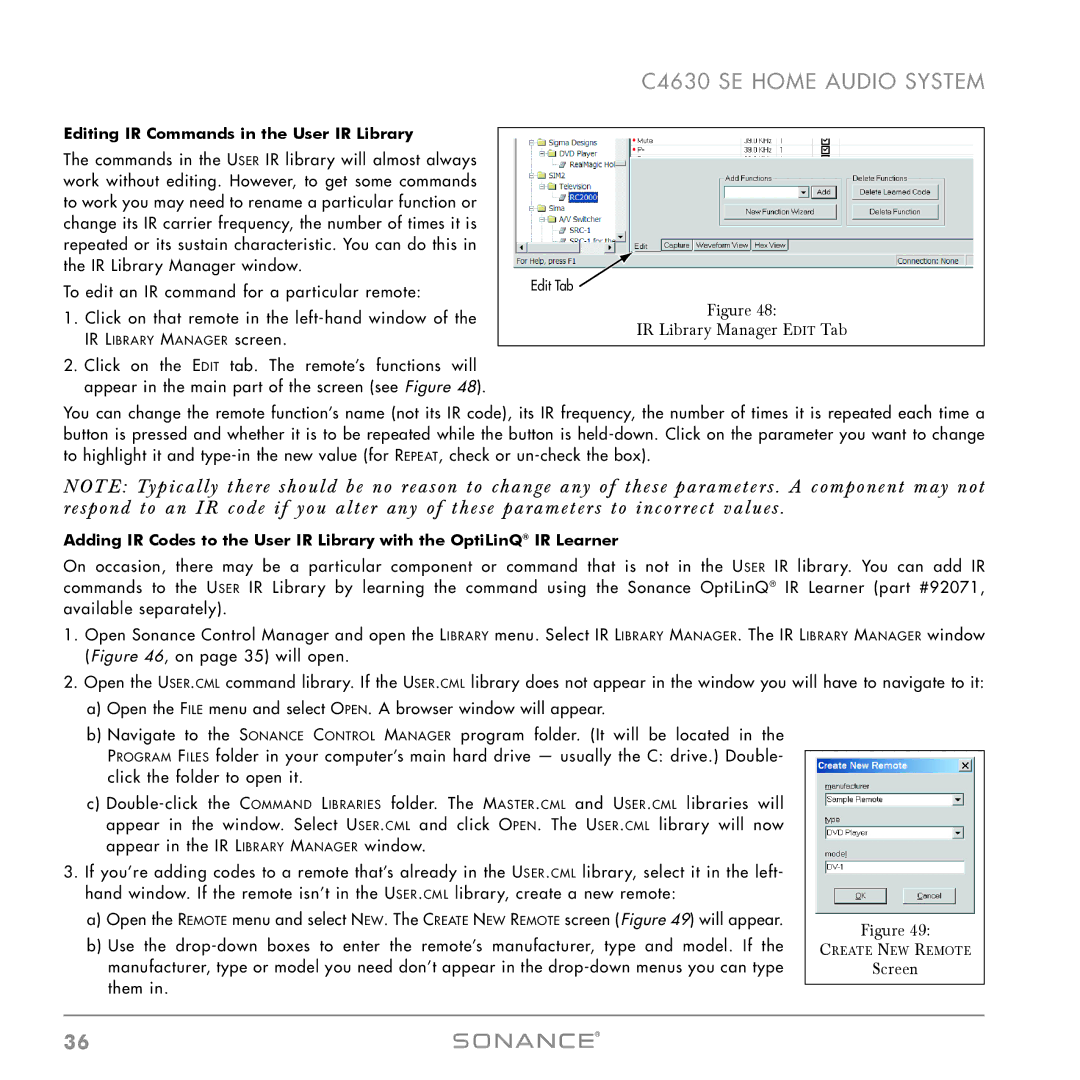
The commands in the USER IR library will almost always work without editing. However, to get some commands to work you may need to rename a particular function or change its IR carrier frequency, the number of times it is repeated or its sustain characteristic. You can do this in the IR Library Manager window.
To edit an IR command for a particular remote:
1.Click on that remote in the
IR LIBRARY MANAGER screen.
2.Click on the EDIT tab. The remote’s functions will appear in the main part of the screen (see Figure 48).
Edit Tab ![]()
Figure 48:
IR Library Manager EDIT Tab
You can change the remote function’s name (not its IR code), its IR frequency, the number of times it is repeated each time a button is pressed and whether it is to be repeated while the button is
NOTE: Typically there should be no reason to change any of these parameters . A component may not respond to an IR code if you alter any of these parameters to incor rect values .
Adding IR Codes to the User IR Library with the OptiLinQ® IR Learner
On occasion, there may be a particular component or command that is not in the USER IR library. You can add IR commands to the USER IR Library by learning the command using the Sonance OptiLinQ® IR Learner (part #92071, available separately).
1.Open Sonance Control Manager and open the LIBRARY menu. Select IR LIBRARY MANAGER. The IR LIBRARY MANAGER window (Figure 46, on page 35) will open.
2.Open the USER.CML command library. If the USER.CML library does not appear in the window you will have to navigate to it:
a)Open the FILE menu and select OPEN. A browser window will appear.
b)Navigate to the SONANCE CONTROL MANAGER program folder. (It will be located in the PROGRAM FILES folder in your computer’s main hard drive — usually the C: drive.) Double- click the folder to open it.
c)
3.If you’re adding codes to a remote that’s already in the USER.CML library, select it in the left- hand window. If the remote isn’t in the USER.CML library, create a new remote:
a) Open the REMOTE menu and select NEW. The CREATE NEW REMOTE screen (Figure 49) will appear. | Figure 49: | |
b) Use the | ||
CREATE NEW REMOTE | ||
manufacturer, type or model you need don’t appear in the | Screen | |
them in. |
| |
|
36
