10.12 CHANNEL NAME CHANGE
This selection allows you to customise the name of a channel from the default name.
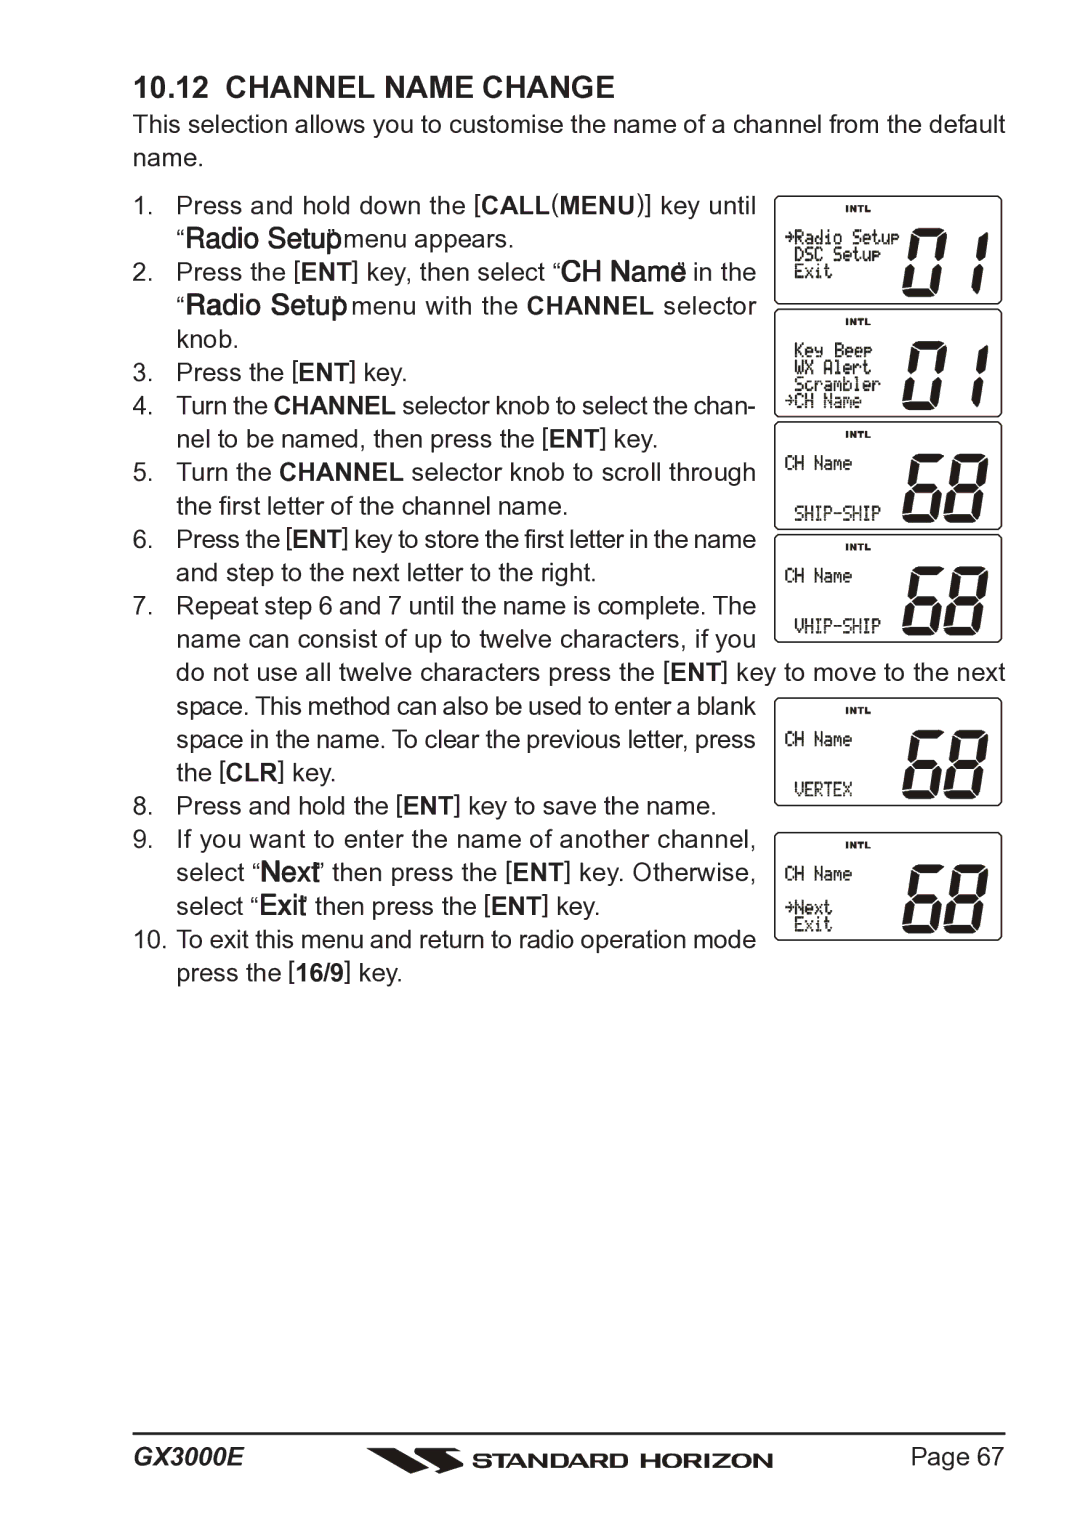
1. Press and hold down the [CALL(MENU)] key until “Radio Setup” menu appears.
2. Press the [ENT] key, then select “CH Name” in the “Radio Setup” menu with the CHANNEL selector knob.
3. Press the [ENT] key.
4. Turn the CHANNEL selector knob to select the chan- nel to be named, then press the [ENT] key.
5. Turn the CHANNEL selector knob to scroll through the first letter of the channel name.
6. Press the [ENT] key to store the first letter in the name
and step to the next letter to the right. 7. Repeat step 6 and 7 until the name is complete. The name can consist of up to twelve characters, if you
do not use all twelve characters press the [ENT] key to move to the next space. This method can also be used to enter a blank ![]()
![]()
![]()
space in the name. To clear the previous letter, press the [CLR] key. 8. Press and hold the [ENT] key to save the name.
9. If you want to enter the name of another channel,
select “Next” then press the [ENT] key. Otherwise, select “Exit” then press the [ENT] key. 10. To exit this menu and return to radio operation mode
press the [16/9] key.
GX3000E |
| Page 67 |
|