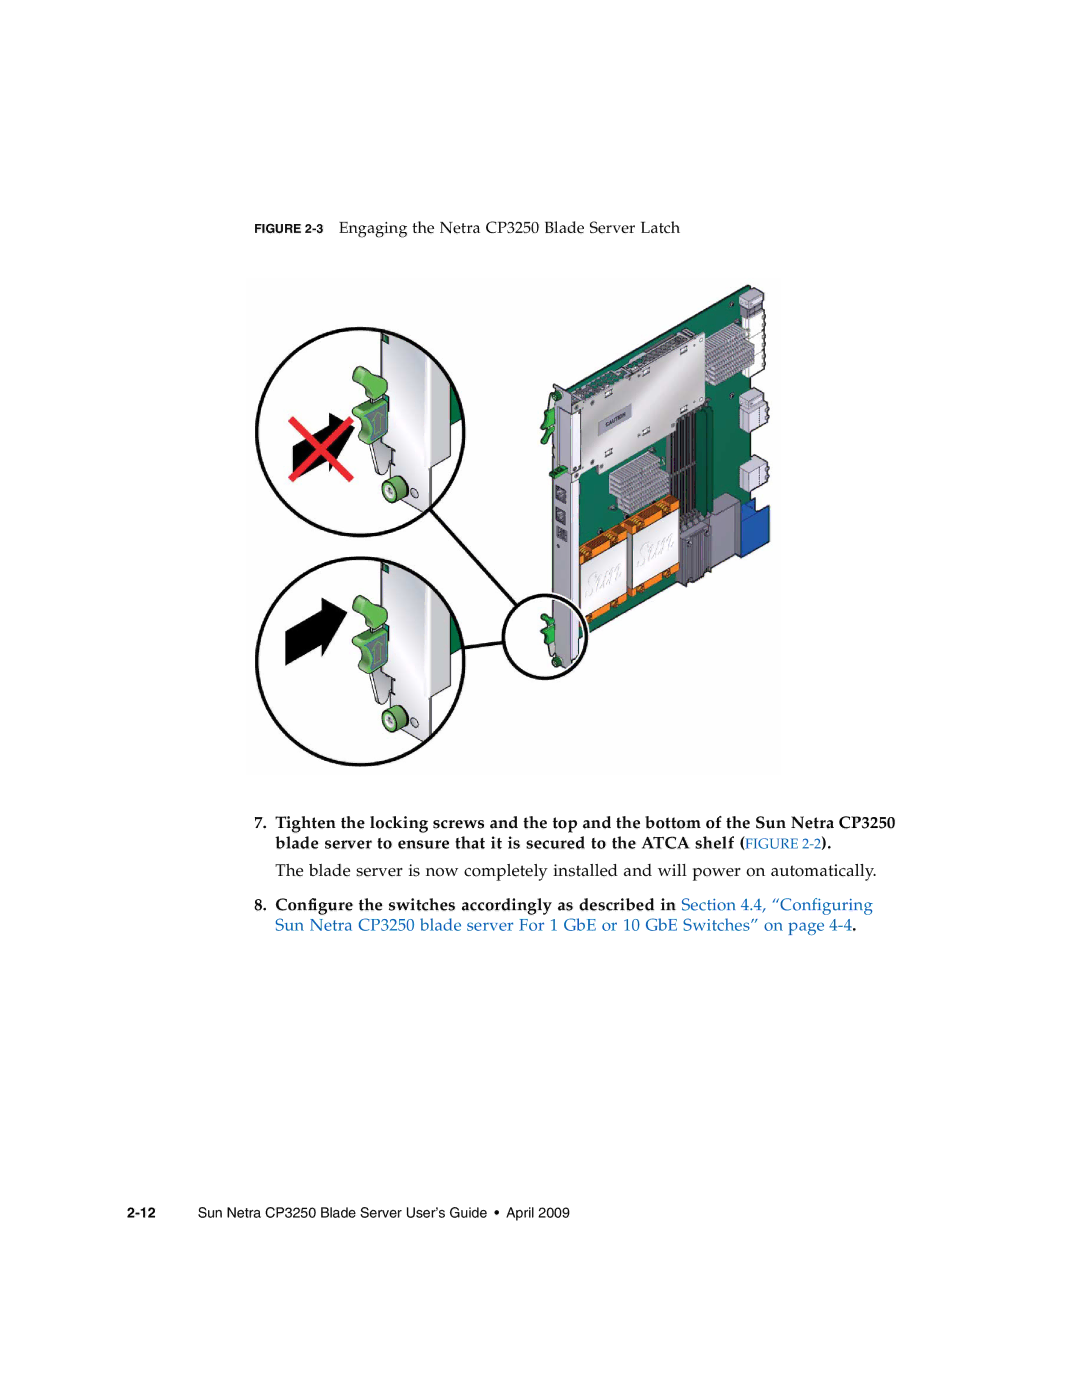
FIGURE 2-3 Engaging the Netra CP3250 Blade Server Latch
7.Tighten the locking screws and the top and the bottom of the Sun Netra CP3250 blade server to ensure that it is secured to the ATCA shelf (FIGURE
The blade server is now completely installed and will power on automatically.
8.Configure the switches accordingly as described in Section 4.4, “Configuring Sun Netra CP3250 blade server For 1 GbE or 10 GbE Switches” on page
