Chapter 2: Server Installation
Installing the Rack Rails
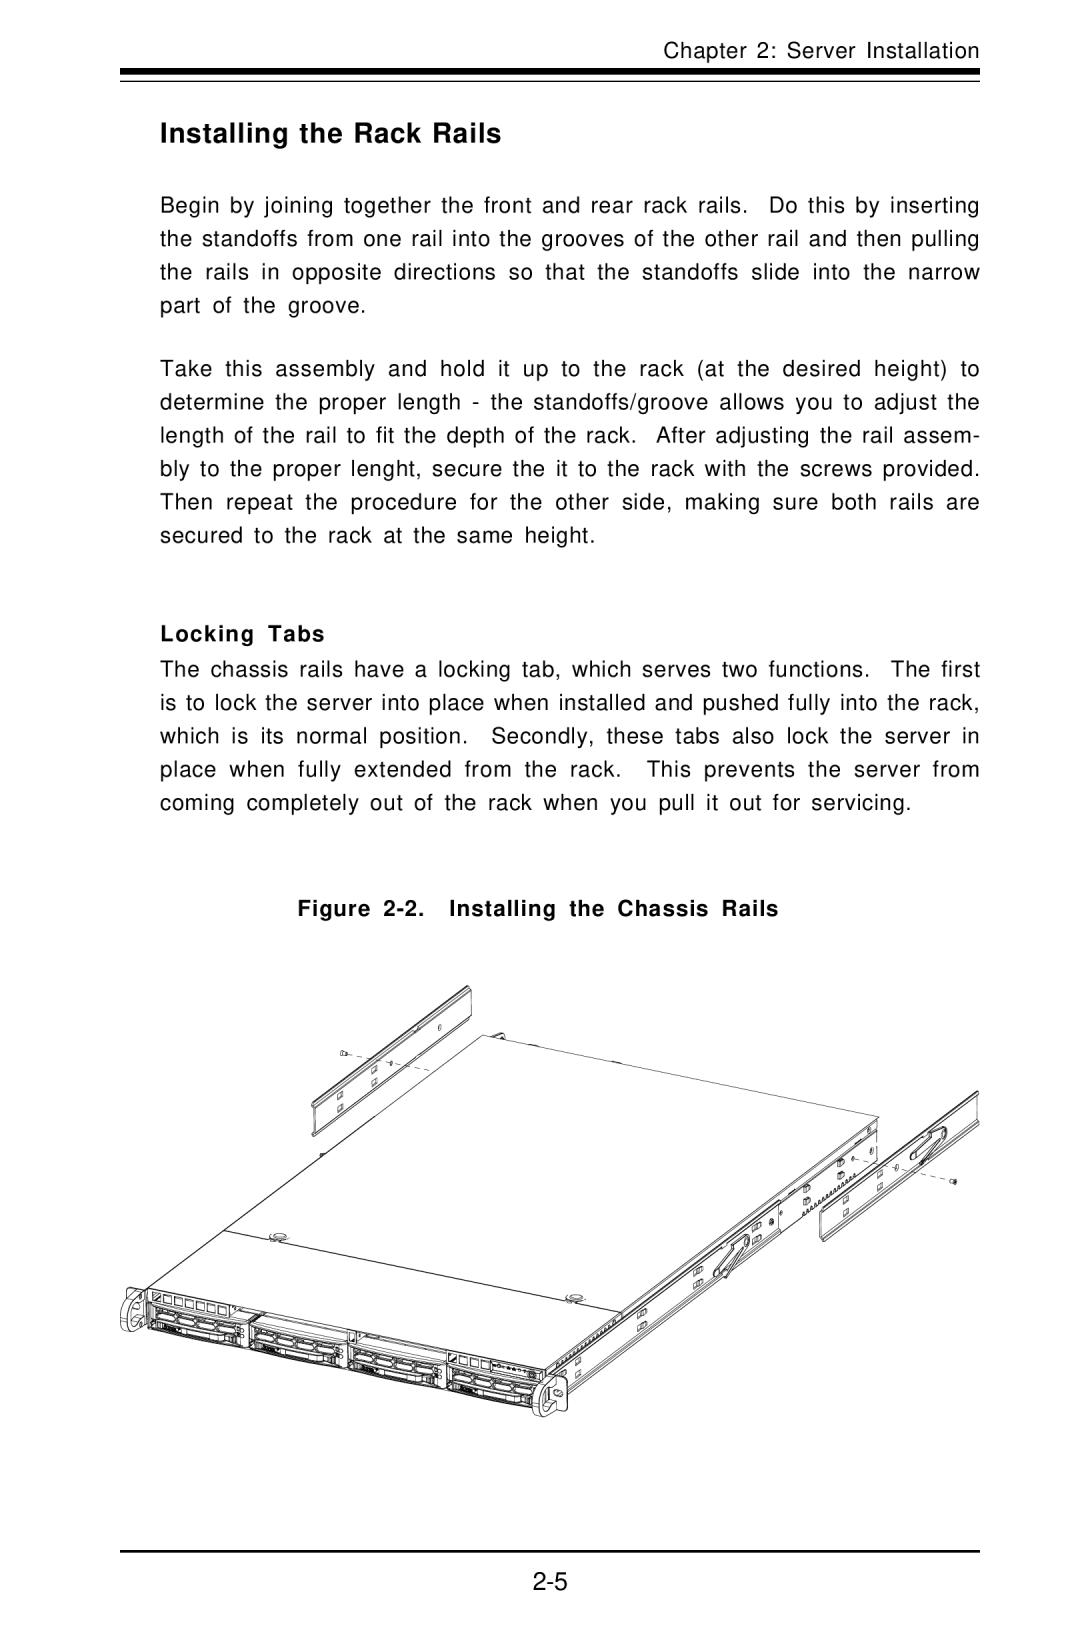
Begin by joining together the front and rear rack rails. Do this by inserting the standoffs from one rail into the grooves of the other rail and then pulling the rails in opposite directions so that the standoffs slide into the narrow part of the groove.
Take this assembly and hold it up to the rack (at the desired height) to determine the proper length - the standoffs/groove allows you to adjust the length of the rail to fit the depth of the rack. After adjusting the rail assem- bly to the proper lenght, secure the it to the rack with the screws provided. Then repeat the procedure for the other side, making sure both rails are secured to the rack at the same height.
Locking Tabs
The chassis rails have a locking tab, which serves two functions. The first is to lock the server into place when installed and pushed fully into the rack, which is its normal position. Secondly, these tabs also lock the server in place when fully extended from the rack. This prevents the server from coming completely out of the rack when you pull it out for servicing.
