Setting the Time
Setting the Time & Date
It’s important to set the Time & Date before recording footage. That way, when you search for events, they’ll be listed in the right order, and display when they were recorded.
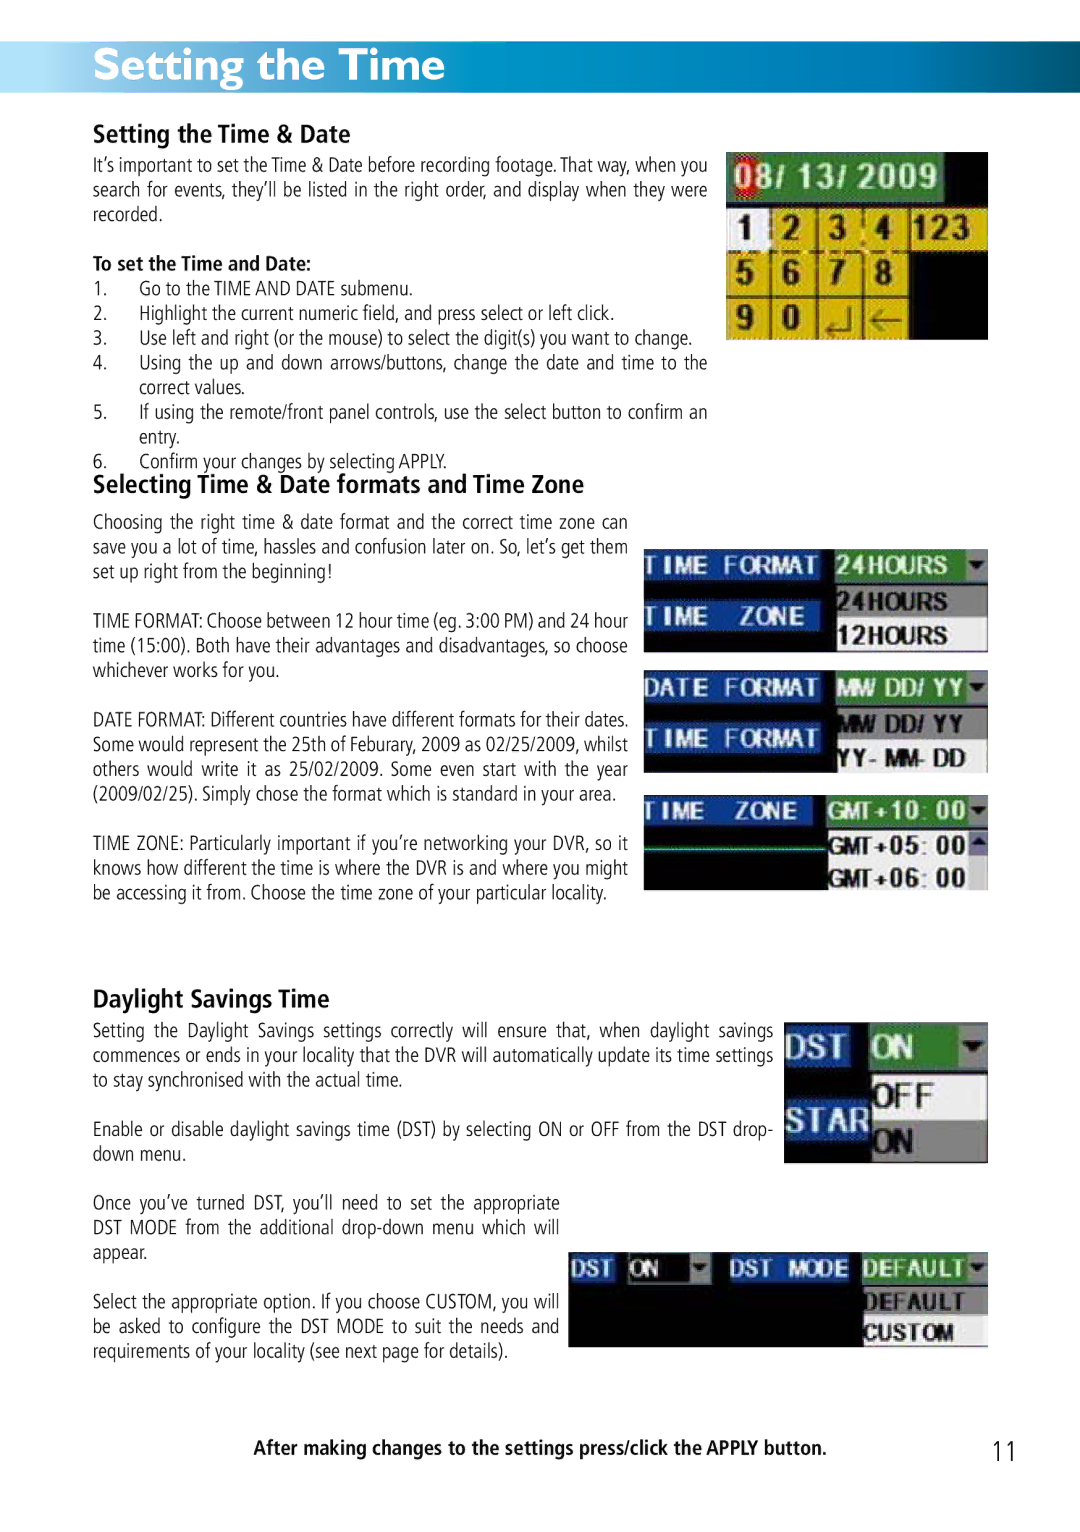
To set the Time and Date:
1.Go to the TIME AND DATE submenu.
2.Highlight the current numeric field, and press select or left click.
3.Use left and right (or the mouse) to select the digit(s) you want to change.
4.Using the up and down arrows/buttons, change the date and time to the correct values.
5.If using the remote/front panel controls, use the select button to confirm an entry.
6.Confirm your changes by selecting APPLY.
Selecting Time & Date formats and Time Zone
Choosing the right time & date format and the correct time zone can save you a lot of time, hassles and confusion later on. So, let’s get them set up right from the beginning!
TIME FORMAT: Choose between 12 hour time (eg. 3:00 PM) and 24 hour time (15:00). Both have their advantages and disadvantages, so choose whichever works for you.
DATE FORMAT: Different countries have different formats for their dates. Some would represent the 25th of Feburary, 2009 as 02/25/2009, whilst others would write it as 25/02/2009. Some even start with the year (2009/02/25). Simply chose the format which is standard in your area.
TIME ZONE: Particularly important if you’re networking your DVR, so it knows how different the time is where the DVR is and where you might be accessing it from. Choose the time zone of your particular locality.
Daylight Savings Time
Setting the Daylight Savings settings correctly will ensure that, when daylight savings commences or ends in your locality that the DVR will automatically update its time settings to stay synchronised with the actual time.
Enable or disable daylight savings time (DST) by selecting ON or OFF from the DST drop- down menu.
Once you’ve turned DST, you’ll need to set the appropriate DST MODE from the additional
Select the appropriate option. If you choose CUSTOM, you will be asked to configure the DST MODE to suit the needs and requirements of your locality (see next page for details).
After making changes to the settings press/click the APPLY button. | 11 |