Camera Setup
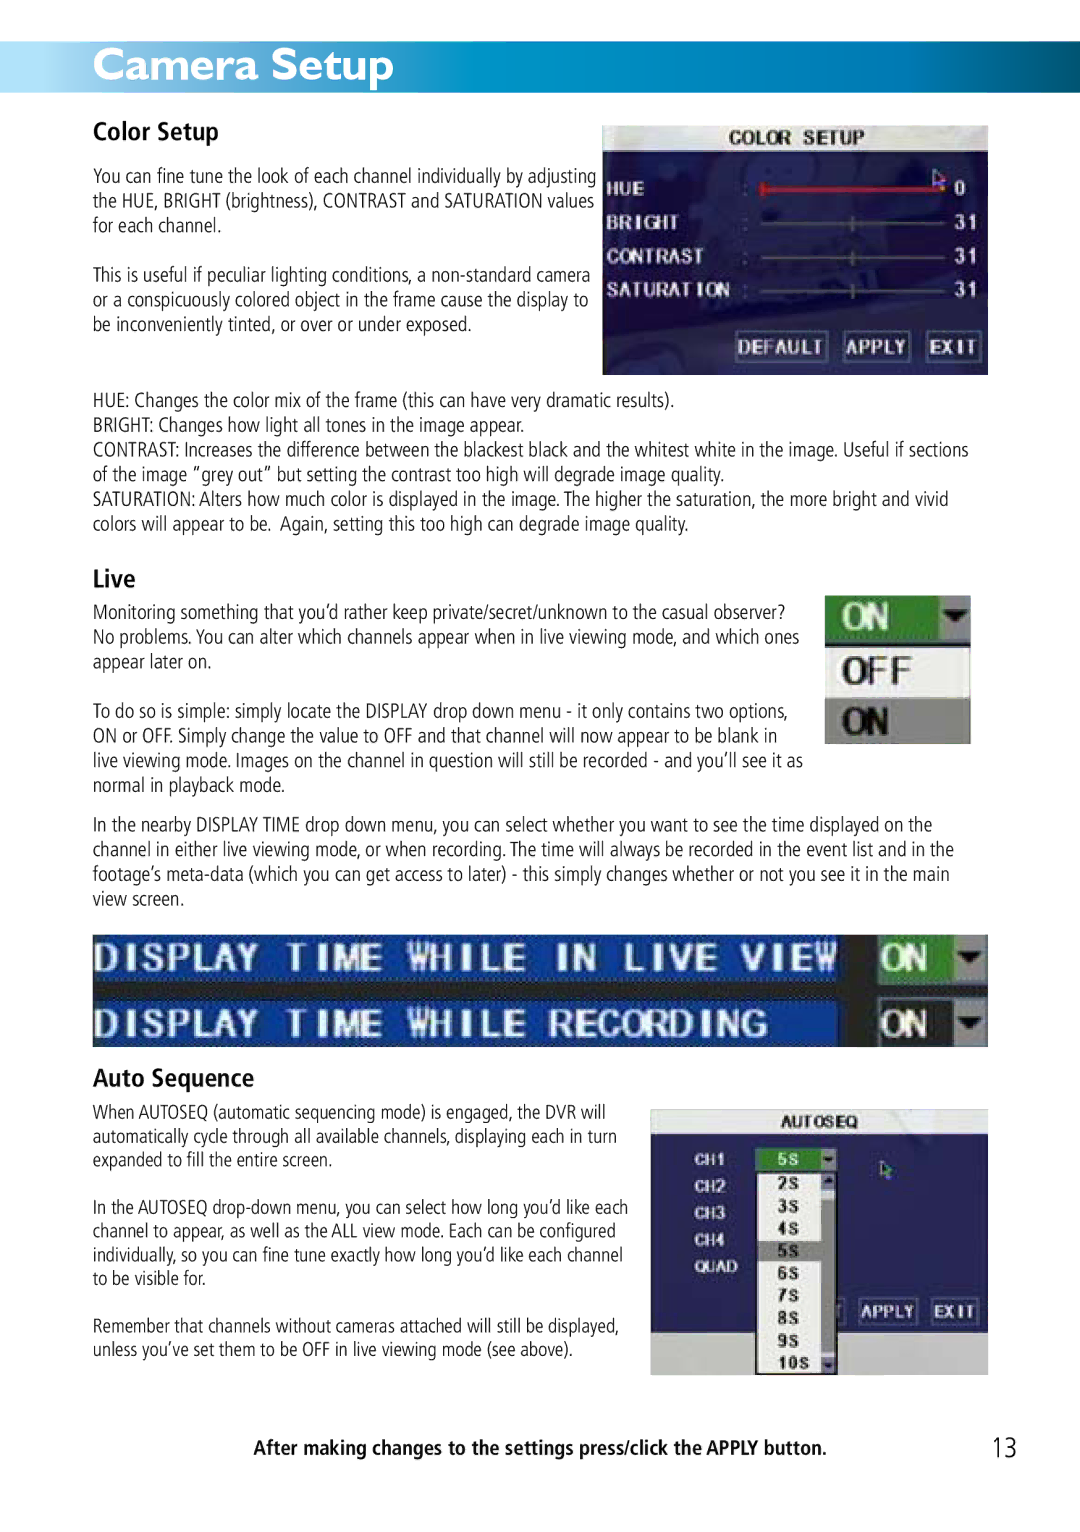
Color Setup
You can fine tune the look of each channel individually by adjusting the HUE, BRIGHT (brightness), CONTRAST and SATURATION values for each channel.
This is useful if peculiar lighting conditions, a
HUE: Changes the color mix of the frame (this can have very dramatic results).
BRIGHT: Changes how light all tones in the image appear.
CONTRAST: Increases the difference between the blackest black and the whitest white in the image. Useful if sections of the image “grey out” but setting the contrast too high will degrade image quality.
SATURATION: Alters how much color is displayed in the image. The higher the saturation, the more bright and vivid colors will appear to be. Again, setting this too high can degrade image quality.
Live
Monitoring something that you’d rather keep private/secret/unknown to the casual observer? No problems. You can alter which channels appear when in live viewing mode, and which ones appear later on.
To do so is simple: simply locate the DISPLAY drop down menu - it only contains two options, ON or OFF. Simply change the value to OFF and that channel will now appear to be blank in live viewing mode. Images on the channel in question will still be recorded - and you’ll see it as normal in playback mode.
In the nearby DISPLAY TIME drop down menu, you can select whether you want to see the time displayed on the channel in either live viewing mode, or when recording. The time will always be recorded in the event list and in the footage’s
Auto Sequence
When AUTOSEQ (automatic sequencing mode) is engaged, the DVR will automatically cycle through all available channels, displaying each in turn expanded to fill the entire screen.
In the AUTOSEQ
Remember that channels without cameras attached will still be displayed, unless you’ve set them to be OFF in live viewing mode (see above).
After making changes to the settings press/click the APPLY button. | 13 |