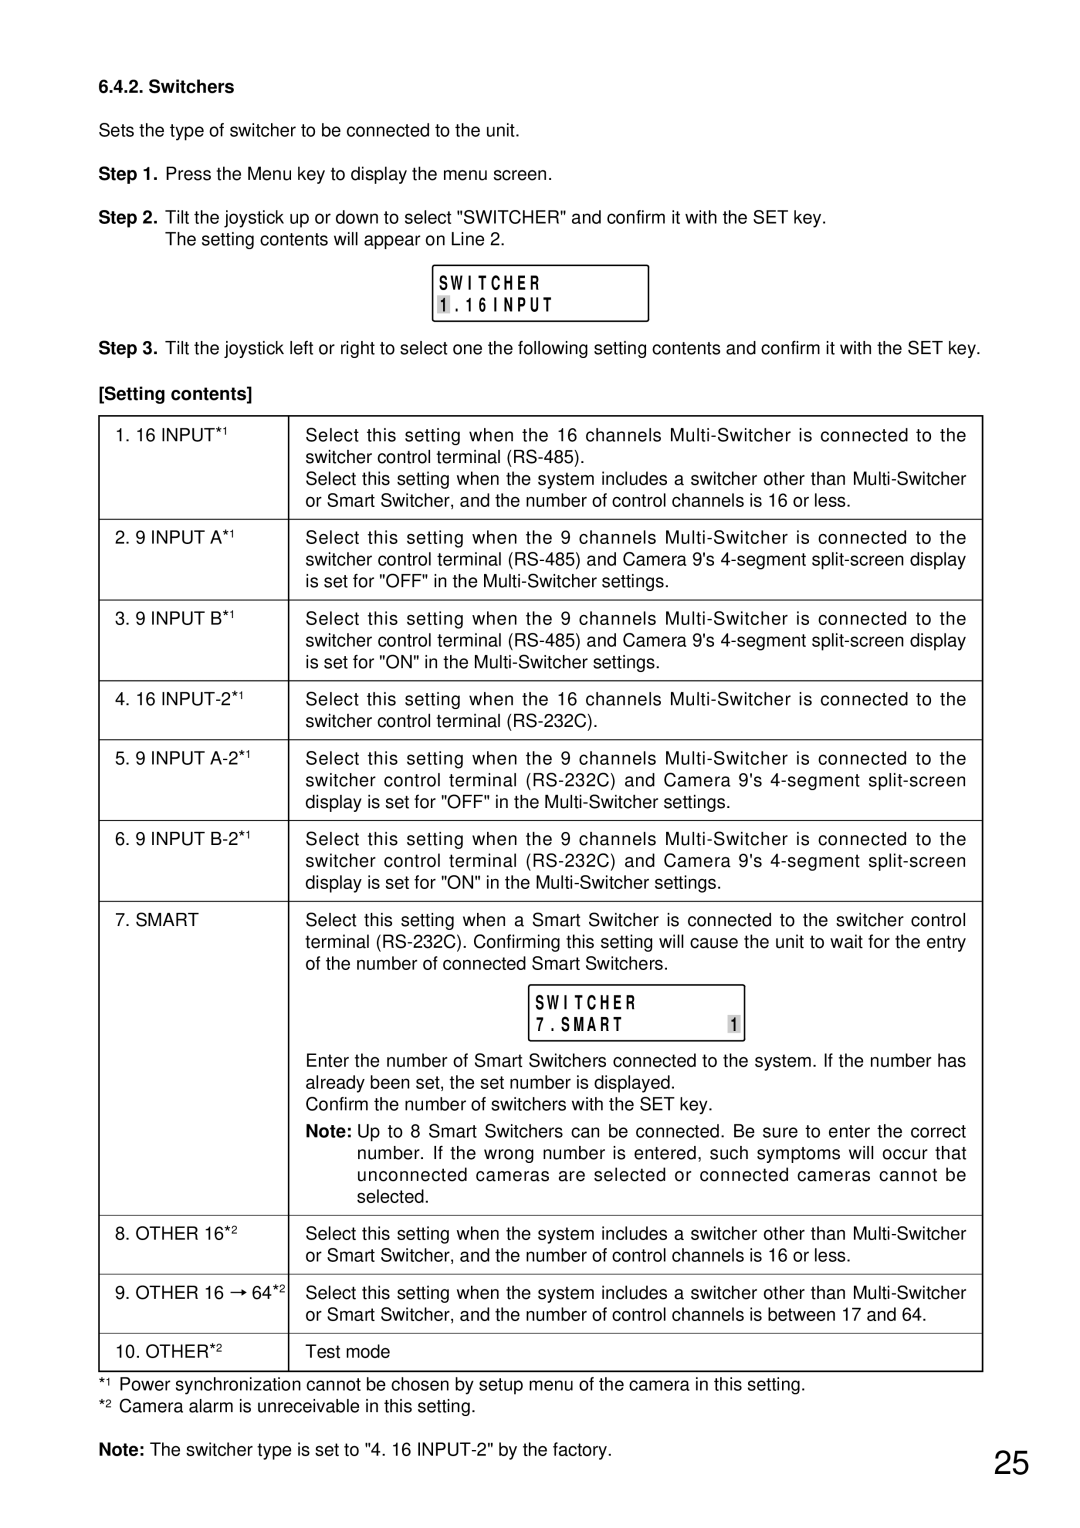
6.4.2. Switchers
Sets the type of switcher to be connected to the unit.
Step 1. Press the Menu key to display the menu screen.
Step 2. Tilt the joystick up or down to select "SWITCHER" and confirm it with the SET key. The setting contents will appear on Line 2.
S W I T C H E R
1 . 1 6 I N P U T
Step 3. Tilt the joystick left or right to select one the following setting contents and confirm it with the SET key.
[Setting contents]
1. | 16 INPUT*1 | Select this setting when the 16 channels |
|
| switcher control terminal |
|
| Select this setting when the system includes a switcher other than |
|
| or Smart Switcher, and the number of control channels is 16 or less. |
|
|
|
2. | 9 INPUT A*1 | Select this setting when the 9 channels |
|
| switcher control terminal |
|
| is set for "OFF" in the |
|
|
|
3. | 9 INPUT B*1 | Select this setting when the 9 channels |
|
| switcher control terminal |
|
| is set for "ON" in the |
|
|
|
4. | 16 | Select this setting when the 16 channels |
|
| switcher control terminal |
|
|
|
5. | 9 INPUT | Select this setting when the 9 channels |
|
| switcher control terminal |
|
| display is set for "OFF" in the |
|
|
|
6. | 9 INPUT | Select this setting when the 9 channels |
|
| switcher control terminal |
|
| display is set for "ON" in the |
|
|
|
7. | SMART | Select this setting when a Smart Switcher is connected to the switcher control |
|
| terminal |
|
| of the number of connected Smart Switchers. |
|
|
| S W I T C H E R |
|
|
|
|
| 7 . S M A R T | 1 |
|
|
|
| Enter the number of Smart Switchers connected to the system. If the number has | ||
|
|
| already been set, the set number is displayed. |
|
|
|
|
| Confirm the number of switchers with the SET key. |
|
|
|
|
| Note: Up to 8 Smart Switchers can be connected. Be sure to enter the correct | ||
|
|
| number. If the wrong number is entered, such symptoms will occur that | ||
|
|
| unconnected cameras are selected or connected cameras cannot be | ||
|
|
| selected. |
|
|
|
|
|
|
| |
8. OTHER 16*2 | Select this setting when the system includes a switcher other than | ||||
|
|
| or Smart Switcher, and the number of control channels is 16 or less. | ||
|
|
|
|
| |
9. OTHER 16 |
| 64*2 | Select this setting when the system includes a switcher other than | ||
| |||||
|
|
| or Smart Switcher, and the number of control channels is between 17 and 64. | ||
|
|
|
|
|
|
10. OTHER*2 | Test mode |
|
| ||
*1 Power synchronization cannot be chosen by setup menu of the camera in this setting. *2 Camera alarm is unreceivable in this setting.
Note: The switcher type is set to "4. 16
25
