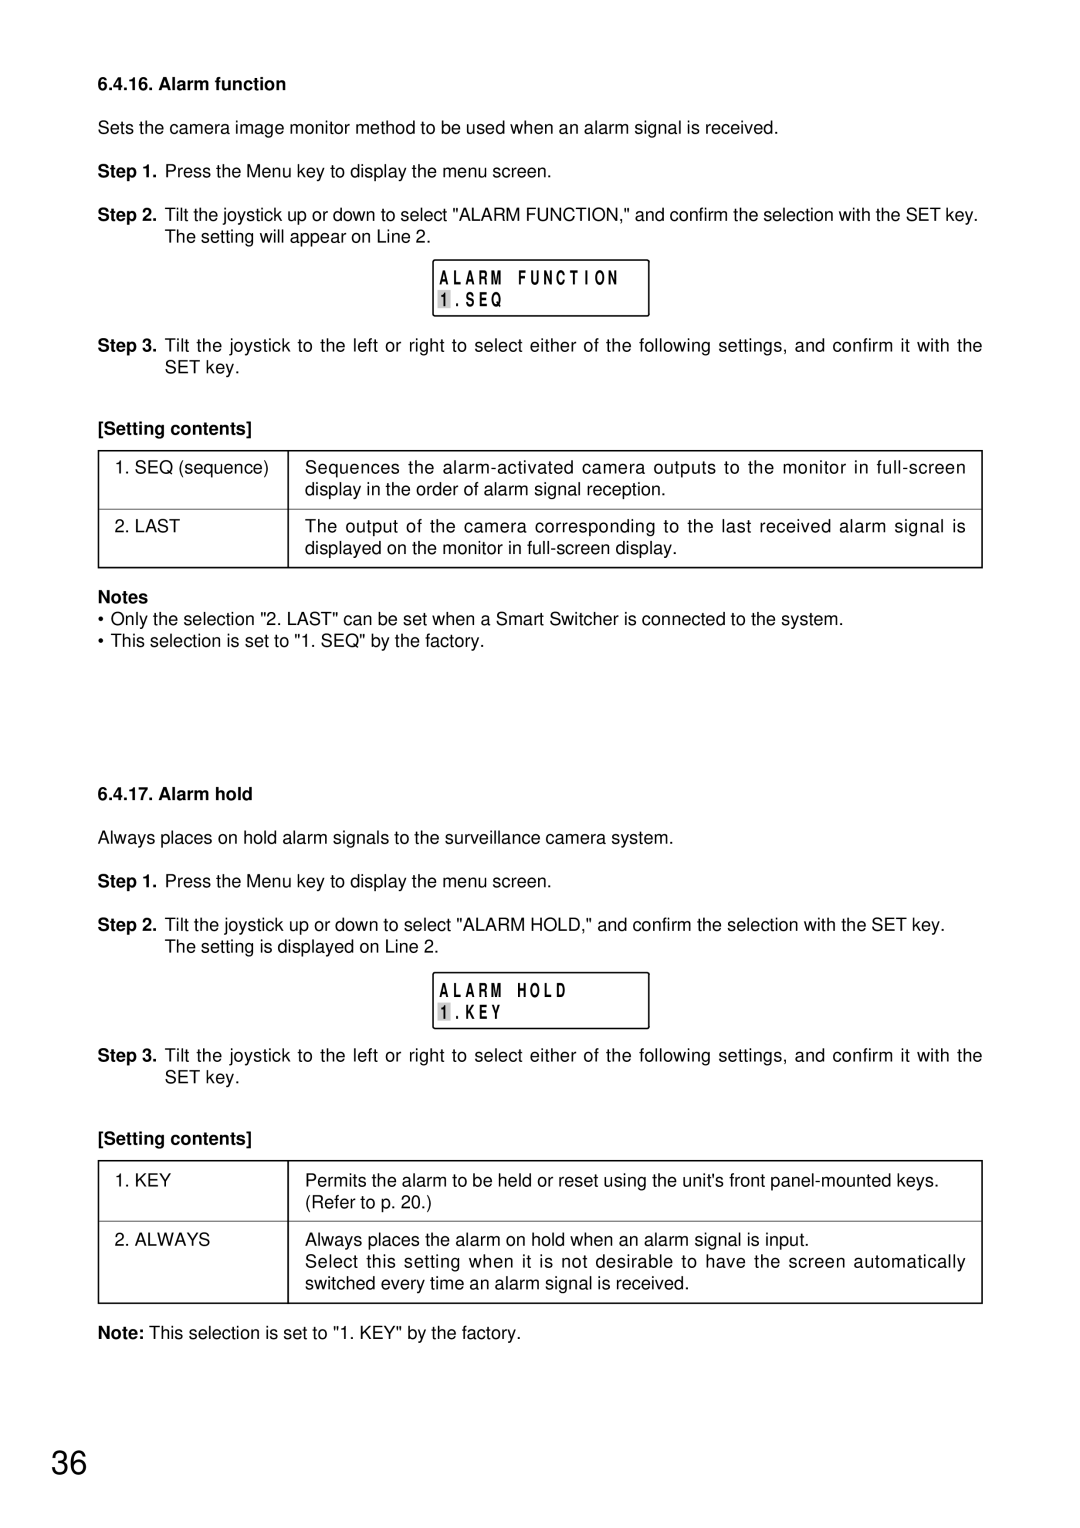
6.4.16. Alarm function
Sets the camera image monitor method to be used when an alarm signal is received.
Step 1. Press the Menu key to display the menu screen.
Step 2. Tilt the joystick up or down to select "ALARM FUNCTION," and confirm the selection with the SET key. The setting will appear on Line 2.
A L A R M F U N C T I O N 1 . S E Q
Step 3. Tilt the joystick to the left or right to select either of the following settings, and confirm it with the SET key.
[Setting contents]
1. | SEQ (sequence) | Sequences the |
|
| display in the order of alarm signal reception. |
|
|
|
2. | LAST | The output of the camera corresponding to the last received alarm signal is |
|
| displayed on the monitor in |
|
|
|
Notes
•Only the selection "2. LAST" can be set when a Smart Switcher is connected to the system.
•This selection is set to "1. SEQ" by the factory.
6.4.17. Alarm hold
Always places on hold alarm signals to the surveillance camera system.
Step 1. Press the Menu key to display the menu screen.
Step 2. Tilt the joystick up or down to select "ALARM HOLD," and confirm the selection with the SET key. The setting is displayed on Line 2.
A L A R M H O L D 1 . K E Y
Step 3. Tilt the joystick to the left or right to select either of the following settings, and confirm it with the SET key.
[Setting contents]
1. | KEY | Permits the alarm to be held or reset using the unit's front |
|
| (Refer to p. 20.) |
|
|
|
2. | ALWAYS | Always places the alarm on hold when an alarm signal is input. |
|
| Select this setting when it is not desirable to have the screen automatically |
|
| switched every time an alarm signal is received. |
|
|
|
Note: This selection is set to "1. KEY" by the factory.
36
