6.4.3. Contact
Sets the alarm contact output terminal's operation.
Note
Contacts can only be set when "MASTER" has been selected in the "Operation mode" setting. This setting item is not displayed on the menu screen if "SLAVE" has been selected.
Step 1. Press the Menu key to display the menu screen.
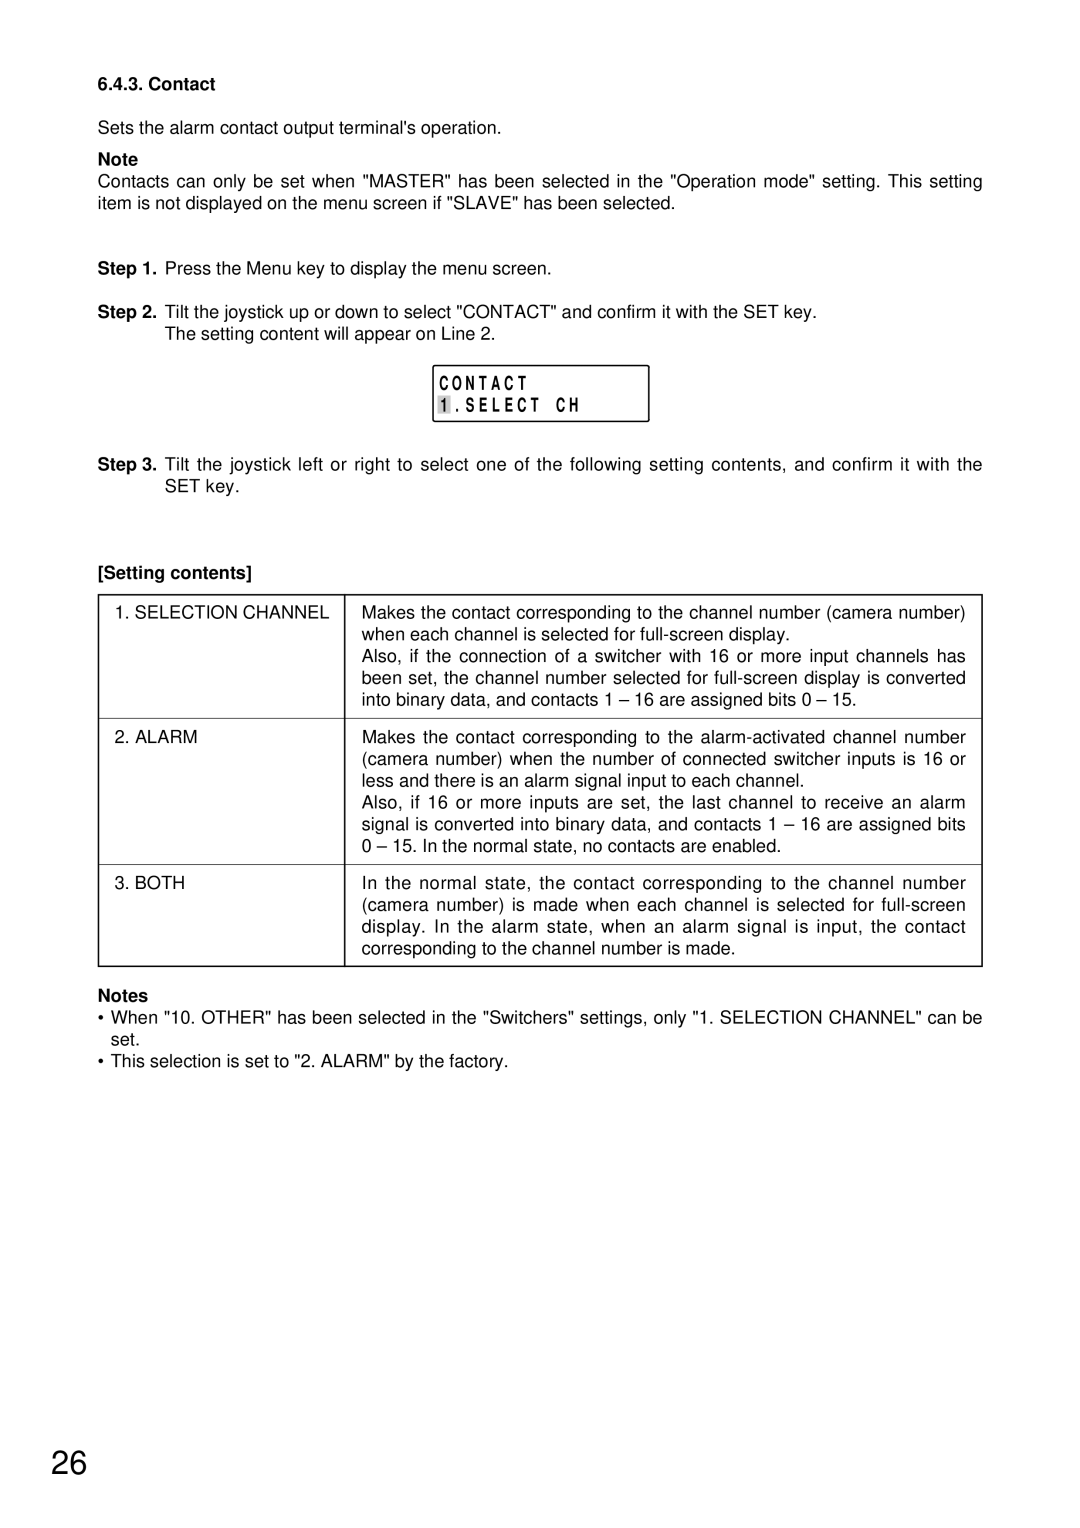
Step 2. Tilt the joystick up or down to select "CONTACT" and confirm it with the SET key. The setting content will appear on Line 2.
C O N T A C T
1 . S E L E C T C H
Step 3. Tilt the joystick left or right to select one of the following setting contents, and confirm it with the SET key.
[Setting contents]
1. SELECTION CHANNEL | Makes the contact corresponding to the channel number (camera number) |
| when each channel is selected for |
| Also, if the connection of a switcher with 16 or more input channels has |
| been set, the channel number selected for |
| into binary data, and contacts 1 – 16 are assigned bits 0 – 15. |
|
|
2. ALARM | Makes the contact corresponding to the |
| (camera number) when the number of connected switcher inputs is 16 or |
| less and there is an alarm signal input to each channel. |
| Also, if 16 or more inputs are set, the last channel to receive an alarm |
| signal is converted into binary data, and contacts 1 – 16 are assigned bits |
| 0 – 15. In the normal state, no contacts are enabled. |
|
|
3. BOTH | In the normal state, the contact corresponding to the channel number |
| (camera number) is made when each channel is selected for |
| display. In the alarm state, when an alarm signal is input, the contact |
| corresponding to the channel number is made. |
|
|
Notes
•When "10. OTHER" has been selected in the "Switchers" settings, only "1. SELECTION CHANNEL" can be set.
•This selection is set to "2. ALARM" by the factory.
26