2. Scan to e-Filing
How to Perform Scan to e-Filing
In this function, the scanned original data can be stored in the e-Filing. You can scan up to 200 pages per 1 job.
In the e-Filing boxes, up to 10 GB of data can be stored.
After storing the original data, you can print it at any time from the touch panel. Also you can manage stored documents using the e-Filing web utility. Using the e-Filing web util- ity, you can manage stored documents by creating user boxes and folders, printing doc- uments, and merging several documents to create a new document.
To store the original data, you can specify the public box or one of user boxes. The pub- lic box is a pre-set box since the installation of the equipment, and it will be used to store documents that any user may need to work with. The user box is the one created by the user, and, if password is set, you need to enter the password correctly.
Before storing the original data in e-Filing, you need to set up the user boxes using the touch panel or e-Filing web utility. For setting up the user boxes and printing the stored documents from the touch panel or e-Filing web utility, see e-Filing Guide. (The instruction on how to set up the user boxes using the touch panel also describes in Operator’s Manual for Basic Function.)
NOTE: It is recommended to back up the data on the equipment's hard disk to prevent loss of data. You can back it up with the client PC using the File Downloader or e-Filing Backup/Restore Utility. See e-Filing Guide for details.
SUPPLEMENT: You can also store the copied original data in the e-Filing using the copy operation. However, when you use the original data with the client PC via network, it is recom- mended to store the original data using the scanning operation explained here, rather than using the copy operation because the data stored by the copy operation is proper for output, but not for importing as an image into your computer.
Scanning Procedure for Scan to e-Filing
1.Place the original(s).
•For instruction about placing the originals, see Operator’s Manual for Basic Function.
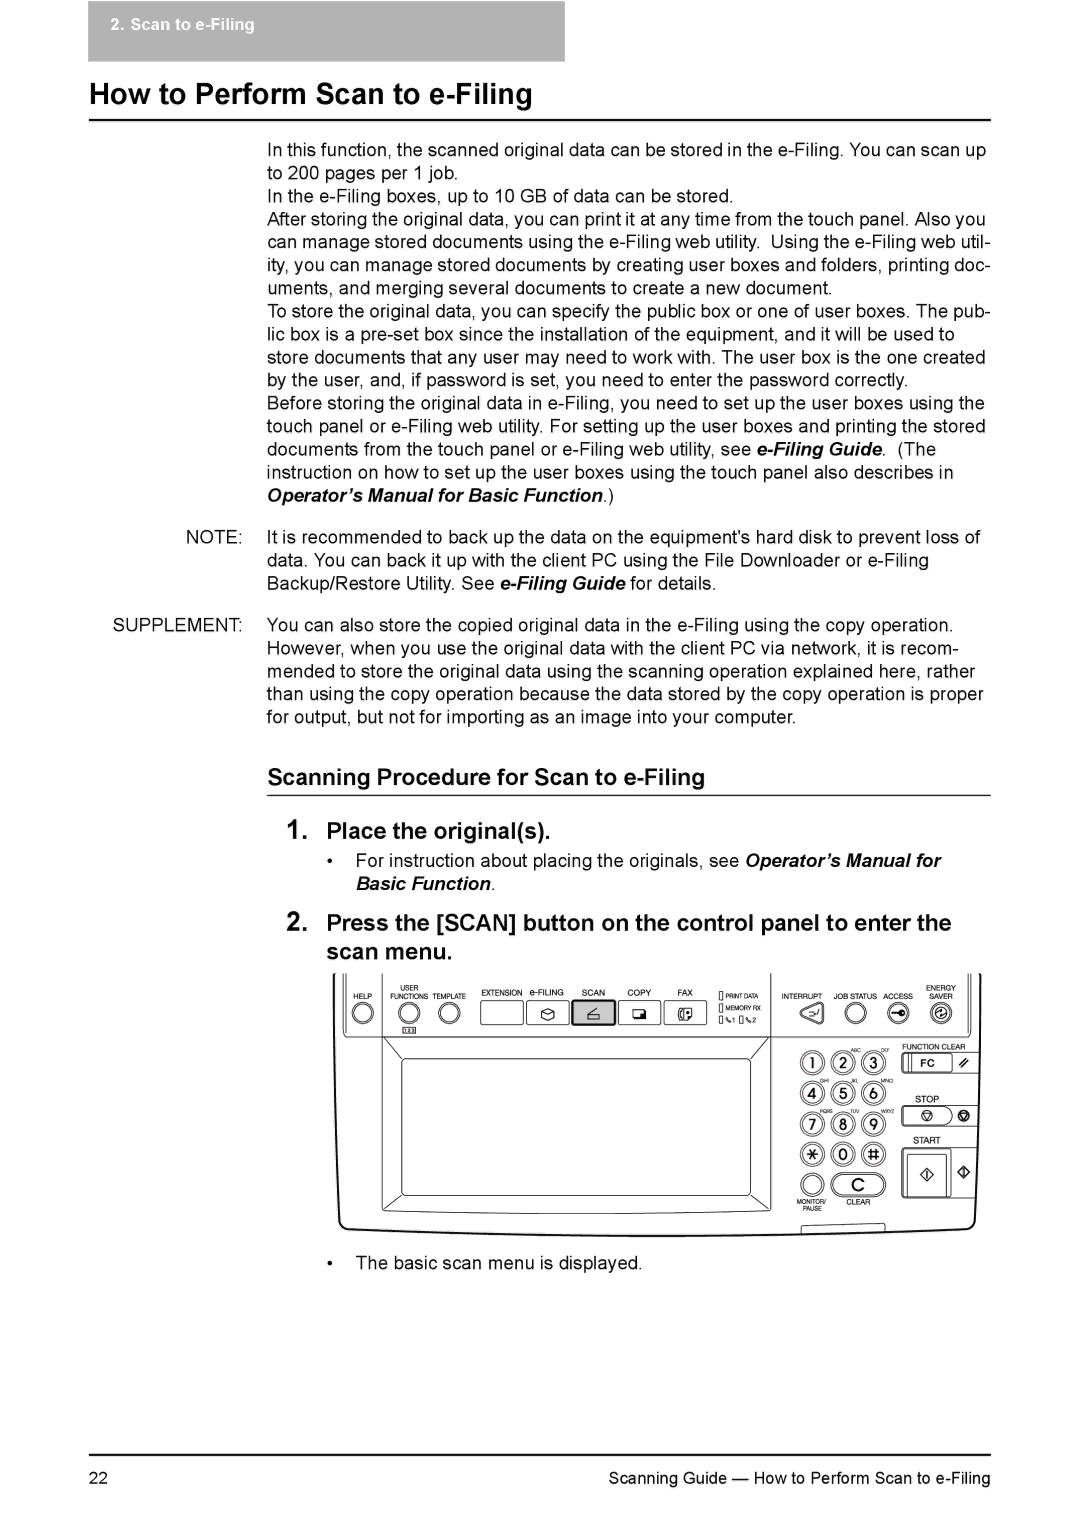
2.Press the [SCAN] button on the control panel to enter the scan menu.
•The basic scan menu is displayed.