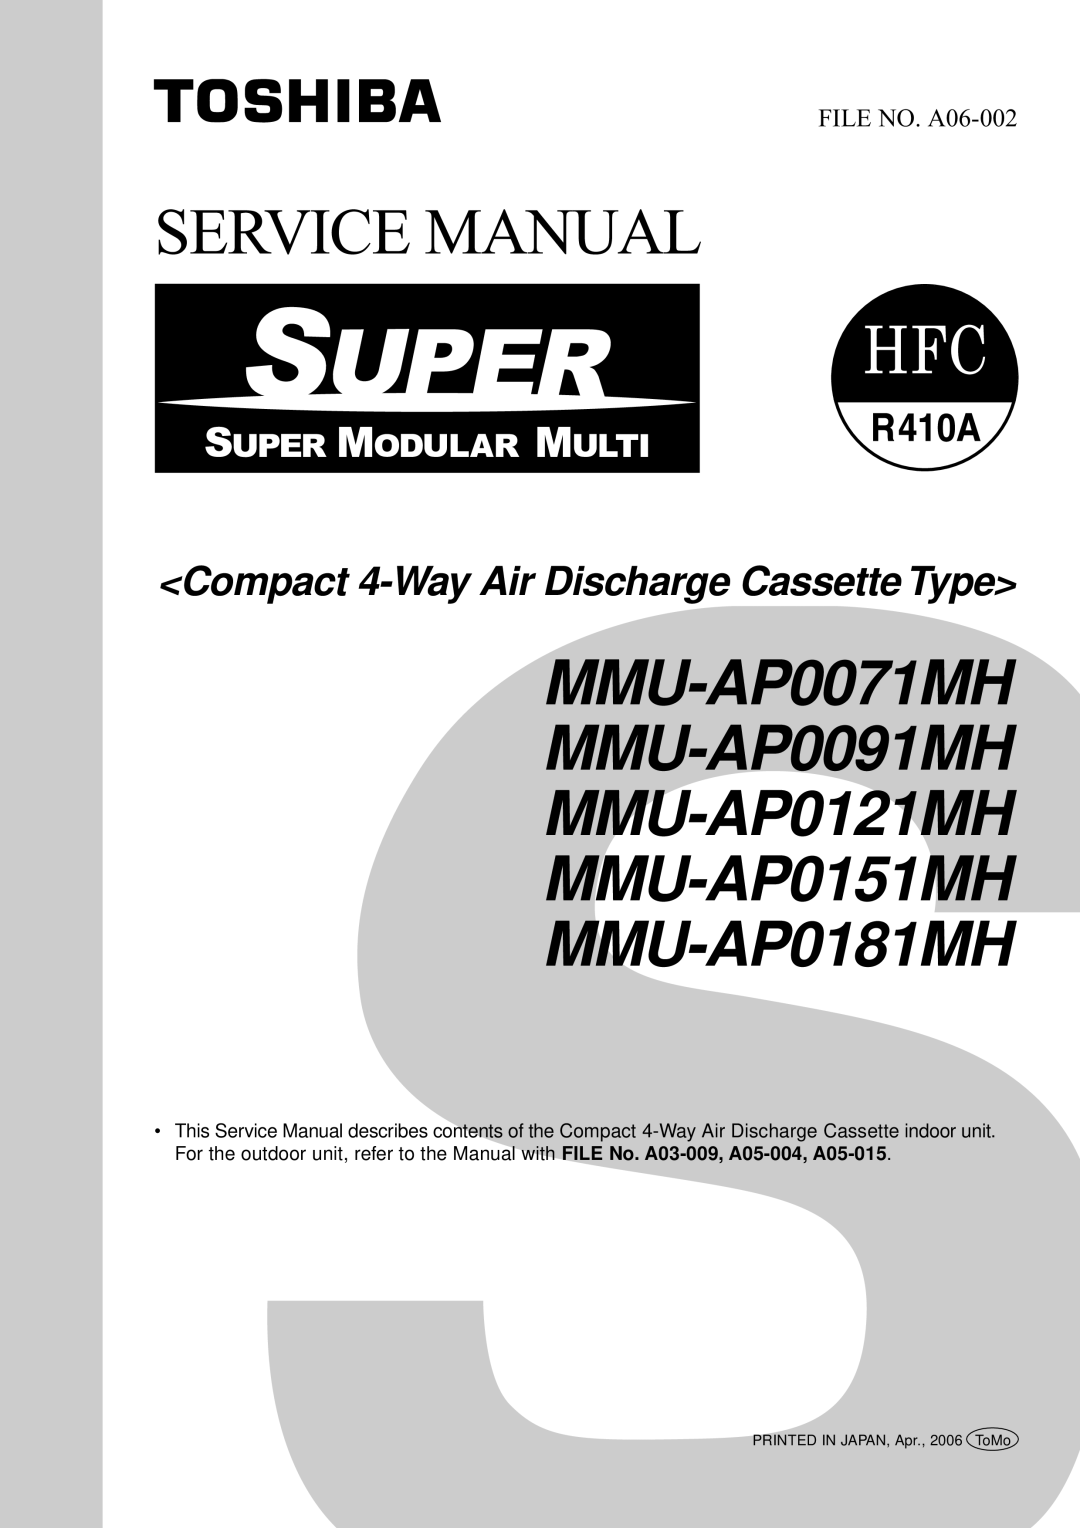
Compact 4-Way Air Discharge Cassette Type
Contents
Safety Caution
Catch the inner cables
Check the following items after reinstallation
Fire is caused at user’s side
Metal section Earth position
Pipe Materials
Safety Caution Concerned to New Refrigerant
Piping
Flare nut
Conditioner installation
R410A Conventional air Air conditioner installation
Tools
General tools Conventional tools can be used
Environment
Recharge of Refrigerant
4mm-hexagonal wrench is required
Cylinder with siphon
Wired remote
Space required for Installation and servicing
Construction Views External Views
Drain-up standing-up size
For Indoor unit
Wiring Diagram
MCC-1402
Control P.C. board
Parts Rating
Parts Rating
Name of Each Part
Model
Display section
Parts Name of Remote Controller
Operation section
Remote controller sensor
Button
Wind direction and Swing
Correct Usage
Turn on the main power switch and/or the leakage breaker
Preparation
Stop
When restarting the operation after stop
Automatic Operation Super Heat Recovery Type Only
Start
Timer operation
Timer Operation
Cancel of timer operation
To select SET Time
How to set up the air direction
Adjustment of Wind Direction
How to start swinging
How to stop swinging
Information
Air Conditioner Operations and Performance
Standby
When the Following Symptoms are Found
New Refrigerant Air Conditioner Installation
Precautions for Safety
To Disconnect the Appliance from Main Power Supply
Connect all of the installation wiring correctly
Installation space
Selection of Installation Place
Installation space
Installable ceiling height list
Case of wireless type
Installation of Indoor Unit
Dimensional view
Installation of ceiling panel Sold separately
Ceiling opening and installation of hanging bolts
Installation of hanging bolt
Installation of remote controller Sold separately
Drain Piping Work
Refrigerant Piping
Piping material and dimensions
Thermal insulating process
Permissible pipe length and permissible height difference
Connection of refrigerant pipe
Electric Work
Airtight test/Air purge, etc
Open fully valves of the outdoor unit Gas leak check
Indoor unit power supply *1
Power supply specifications
Indoor/Outdoor inter-unit wiring, Central controller wiring
Remote controller wiring *4
Applicable Controls
Case of remote controller-less Group control
Case of installation to high ceiling
Change of lighting time of filter sign
Increased heating effect
Case of wireless remote controller
How to execute test operation
Case of wired remote controller
Test RUN
Confirmation of error history
Troubleshooting
Check code list
Confirmation and check Check method
Error detected by TCC-LINK central control device
Troubleshooting
Daily maintenance
Maintenance
New check code
Way Air Discharge Cassette Type
Functional part name Functional outline
Refrigerating Cycle Diagram
Outline of specifications Remarks
Control Specifications
Remote controller Control outline Command
Control Outline
Value
Reset conditions
TCB-AX21E
Central control mode
Central control mode 1 Cannot operate
Central control mode 4 Cannot select mode
Applied Control
Procedure Execute the setup operation while the unit stops
HEAT, Heat → Cool
Description At shipment
Indoor unit capacity
Applied Control in Indoor Unit
Remote location ON/OFF control box TCB-IFCB-4E
Wiring
Ventilating fan control from remote controller
Function
Operation
Using the setup temp
Power peak-cut from indoor unit
Button, set to the setup data
Leaving-ON prevention control
Troubleshooting Summary
Troubleshooting
Before troubleshooting
Troubleshooting procedure
Check Method
Check code list
Auxiliary code
Judging device
Sensor block display
MG-SW
Check code Outdoor 7-segment display Auxiliary code
Error detected by TCC-LINK central control device
Check code
Case of wired remote controller RBC-AMT31E
Troubleshooting by Check Display on Remote Controller
Confirmation of error history
Procedure Description
Case of central remote controller TCB-SC642TLE
Outdoor 7-segment display
Check code
Check code Auxiliary code
Remote
Check code
Setup method of No. capacity-over Detection
Main Outdoor 7-segment display Remote
Convenient functions
Check code Auxiliary code
Main Outdoor 7-segment display
Remote
Detected
Check item position
Remote Check code
Detected Main
Status Error detection condition Check item position
Position Remote
H07
Check code Main Outdoor 7-segment display
Check all the outdoor units in the corresponding line
Check clogging of oil equation pipe between compressors
H16
Check code Main Outdoor 7-segment display Remote
L30 Detected indoor address L31
P01 P03 P04
Name
TS error judgment standard temperature
Heating
Remote Check code Auxiliary code
Outdoor 7-segment display Check code name
Error detection condition Check item position
Device Check code
Outdoor 7-segment display Detected position
Display on
Central control
How to check resistance of compressor winding
How to check inverter output
How to check the outdoor fan motor
Measured position Criteria
E03
Diagnosis Procedure for Each Check Code
E04
E02
E07
E06 Decreased number of indoor units
E12
E08
E15
E09 Duplicated master
E18
E16
E19
Reference
E20
∗ 1 How to clear the error
E23
E25
F01
E31
F02
F03
F05 TD2 sensor error
F04 TD1 sensor error
F06 TE1 sensor error
F08 To sensor error
F15 Outdoor temp sensor miscabling
F29 Indoor other error
TE1, TL
F23
H02
F31
H01
H03
H06 Low-pressure protective operation
Clogging for SV3E valve
Leakage check for SV3C valve
Clogging check for SV3D valve
H08
Clogging check for oil-equalization circuit
TK3 temperature detective circuit error
Oil level detective circuit system error
L04
H16 TK4 temperature detective circuit error
L05
L03
L10
L07 Group line in individual indoor unit
L17
L08
L29
L18
L20
L28
L30 Interlock in indoor unit
P01 Indoor fan motor error
P03
L31
P04 Actuation
P05 Open phase, negative phase
High-pressure SW
Auxiliary code Compressor 1 side
P10 Indoor overflow error
P07 Heat sink overheat error
Indoor fan motor error
P12
P15
P13 Outdoor liquid back detection error 1. PMV1/PMV2 error
Gas leak detection
TS condition Auxiliary code
P15 Gas leak detection
Discharge temp TD2 error
P17
TD condition Auxiliary code
P20 High-pressure protective operation
P19 Way valve operation error
Judgment criteria
Auxiliary code 0 ∗
P22 Outdoor fan Ipdu error
Detective circuit error
P26 Tr short-circuit protection error
P29
P31
How to read the check monitor Segment display
Check procedure in case of stop with trouble
Segment Display Function
Segment display on the outdoor unit Interface P.C. board
SW01 SW02 SW03 Display contents
There is auxiliary code Check code ∗ ∗ ∗ for 3 seconds
SW03 SW02 Indoor address Segment display a
Data display of outdoor cycle Displayed on each outdoor unit
Temperature sensor characteristics
Sensor Characteristics
W01 SW02 SW03 Display contents Segment display
Segment display A, B
Wired remote controller Up to 2 units
Configuration of Control Circuit
Weekly timer
Indoor Unit
Kit
Connection of wireless remote controller
Compact 4-way Air Discharge Cassette Type
Cassette Type Controller
Wireless
Remote
Compact4-way Air Discharge Connection of both remote
Type
Air Discharge
MCC-1402 Compact 4-way
Cassette
Function Connector Pin Specifications Remarks
Optional Connector Specifications of Indoor P.C. Board
Detachments
Part name Procedure Remarks
Preparing work
Attachment
100
101
No. Part name Procedure Remarks
102
103
No. Part name Procedure
Fan guard 1. Detachment
Bell mouth 1. Detachment
Fan motor 1. Detachment
104
Drain pump 1. Detachment
105
106
Details of sensor lead wire drawing
Arrow view B
Details of a part
107
Exchanger Recover refrigerant gas
Heat
Exchange of P.C. Board for Indoor Service
10. P.C. Board Exchange Procedures
Exchange procedure
108
Remote controller operation diagram
Procedure 1 Readout setup contents from Eeprom
110
Procedure 2 Exchange of P.C. board for service
Eeprom layout
Procedure 3 Writing-in of setup contents to Eeprom
Make a note of the setup contents. Item code list Example
Ceiling Panel
Exploded Views and Parts List
113
Description
MMU-AP0071MH, AP0091MH, AP0121MH, AP0151MH, AP0181MH
Compact 4-way Air Discharge Cassette Type
211
114
Description Remarks Model Name
115
0071MH 0091MH 0121MH 0151MH 0181MH
Description Model Name
116
Toshiba Carrier Corporation