Chapter 2 Installation Planning | 7 |
Rear Panel
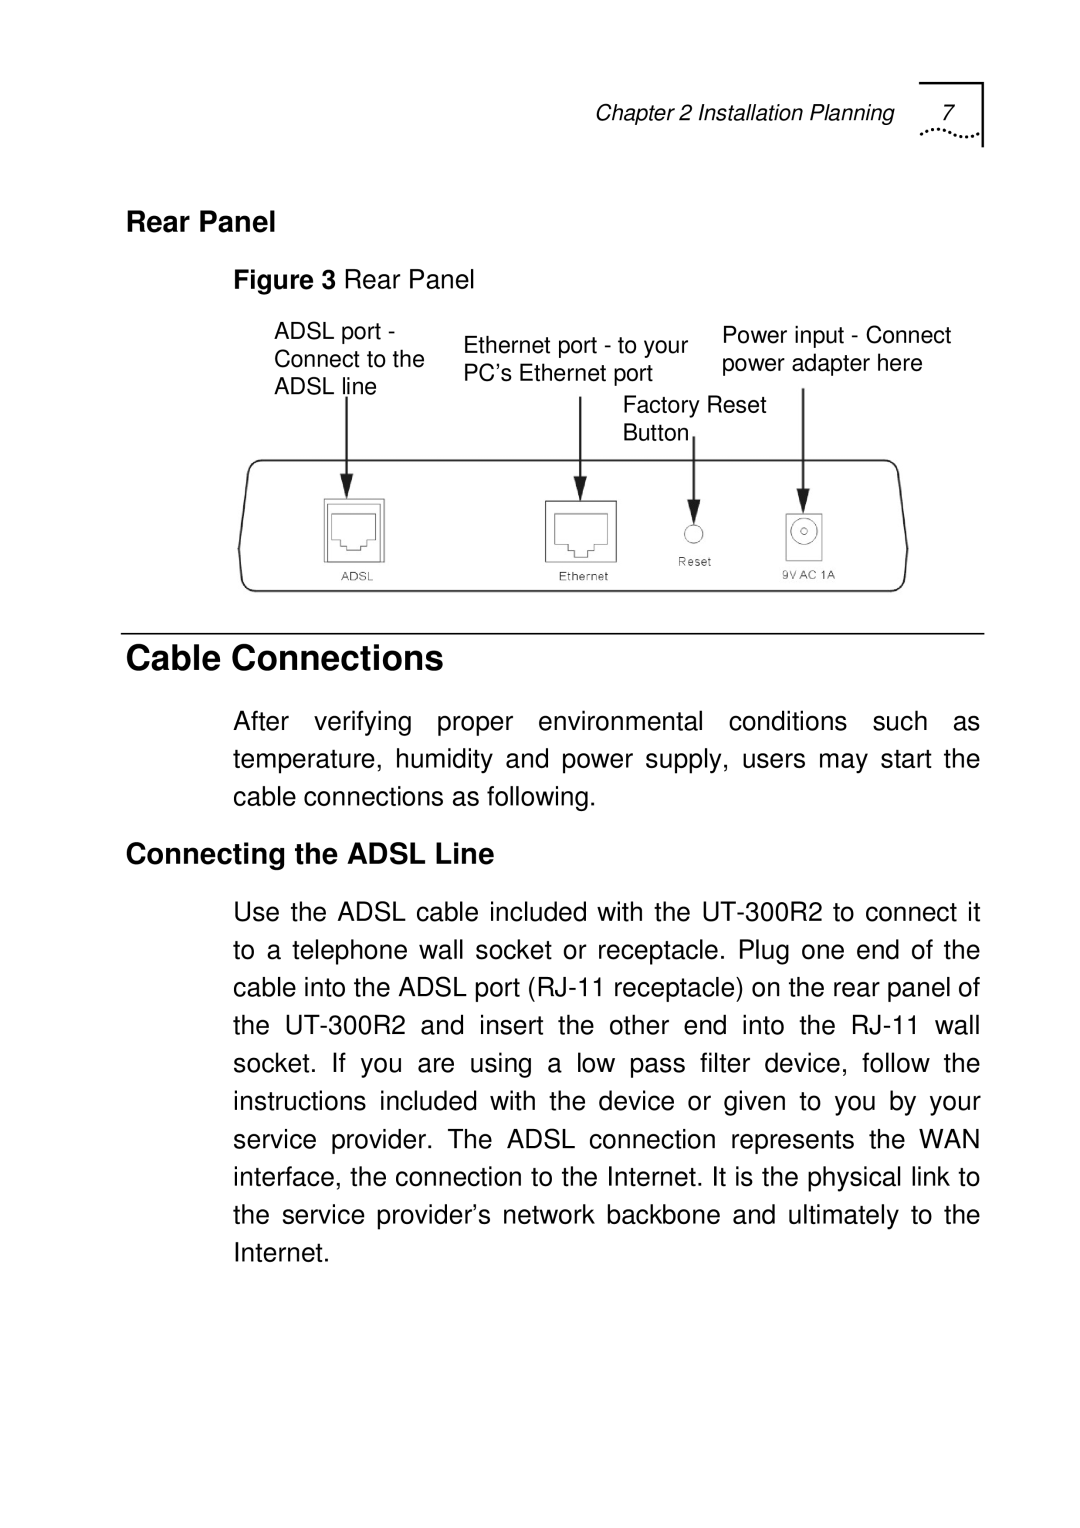
Figure 3 Rear Panel
| ADSL port - | Ethernet port - to your | Power input - Connect |
| Connect to the | power adapter here |
| PC’s Ethernet port |
| ADSL line | |
| Factory Reset |
| |
Button
Cable Connections
After verifying proper environmental conditions such as temperature, humidity and power supply, users may start the cable connections as following.
Connecting the ADSL Line
Use the ADSL cable included with the UT-300R2 to connect it to a telephone wall socket or receptacle. Plug one end of the cable into the ADSL port (RJ-11 receptacle) on the rear panel of the UT-300R2 and insert the other end into the RJ-11 wall socket. If you are using a low pass filter device, follow the instructions included with the device or given to you by your service provider. The ADSL connection represents the WAN interface, the connection to the Internet. It is the physical link to the service provider’s network backbone and ultimately to the Internet.