Basic Operations (Cont.)
■Remote control unit
OPERATE
|
| HIDE |
|
|
|
| BACK |
|
|
| LIGHT |
| LOCK |
|
|
| UNLOCK | ENTER |
|
|
|
| |
| EXIT |
| MENU |
SHIFT +/– |
|
|
|
buttons | VIC 1 | VIC 2 | VIC 3 |
| T |
|
|
| ZOOM | SHIFT | FOCUS |
| W |
|
|
|
| ON | T |
| KEYSTONE | SHUTTER | DIGITAL |
| ZOOM | ||
|
|
|
OFF W
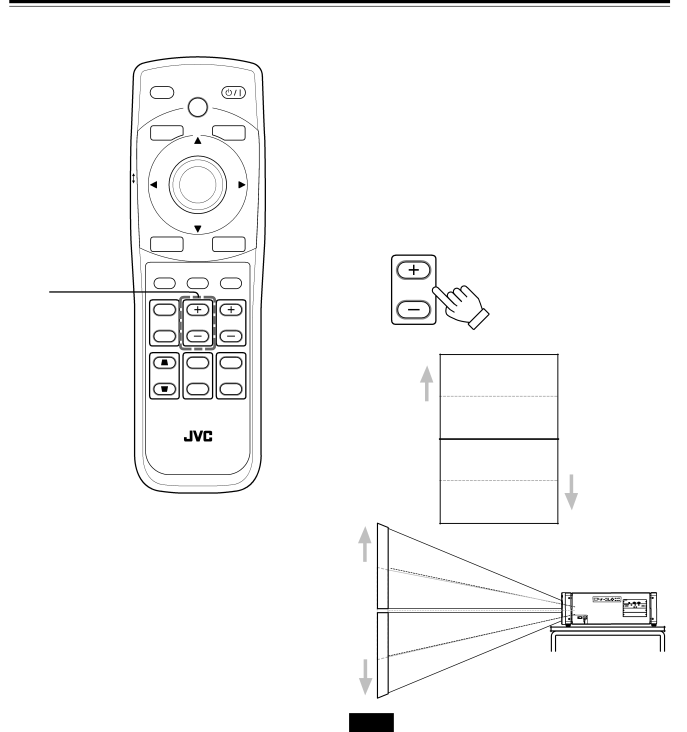
■Setting the amount of lens shifting (SHIFT)
When the lens unit (not supplied) has the lens shifting function, the projected screen can be moved vertically in position.
•When using the projectors in stack configuration (stacked one over another), make adjustment so that the picture of each projector overlays exactly using the lens shift function.
Press the SHIFT + button:
The lens shifts upward.
Press the SHIFT – button:
The lens shifts downward.
Remote control unit
SHIFT
Notes
•The amount of shifting is within the range of approx.
•When the lens shift is set to 0%, the center of the projection screen is the same height as the center of the lens.
When the lens shift is set to 50%, the bottom edge of the projection screen is at the same height as the center of the lens. When the lens shift is set to
38