CHAPTER 3: Replacing notebook components
6Remove the screws that secure the hard drive bracket.
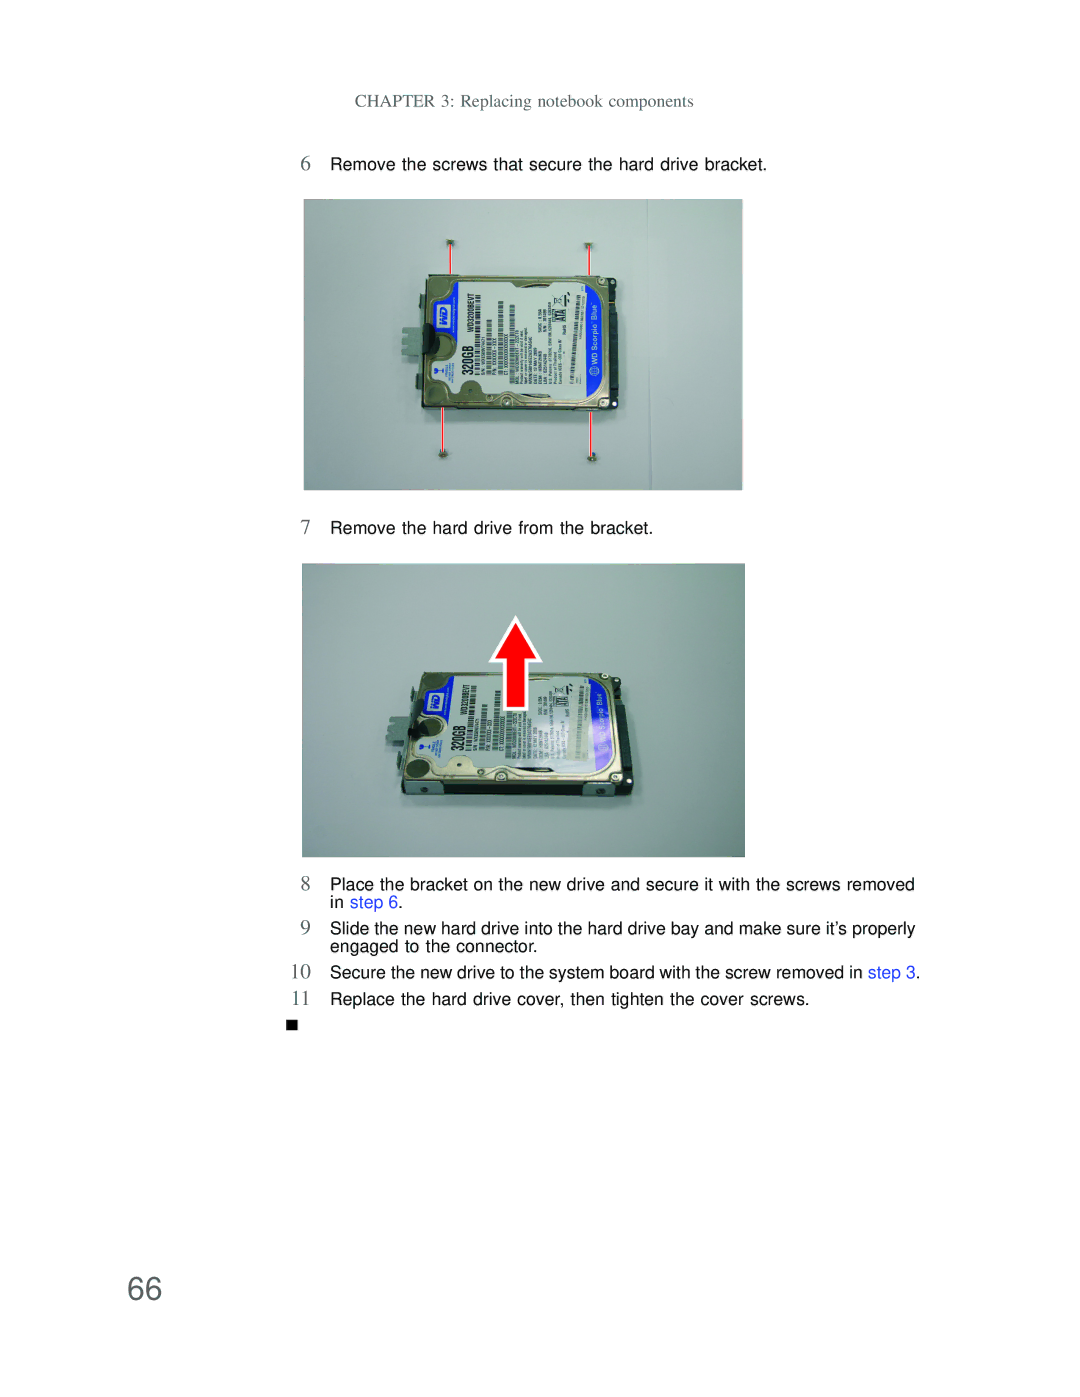
7Remove the hard drive from the bracket.
8Place the bracket on the new drive and secure it with the screws removed in step 6.
9Slide the new hard drive into the hard drive bay and make sure it’s properly engaged to the connector.
10Secure the new drive to the system board with the screw removed in step 3.
11Replace the hard drive cover, then tighten the cover screws.
66