CHAPTER 3: Replacing notebook components
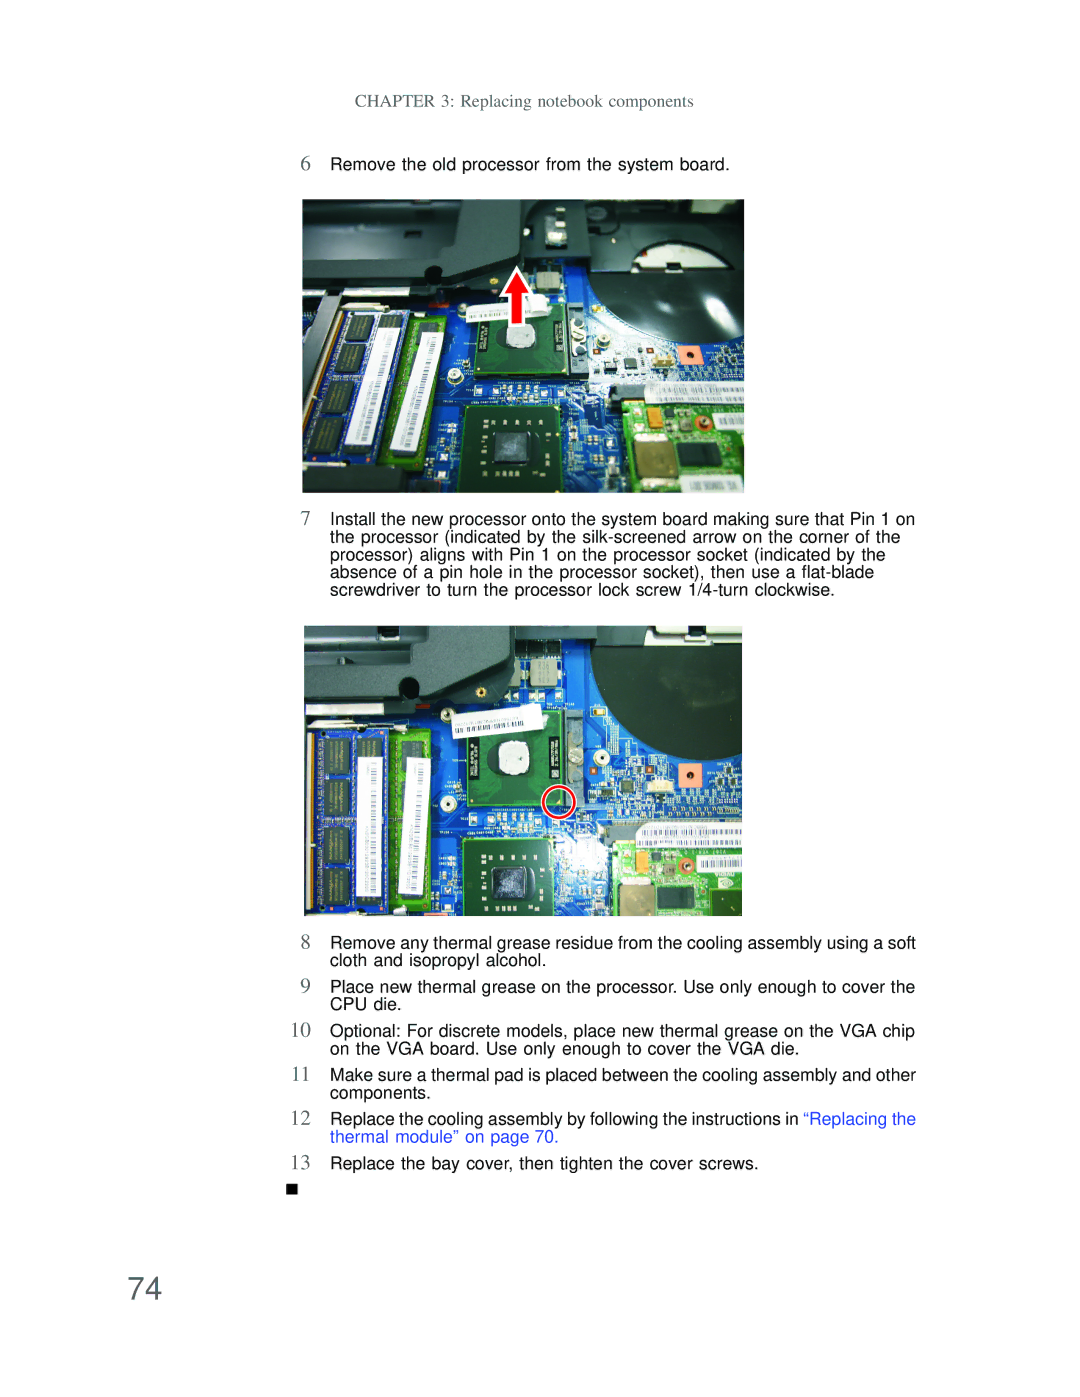
6Remove the old processor from the system board.
7Install the new processor onto the system board making sure that Pin 1 on the processor (indicated by the
8Remove any thermal grease residue from the cooling assembly using a soft cloth and isopropyl alcohol.
9Place new thermal grease on the processor. Use only enough to cover the CPU die.
10Optional: For discrete models, place new thermal grease on the VGA chip on the VGA board. Use only enough to cover the VGA die.
11Make sure a thermal pad is placed between the cooling assembly and other components.
12Replace the cooling assembly by following the instructions in “Replacing the thermal module” on page 70.
13Replace the bay cover, then tighten the cover screws.
74