The Configuration Wizard screen (Figure 3 on page 23) is shown with a Completed status next to Step 2. Click Next to continue with Step 3: Adding a Library.
Step 3: Adding a Library
Use the procedure in this section to add libraries to StorNext. The StorNext Storage Manager (SNSM) component of StorNext supports three types of libraries: SCSI, Network (ACSLS or DAS), and Vault.
•SCSI button: Select SCSI if you have a SCSI or a fibre
•Network button: Select Network if you have a
•Vault button: Select Vault if your library stores media that has been moved from a robotic library. A Vault library is a library used only to store media and cannot be reconfigured after it has been designated as a vault.
Depending on the library type, refer to the appropriate procedure to add the library to StorNext.
•Adding a SCSI Library on page 36
•Adding an ACSLS Network Library on page 39
•Adding a DAS Network Library on page 41
•Adding a Vault Library on page 47
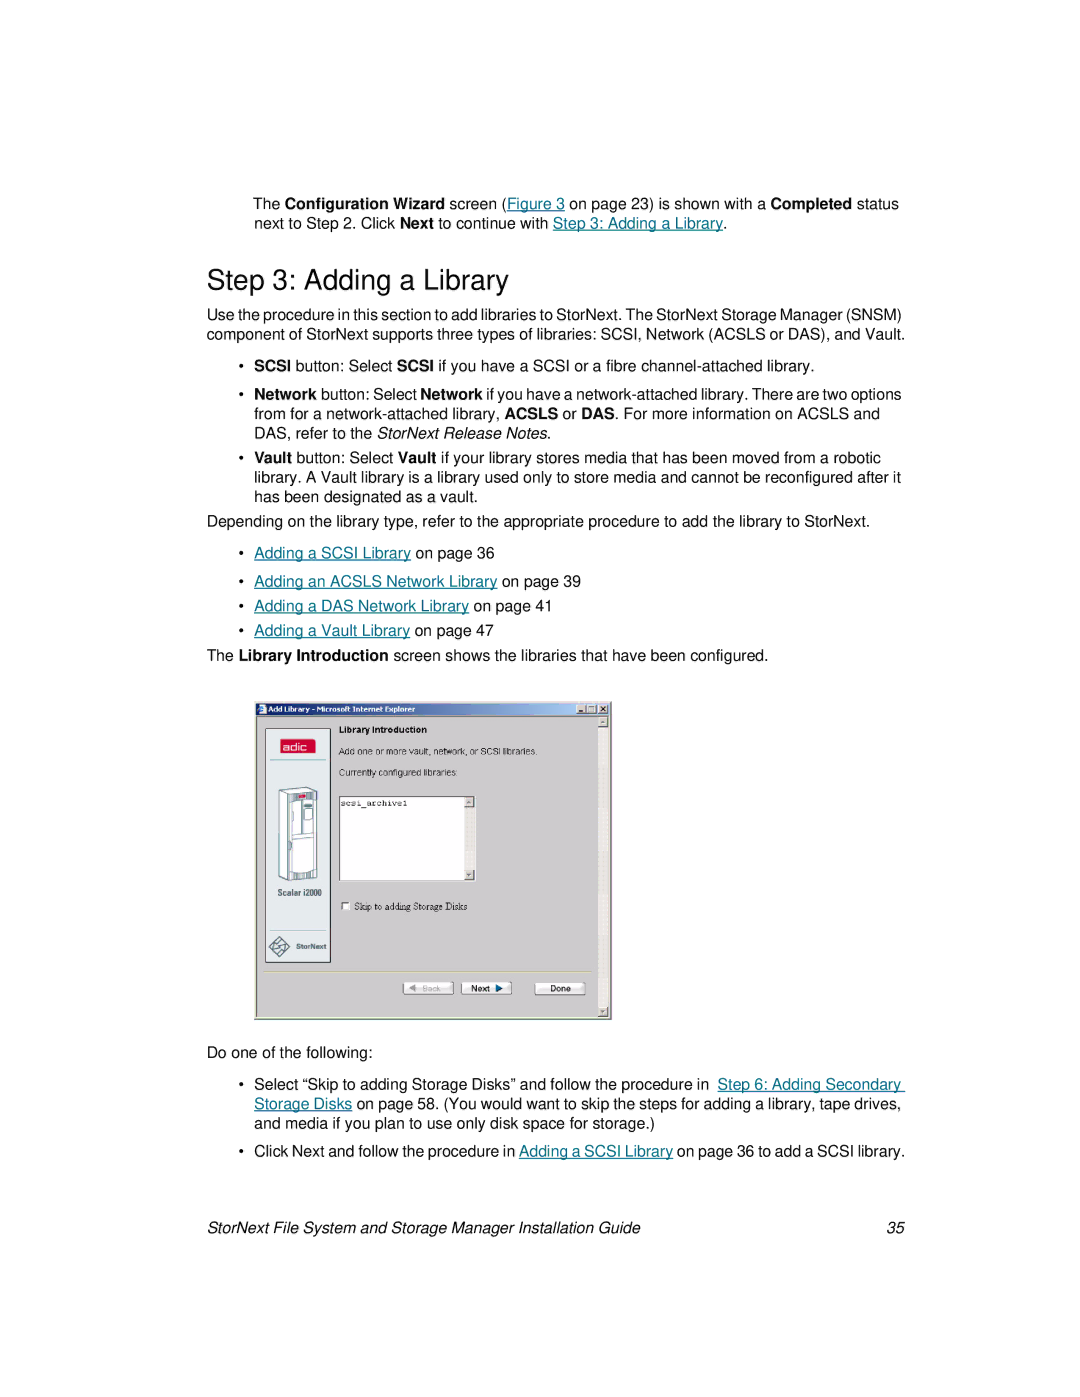
The Library Introduction screen shows the libraries that have been configured.
Do one of the following:
•Select “Skip to adding Storage Disks” and follow the procedure in Step 6: Adding Secondary Storage Disks on page 58. (You would want to skip the steps for adding a library, tape drives, and media if you plan to use only disk space for storage.)
•Click Next and follow the procedure in Adding a SCSI Library on page 36 to add a SCSI library.
StorNext File System and Storage Manager Installation Guide | 35 |
