3b. Use the
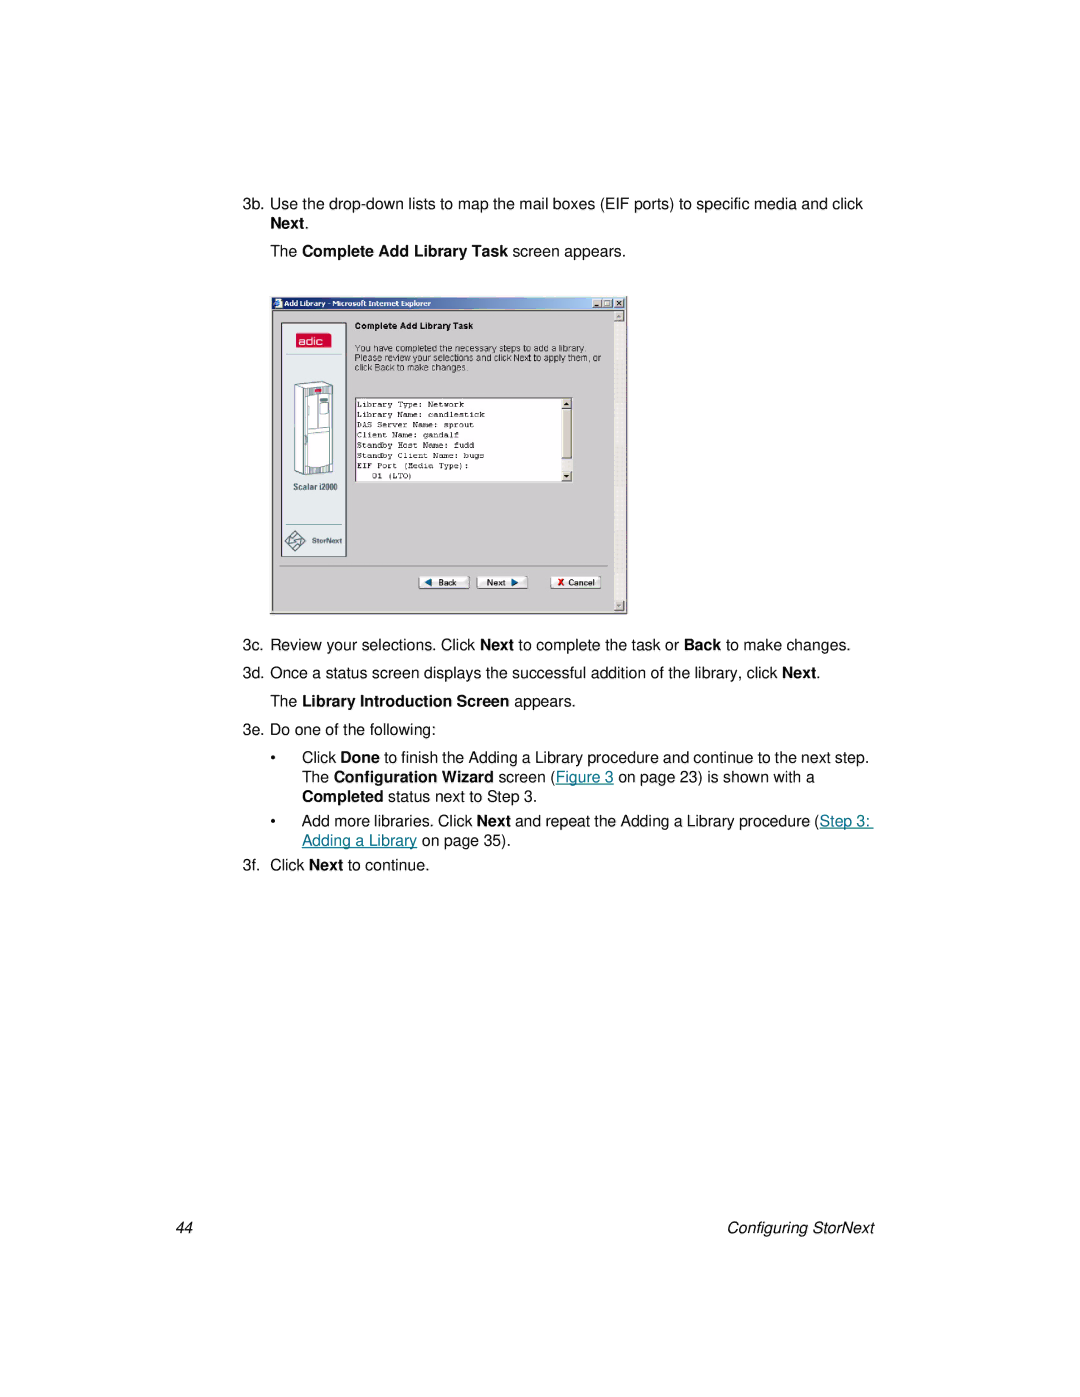
The Complete Add Library Task screen appears.
3c. Review your selections. Click Next to complete the task or Back to make changes. 3d. Once a status screen displays the successful addition of the library, click Next.
The Library Introduction Screen appears.
3e. Do one of the following:
•Click Done to finish the Adding a Library procedure and continue to the next step. The Configuration Wizard screen (Figure 3 on page 23) is shown with a Completed status next to Step 3.
•Add more libraries. Click Next and repeat the Adding a Library procedure (Step 3: Adding a Library on page 35).
3f. Click Next to continue.
44 | Configuring StorNext |
