Chapter 2: Your First Session With The ADAT XT
TRANSPORT BUTTONS
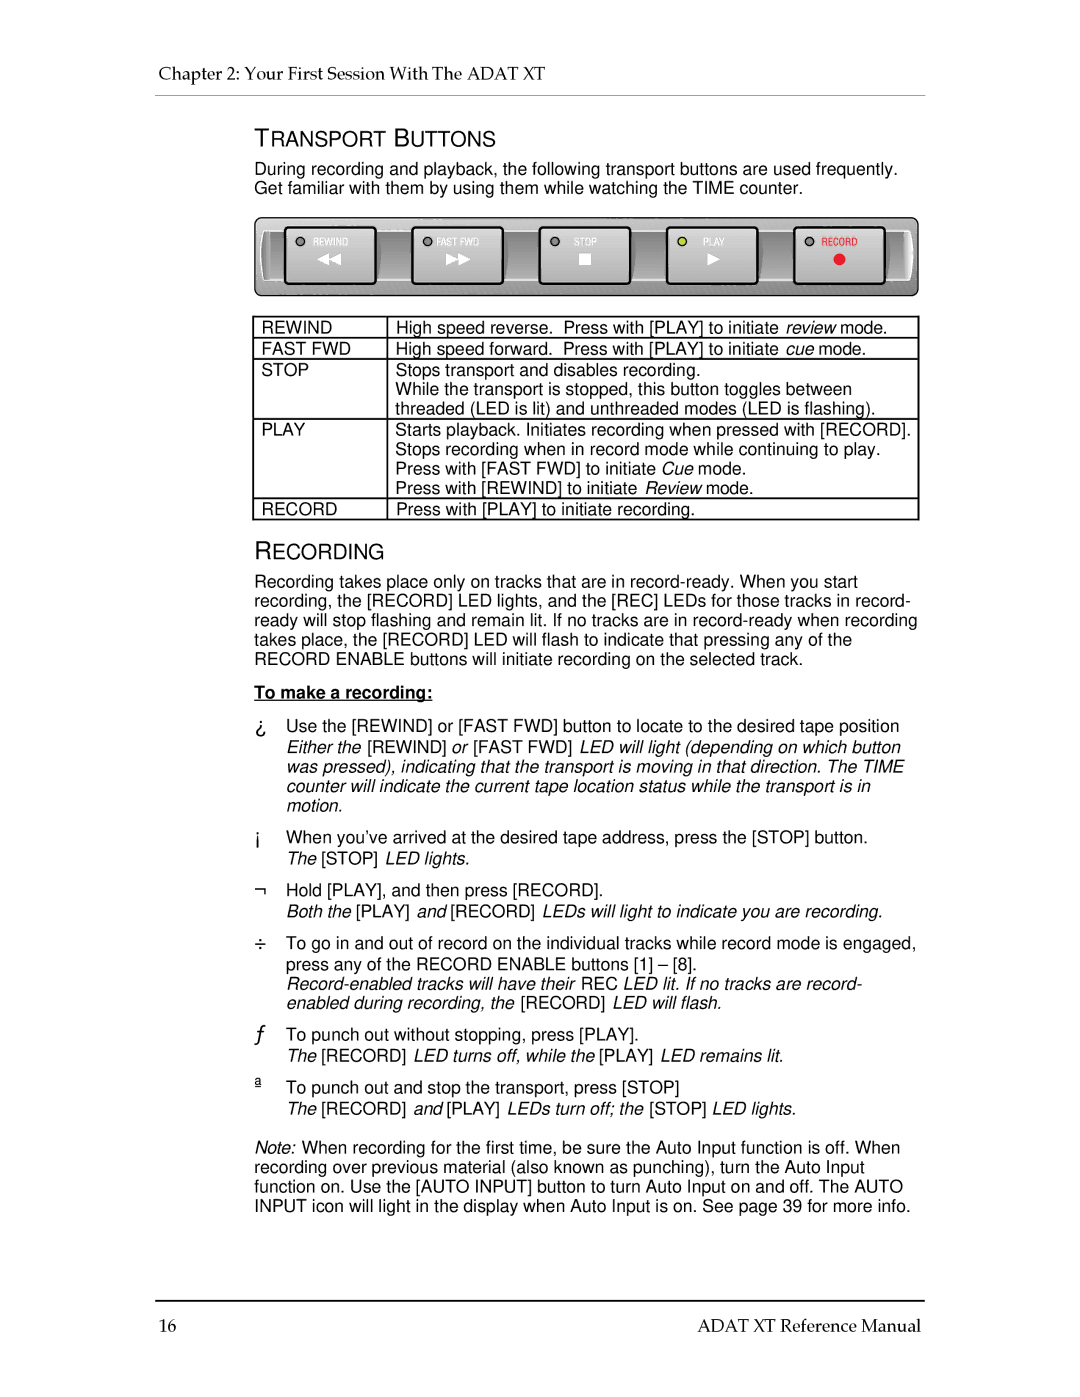
During recording and playback, the following transport buttons are used frequently. Get familiar with them by using them while watching the TIME counter.
REWIND | High speed reverse. Press with [PLAY] to initiate review mode. |
FAST FWD | High speed forward. Press with [PLAY] to initiate cue mode. |
STOP | Stops transport and disables recording. |
| While the transport is stopped, this button toggles between |
| threaded (LED is lit) and unthreaded modes (LED is flashing). |
PLAY | Starts playback. Initiates recording when pressed with [RECORD]. |
| Stops recording when in record mode while continuing to play. |
| Press with [FAST FWD] to initiate Cue mode. |
| Press with [REWIND] to initiate Review mode. |
RECORD | Press with [PLAY] to initiate recording. |
RECORDING
Recording takes place only on tracks that are in
To make a recording:
¿Use the [REWIND] or [FAST FWD] button to locate to the desired tape position Either the [REWIND] or [FAST FWD] LED will light (depending on which button was pressed), indicating that the transport is moving in that direction. The TIME counter will indicate the current tape location status while the transport is in motion.
¡When you’ve arrived at the desired tape address, press the [STOP] button. The [STOP] LED lights.
¬Hold [PLAY], and then press [RECORD].
Both the [PLAY] and [RECORD] LEDs will light to indicate you are recording.
÷To go in and out of record on the individual tracks while record mode is engaged, press any of the RECORD ENABLE buttons [1] – [8].
ƒTo punch out without stopping, press [PLAY].
The [RECORD] LED turns off, while the [PLAY] LED remains lit.
ªTo punch out and stop the transport, press [STOP]
The [RECORD] and [PLAY] LEDs turn off; the [STOP] LED lights.
Note: When recording for the first time, be sure the Auto Input function is off. When recording over previous material (also known as punching), turn the Auto Input function on. Use the [AUTO INPUT] button to turn Auto Input on and off. The AUTO INPUT icon will light in the display when Auto Input is on. See page 39 for more info.
16 | ADAT XT Reference Manual |