Basic Operations: Chapter 4
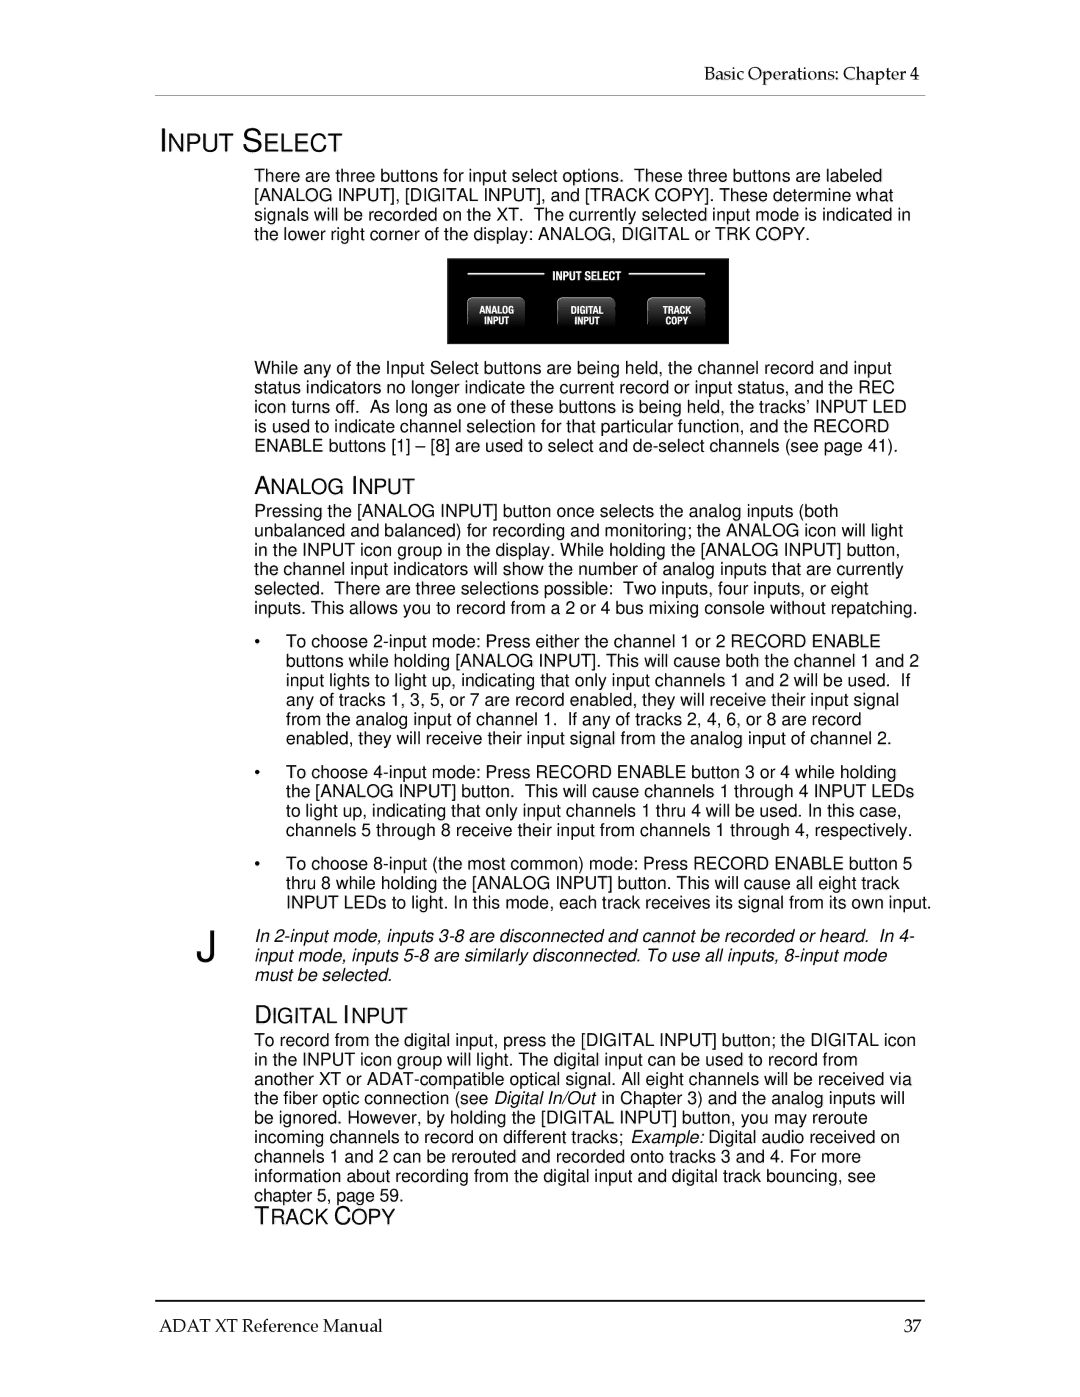
INPUT SELECT
There are three buttons for input select options. These three buttons are labeled [ANALOG INPUT], [DIGITAL INPUT], and [TRACK COPY]. These determine what signals will be recorded on the XT. The currently selected input mode is indicated in the lower right corner of the display: ANALOG, DIGITAL or TRK COPY.
While any of the Input Select buttons are being held, the channel record and input status indicators no longer indicate the current record or input status, and the REC icon turns off. As long as one of these buttons is being held, the tracks’ INPUT LED is used to indicate channel selection for that particular function, and the RECORD ENABLE buttons [1] – [8] are used to select and
ANALOG INPUT
Pressing the [ANALOG INPUT] button once selects the analog inputs (both unbalanced and balanced) for recording and monitoring; the ANALOG icon will light in the INPUT icon group in the display. While holding the [ANALOG INPUT] button, the channel input indicators will show the number of analog inputs that are currently selected. There are three selections possible: Two inputs, four inputs, or eight inputs. This allows you to record from a 2 or 4 bus mixing console without repatching.
• To choose
• To choose
| the [ANALOG INPUT] button. This will cause channels 1 through 4 INPUT LEDs |
| to light up, indicating that only input channels 1 thru 4 will be used. In this case, |
| channels 5 through 8 receive their input from channels 1 through 4, respectively. |
| • To choose |
| thru 8 while holding the [ANALOG INPUT] button. This will cause all eight track |
| INPUT LEDs to light. In this mode, each track receives its signal from its own input. |
J | In |
input mode, inputs | |
| must be selected. |
| DIGITAL INPUT |
| To record from the digital input, press the [DIGITAL INPUT] button; the DIGITAL icon |
| in the INPUT icon group will light. The digital input can be used to record from |
| another XT or |
| the fiber optic connection (see Digital In/Out in Chapter 3) and the analog inputs will |
| be ignored. However, by holding the [DIGITAL INPUT] button, you may reroute |
| incoming channels to record on different tracks; Example: Digital audio received on |
| channels 1 and 2 can be rerouted and recorded onto tracks 3 and 4. For more |
| information about recording from the digital input and digital track bouncing, see |
| chapter 5, page 59. |
| TRACK COPY |
ADAT XT Reference Manual | 37 |