Rack Assembly
3.Using a rated lifting device, load batteries onto TOP shelf rails in accordance with your wiring diagram. Take note of where each numbered battery should be placed, and the proper positioning of its positive and negative terminals.
Refer to step 3 on page 18 for similar procedure.
4.Make all specified TOP shelf
Shelf-to-shelf wiring
Review “Safety” on page 1 for safety warnings and caution notices. Take heed of all safety information before proceeding with battery connections. Failure to
Warning comply could result in serious injury or death!
Using the supplied
Prior to connecting batteries, use a voltmeter to check the voltage between those terminals being connected. Any reading other than zero is unacceptable.
Note
Follow these steps for each
1.Refer to your wiring diagrams for proper cabling and termination points.
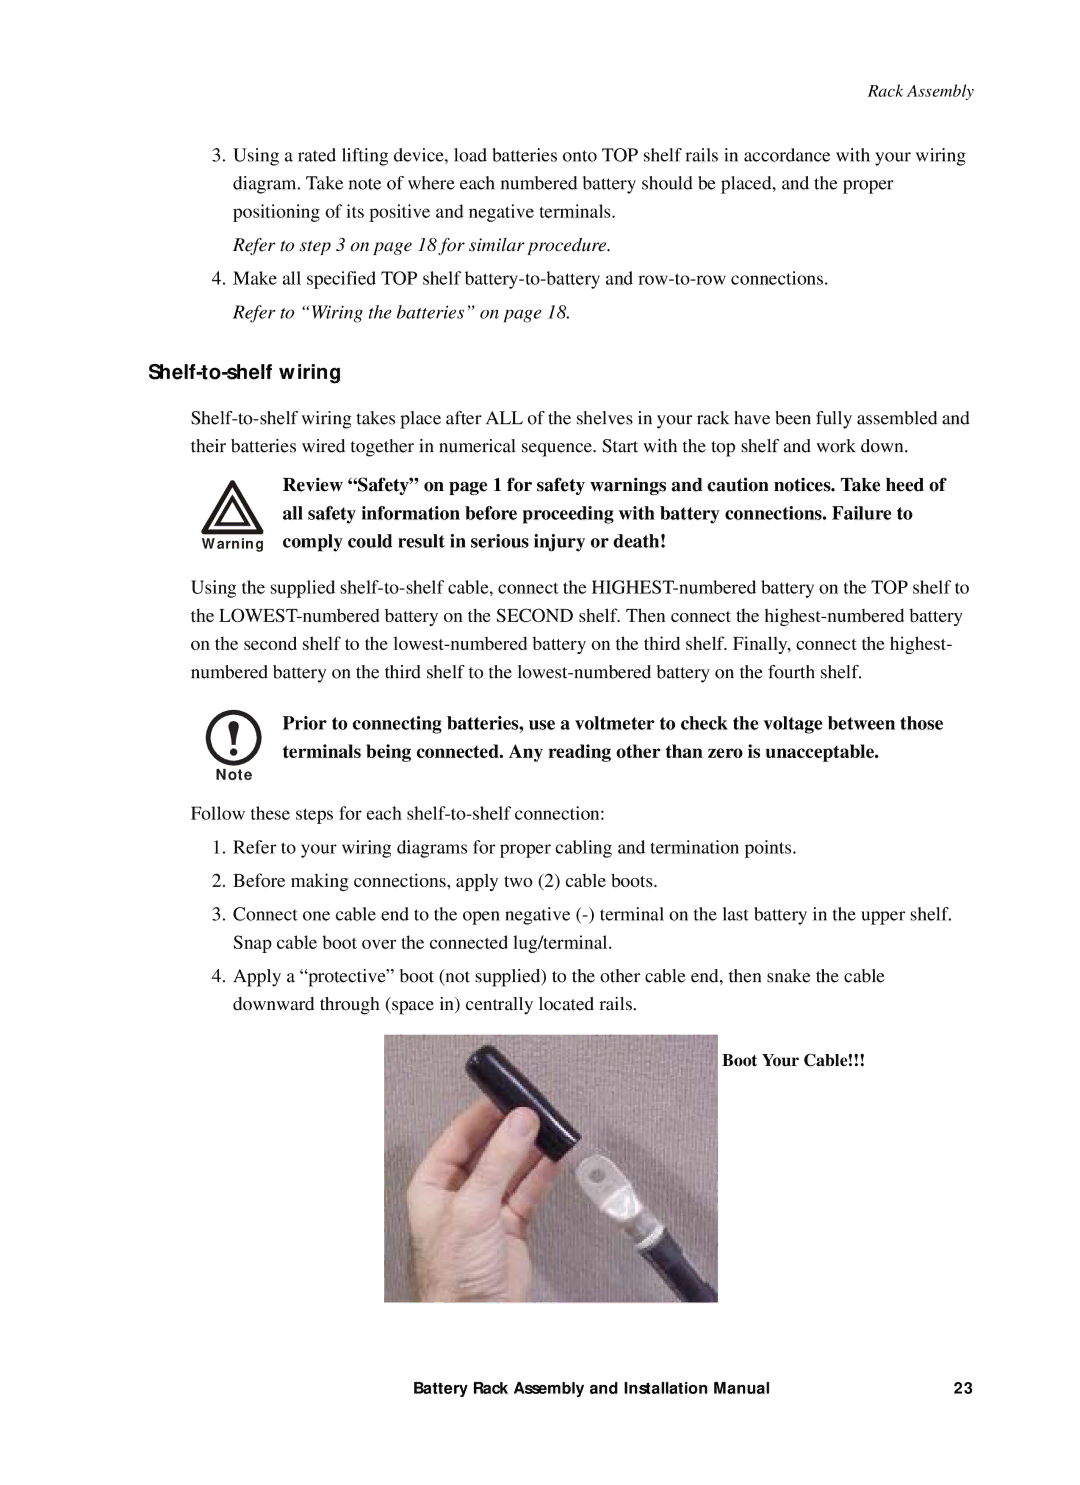
2.Before making connections, apply two (2) cable boots.
3.Connect one cable end to the open negative
4.Apply a “protective” boot (not supplied) to the other cable end, then snake the cable downward through (space in) centrally located rails.
Boot Your Cable!!!
Battery Rack Assembly and Installation Manual | 23 |