Chapter 8. Port Access
When you right click on a port in the Browser UI, a small button pops up offering to let you add the port to your Favorites list, and, if the port has been named, to erase the port’s name. Click Add to Favorites to add the port to the Favorites list (see Favorites, page 81). If the port is already designated as a Favorite, the button offers to remove the port from your Favorites list. Click Clear Name to erase the port’s name.
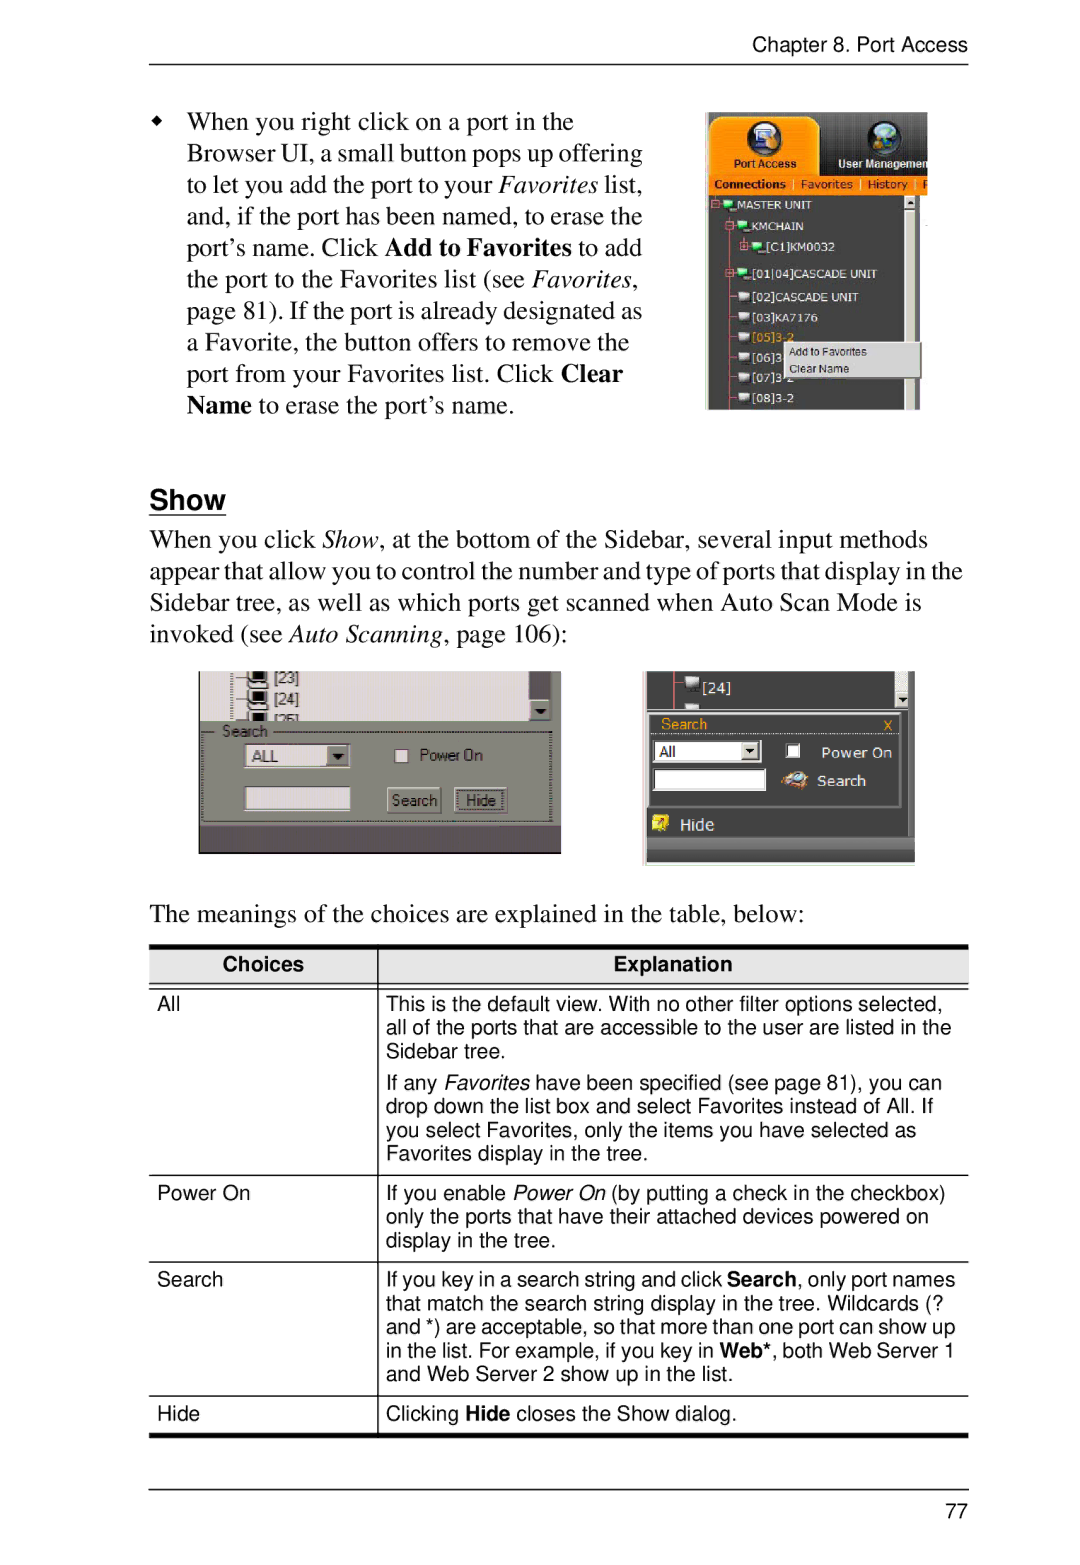
Show
When you click Show, at the bottom of the Sidebar, several input methods appear that allow you to control the number and type of ports that display in the Sidebar tree, as well as which ports get scanned when Auto Scan Mode is invoked (see Auto Scanning, page 106):
The meanings of the choices are explained in the table, below:
Choices | Explanation |
|
|
All | This is the default view. With no other filter options selected, |
| all of the ports that are accessible to the user are listed in the |
| Sidebar tree. |
| If any Favorites have been specified (see page 81), you can |
| drop down the list box and select Favorites instead of All. If |
| you select Favorites, only the items you have selected as |
| Favorites display in the tree. |
|
|
Power On | If you enable Power On (by putting a check in the checkbox) |
| only the ports that have their attached devices powered on |
| display in the tree. |
|
|
Search | If you key in a search string and click Search, only port names |
| that match the search string display in the tree. Wildcards (? |
| and *) are acceptable, so that more than one port can show up |
| in the list. For example, if you key in Web*, both Web Server 1 |
| and Web Server 2 show up in the list. |
|
|
Hide | Clicking Hide closes the Show dialog. |
|
|
77