System Configuration
Citation 5.0
Rev X.XX | RESET |
Figure FPD-1
Included in the initial
5.0.It is a good idea to note the software version that is installed in your unit in the place provided in Appendix B. Although it is unlikely that you will encounter problems with the 5.0, the exact revi- sion number of the software installed in your system is a valuable diagnostic tool that may be helpful to Customer Service representatives when you contact Citation via letter, phone or
After a brief display of the main
W | A T | C H |
|
|
P r o g 1 | : | L D a n a l o g | ||
P R O | L | O G I C |
| |
V o l u m e | = | 0 | 3 | |
Figure OSD-2
Prog 7 : DVD
*Pro Logic* Vol=49
Figure FPD-2
Speaker Setup
The first step in the configuration is to program the 5.0 so that it “knows” what kind of speakers are connected. This information, pertaining to the number and type of speakers installed, not their brand or model, establishes the bass management for the 5.0.
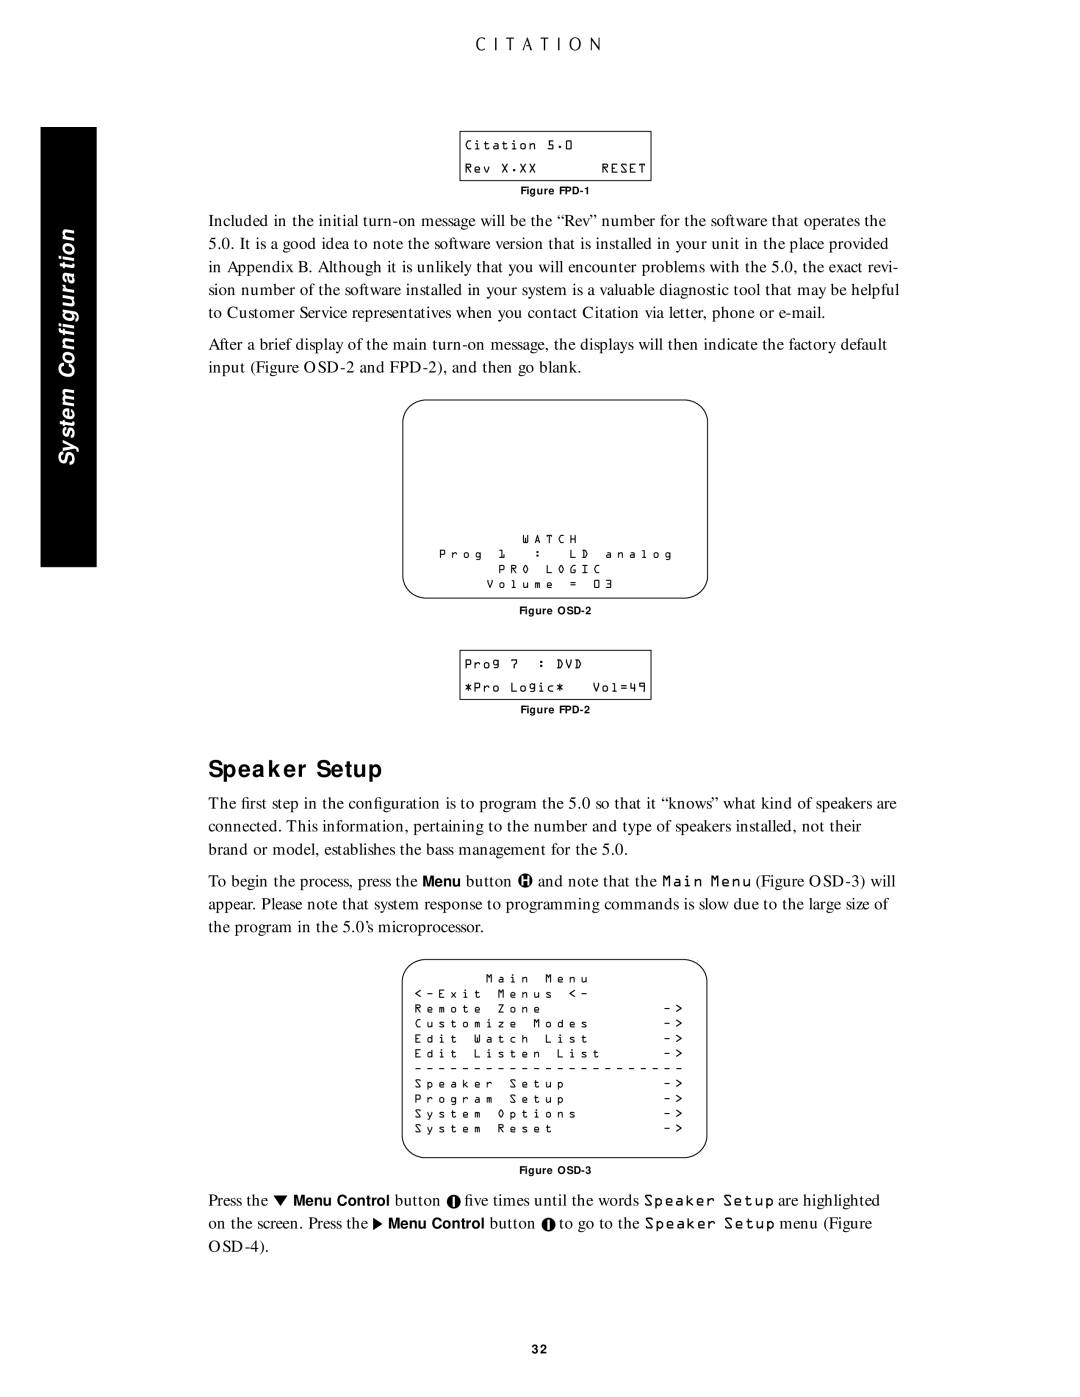
To begin the process, press the Menu button ú and note that the Main Menu (Figure
M a i n M e n u |
|
< Ð E x i t M e n u s < Ð |
|
R e m o t e Z o n e | Ð > |
C u s t o m i z e M o d e s | Ð > |
E d i t W a t c h L i s t | Ð > |
E d i t L i s t e n L i s t | Ð > |
Ð Ð Ð Ð Ð Ð Ð Ð Ð Ð Ð Ð Ð Ð Ð Ð Ð Ð Ð Ð Ð Ð Ð
S p e a k e r S e t u p | Ð > | |
P r o g r a m S e t u p | Ð > | |
S y s t e m | O p t i o n s | Ð > |
S y s t e m | R e s e t | Ð > |
Figure OSD-3
Press the Û Menu Control button ![]() five times until the words Speaker Setup are highlighted on the screen. Press the Ý Menu Control button
five times until the words Speaker Setup are highlighted on the screen. Press the Ý Menu Control button ![]() to go to the Speaker Setup menu (Figure
to go to the Speaker Setup menu (Figure
32