System Configuration
After selecting the first letter, press the Ý Menu Control button ![]() to move one space to the right, and select the second character as you did the first. Should you make an error or change your mind, use the Ü Menu Control button
to move one space to the right, and select the second character as you did the first. Should you make an error or change your mind, use the Ü Menu Control button ![]() to move one space left. When you have entered the desired text, press the Ü or Ý Menu Control buttons
to move one space left. When you have entered the desired text, press the Ü or Ý Menu Control buttons ![]() until all of the letters on the line are highlighted.
until all of the letters on the line are highlighted.
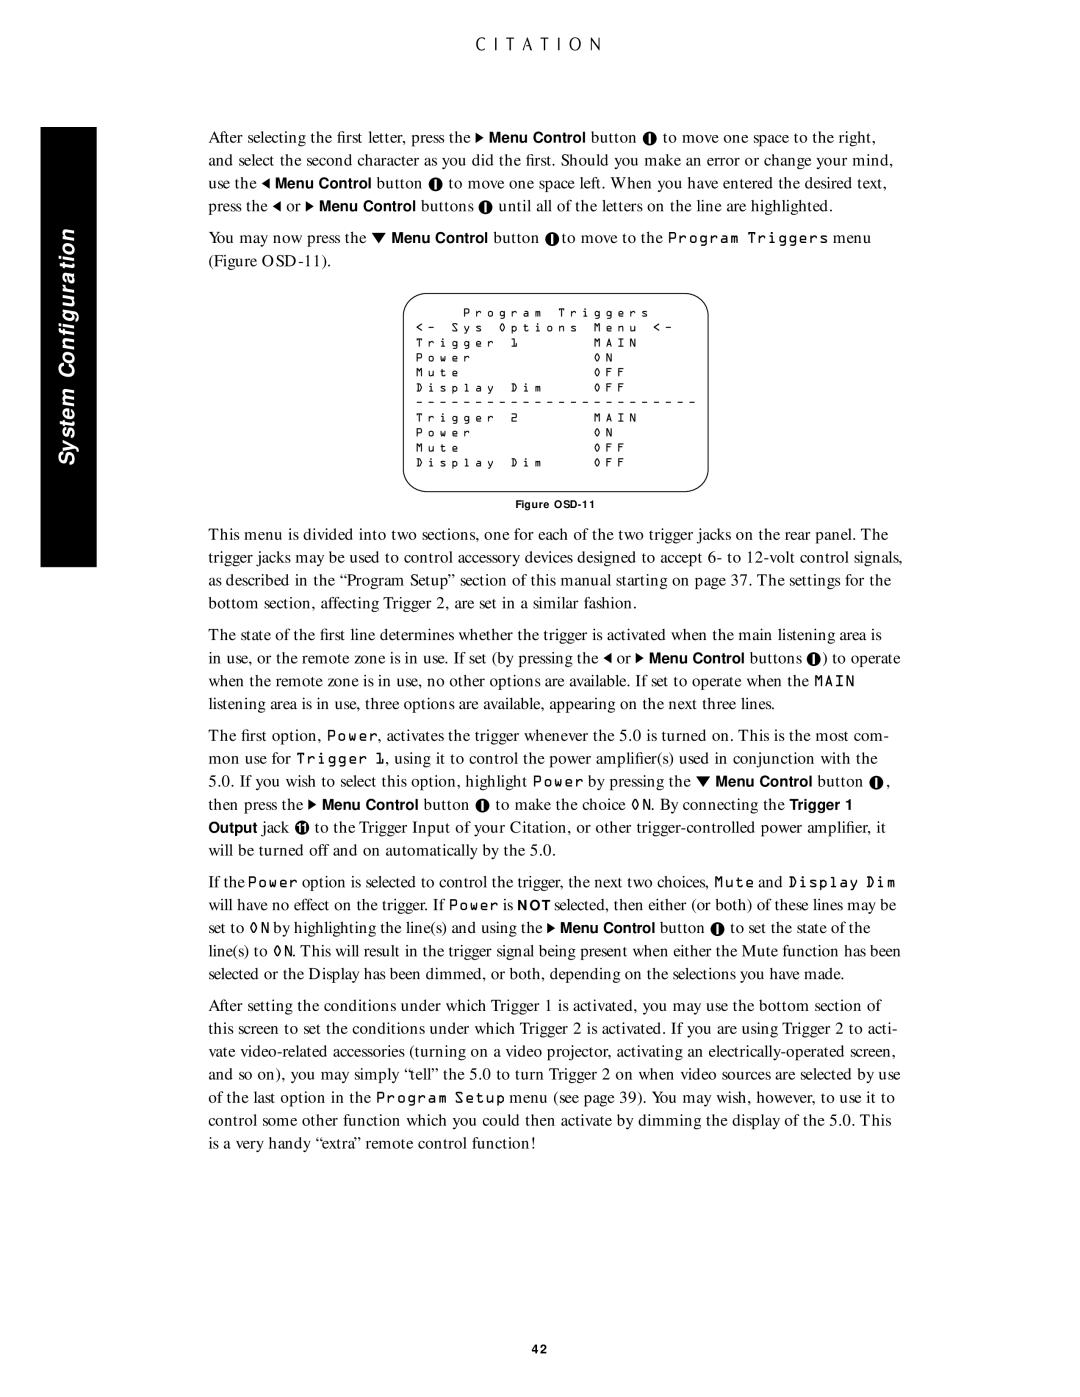
You may now press the Û Menu Control button ![]() to move to the Program Triggers menu (Figure
to move to the Program Triggers menu (Figure
P r o g r a m T r i g g e r s
< Ð S y s O p t i o n s M e n u < Ð
T r i g g e r 1 | M A I N |
P o w e r | O N |
M u t e | O F F |
D i s p l a y D i m | O F F |
Ð Ð Ð Ð Ð Ð Ð Ð Ð Ð Ð Ð Ð Ð Ð Ð Ð Ð Ð Ð Ð Ð Ð Ð
T r i g g e r 2 | M A I N |
P o w e r | O N |
M u t e | O F F |
D i s p l a y D i m | O F F |
Figure OSD-11
This menu is divided into two sections, one for each of the two trigger jacks on the rear panel. The trigger jacks may be used to control accessory devices designed to accept 6- to
The state of the first line determines whether the trigger is activated when the main listening area is in use, or the remote zone is in use. If set (by pressing the Ü or Ý Menu Control buttons ![]() ) to operate when the remote zone is in use, no other options are available. If set to operate when the MAIN listening area is in use, three options are available, appearing on the next three lines.
) to operate when the remote zone is in use, no other options are available. If set to operate when the MAIN listening area is in use, three options are available, appearing on the next three lines.
The first option, Power, activates the trigger whenever the 5.0 is turned on. This is the most com- mon use for Trigger 1, using it to control the power amplifier(s) used in conjunction with the
5.0.If you wish to select this option, highlight Power by pressing the Û Menu Control button ![]() , then press the Ý Menu Control button
, then press the Ý Menu Control button ![]() to make the choice ON. By connecting the Trigger 1 Output jack Ú to the Trigger Input of your Citation, or other
to make the choice ON. By connecting the Trigger 1 Output jack Ú to the Trigger Input of your Citation, or other
If the Power option is selected to control the trigger, the next two choices, Mute and Display Dim will have no effect on the trigger. If Power is NOT selected, then either (or both) of these lines may be set to ON by highlighting the line(s) and using the Ý Menu Control button ![]() to set the state of the line(s) to ON. This will result in the trigger signal being present when either the Mute function has been selected or the Display has been dimmed, or both, depending on the selections you have made.
to set the state of the line(s) to ON. This will result in the trigger signal being present when either the Mute function has been selected or the Display has been dimmed, or both, depending on the selections you have made.
After setting the conditions under which Trigger 1 is activated, you may use the bottom section of this screen to set the conditions under which Trigger 2 is activated. If you are using Trigger 2 to acti- vate
42