Once the reference level has been set at the Left Front speaker, press the Û Menu Control button ![]() . The test noise will move to the center speaker, as indicated in the
. The test noise will move to the center speaker, as indicated in the ![]() , adjust the sound level so that it is equal to the level just set at the Left Front speaker. This may be done either by careful listening or with a sound pressure level meter, but use of the meter is strongly recommended to achieve the most accurate match.
, adjust the sound level so that it is equal to the level just set at the Left Front speaker. This may be done either by careful listening or with a sound pressure level meter, but use of the meter is strongly recommended to achieve the most accurate match.
Note: It is important that the output level for all channels be made with the Ü or Ý Menu Control button ![]() . When they are used, you will see the reference offset indication that appears below the speaker position icon change to a positive or negative number. DO NOT use the main system Volume Control to adjust anything other than the Left Front channel when the reference level is being established.
. When they are used, you will see the reference offset indication that appears below the speaker position icon change to a positive or negative number. DO NOT use the main system Volume Control to adjust anything other than the Left Front channel when the reference level is being established.
Once the Center speaker’s level has been matched to the reference, press the Û Menu Control button ![]() again and the test noise will move to the Right Front speaker. Repeat the adjustment procedure as explained above until the output level is equal to the previous two speakers.
again and the test noise will move to the Right Front speaker. Repeat the adjustment procedure as explained above until the output level is equal to the previous two speakers.
After adjusting the Right Front speaker, press the Û Menu Control button ![]() to move to the first available surround speaker. Make the adjustment and continue to use the Û Menu Control button
to move to the first available surround speaker. Make the adjustment and continue to use the Û Menu Control button ![]() to move to each succeeding speaker when complete.
to move to each succeeding speaker when complete.
After one adjustment of all speakers, including any subwoofers that are connected to the system, repeat the process one more time to
Once you are satisfied that all speakers output the test noise at an equal level, press the Û Menu Control button ![]() until <Ð Spkr Setup Menu <Ð is highlighted at the top of the screen, and press the Ü Menu Control button
until <Ð Spkr Setup Menu <Ð is highlighted at the top of the screen, and press the Ü Menu Control button ![]() to return to the main Speakr Setup menu. If no further speaker setup or calibration adjustments are required, press the Û Menu Control button
to return to the main Speakr Setup menu. If no further speaker setup or calibration adjustments are required, press the Û Menu Control button ![]() one more time so that <Ð Main Menu <Ð is highlighted at the top of the screen and press the Ü Menu Control button
one more time so that <Ð Main Menu <Ð is highlighted at the top of the screen and press the Ü Menu Control button ![]() to return to the Main Menu.
to return to the Main Menu.
Program Setup
The Citation 5.0 may be programmed with up to twelve separate program profiles, each of which may combine any of the audio and video inputs along with various source controls. Once these profiles are established, they may be assigned to either the “Watch” or “Listen” menus, or both, for easy selection.
The 5.0 is shipped with factory defaults for program profiles as shown in Appendix A, but these generic choices may be edited to suit the specific need of your system as shown below.
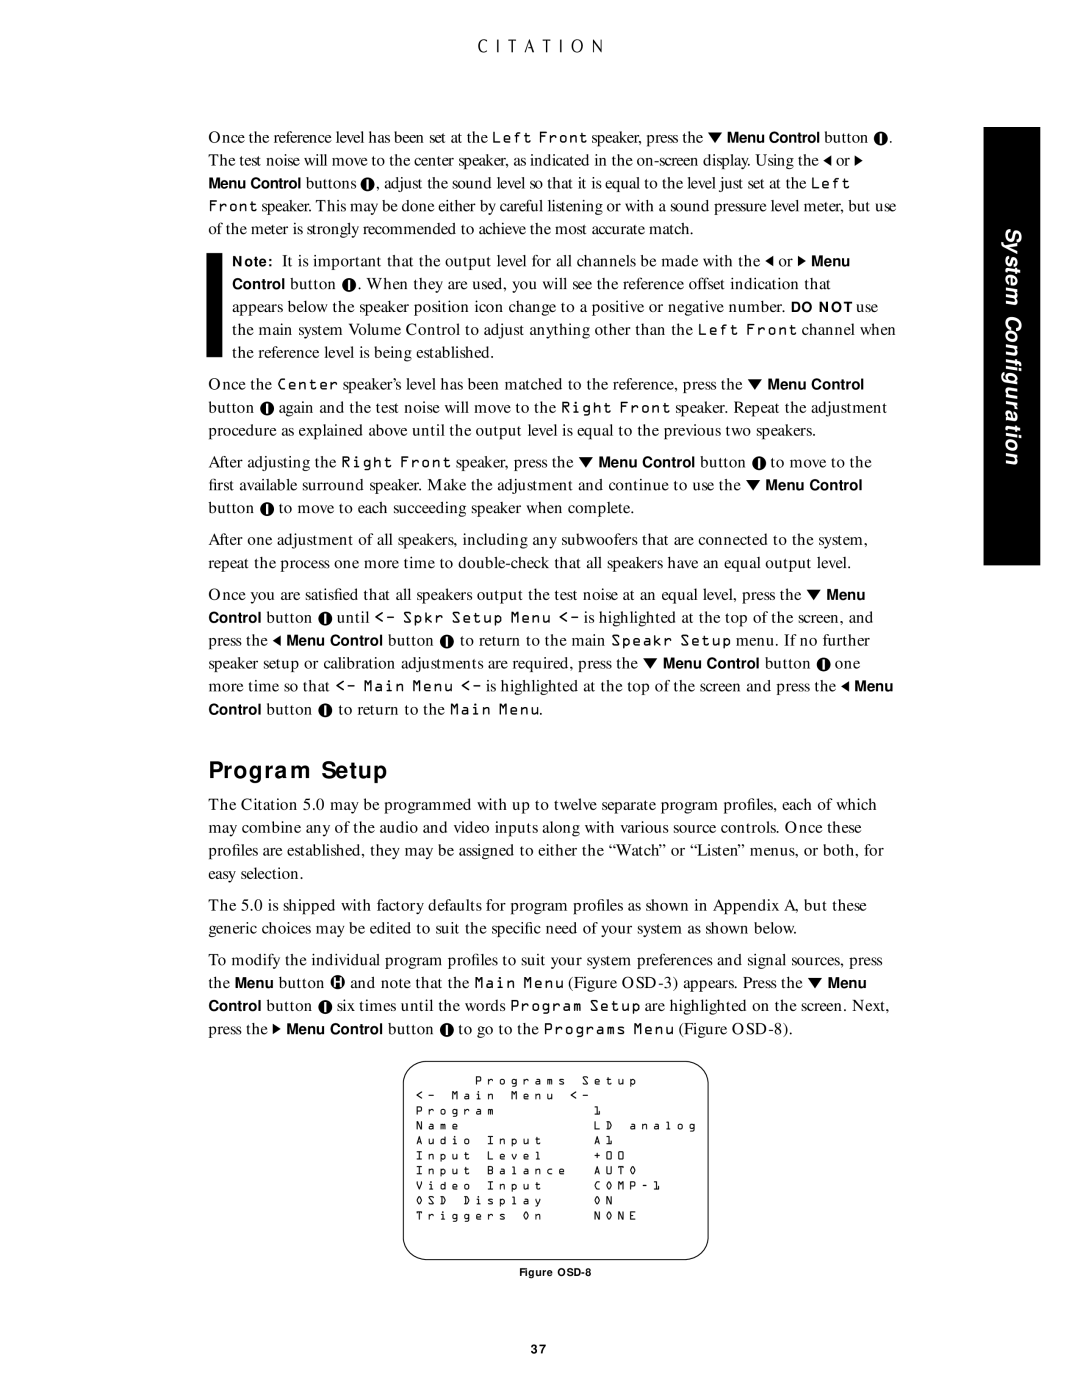
To modify the individual program profiles to suit your system preferences and signal sources, press the Menu button ú and note that the Main Menu (Figure ![]() six times until the words Program Setup are highlighted on the screen. Next, press the Ý Menu Control button
six times until the words Program Setup are highlighted on the screen. Next, press the Ý Menu Control button ![]() to go to the Programs Menu (Figure
to go to the Programs Menu (Figure
P r o g r a m s S e t u p
< Ð M a i n M e n u < Ð |
|
P r o g r a m | 1 |
N a m e | L D a n a l o g |
A u d i o I n p u t | A 1 |
I n p u t L e v e l | + 0 0 |
I n p u t B a l a n c e | A U T O |
V i d e o I n p u t | C O M P - 1 |
O S D D i s p l a y | O N |
T r i g g e r s O n | N O N E |
Figure |
|
System Configuration
37
