System Configuration
The last item on the Program Setup menu determines whether either or both triggers are activated when the program is selected. Press the Û Menu Control button ![]() one more time, and use the
one more time, and use the
Üor Ý Menu Control buttons ![]() to determine trigger status. If you wish to have either trigger acti- vate for certain, but not all, sources, the Power option for trigger programming must be turned
to determine trigger status. If you wish to have either trigger acti- vate for certain, but not all, sources, the Power option for trigger programming must be turned
OFF in the System Options
As described earlier, a typical use for Trigger 1 is to turn on audio power amplifiers. If you are using power amplifier(s) which may be controlled by 6- to
Typical uses for Trigger 2 would be the control of devices associated with video sources. These include motorized screens and
System Options
There are a number of secondary system controls, many of a “housekeeping” nature, whose settings are normally set only once, at the time of installation. These are set at the factory to suit the needs of most users, and need not be adjusted unless you wish to change one or more settings. These adjust- ments are grouped in the “System Options” menu.
If you do not need to change the details of the
To enter the System Options menu, press the Menu button ú and then the Û Menu Control button ![]() seven times, or press the Ú Menu Control button
seven times, or press the Ú Menu Control button ![]() once, until the words System Options are highlighted. Press the Ý Menu Control button
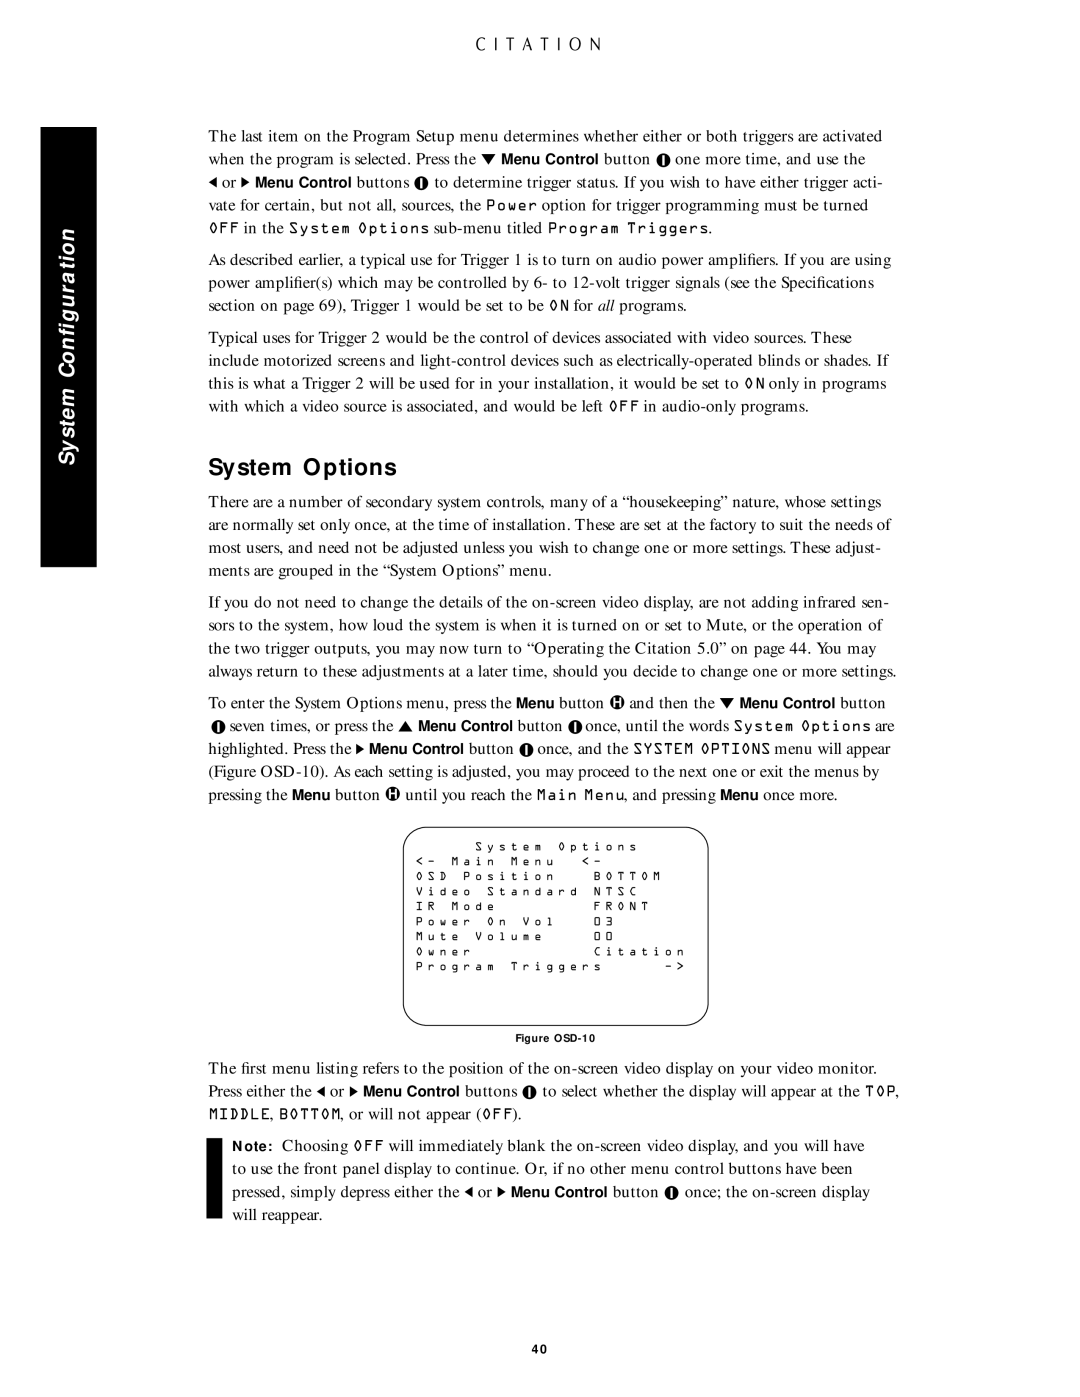
once, until the words System Options are highlighted. Press the Ý Menu Control button ![]() once, and the SYSTEM OPTIONS menu will appear
once, and the SYSTEM OPTIONS menu will appear